
 Save
Save
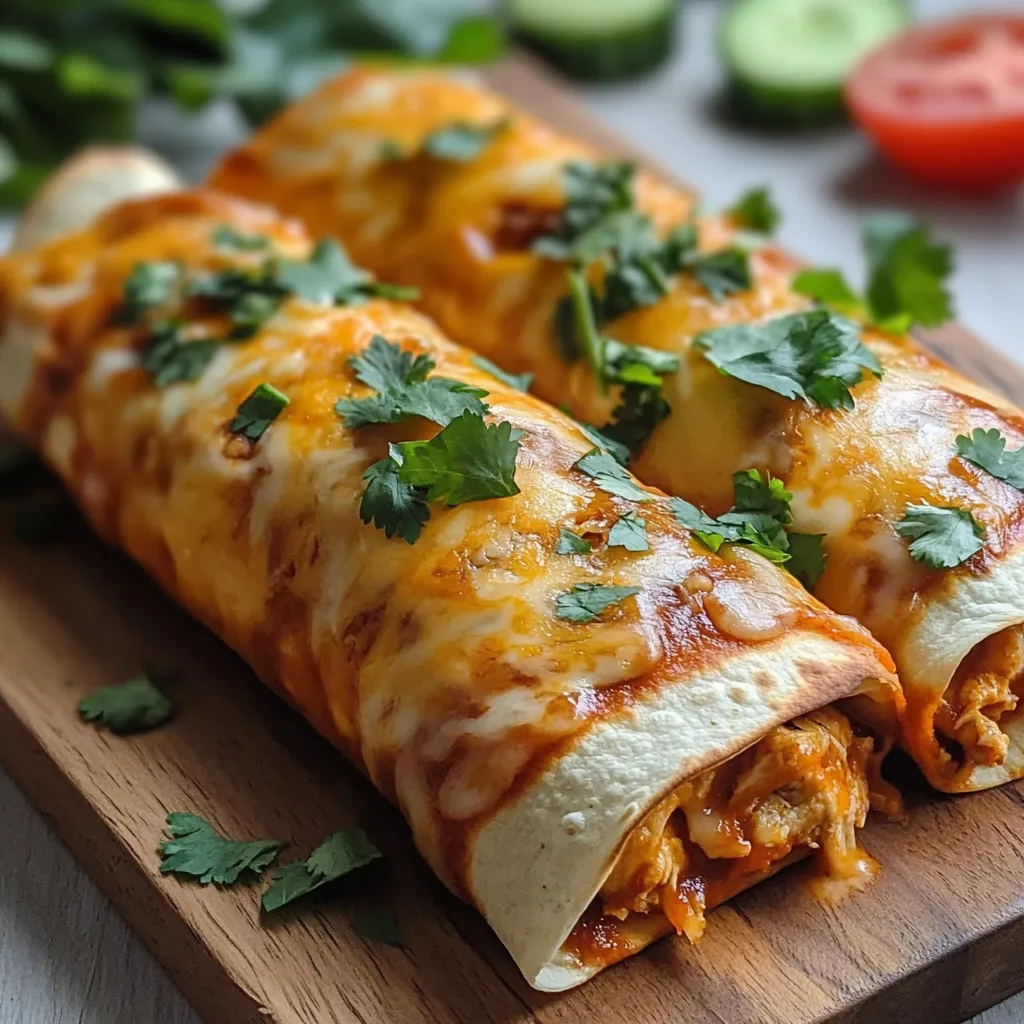
The comforting aroma of Mexican spices fills your kitchen as golden-brown chimichangas emerge from the oven. These baked treasures transform ordinary poultry into something truly special through the magic of simple seasonings and perfect cooking technique. This weeknight wonder delivers restaurant-quality flavor with minimal effort, creating a meal that satisfies both picky eaters and discerning palates alike.
I first discovered this recipe during a particularly chaotic week when I needed something simple yet satisfying. My family was stunned by how much flavor could come from such basic ingredients. Now it's become our go-to meal when everyone craves serious comfort food but I have limited time and energy.
Essential Flavor Ingredients
- Boneless chicken breasts: The perfect canvas for flavors; select pieces of similar thickness for even cooking
- Quality ranch seasoning: Creates the signature flavor profile; look for versions without artificial ingredients
- Extra virgin olive oil: Helps seasonings adhere while promoting a golden exterior; use the best you can afford
- Fresh garlic powder: Provides aromatic depth; check your spice cabinet for freshness as it loses potency over time
- Smoked paprika: Adds subtle complexity and beautiful color; the smokiness elevates the entire dish
- Kosher salt: Enhances all other flavors; coarse varieties without harshness make a noticeable difference
- Freshly ground pepper: Brings gentle warmth without overwhelming; freshly ground provides superior flavor
Chicken Perfection
- Preparation Foundation:
- Preheat your oven thoroughly to 400°F, allowing proper heat circulation. Pat chicken breasts completely dry with paper towels – this crucial step ensures seasonings adhere properly and promotes browning rather than steaming.
- Seasoning Application:
- Place chicken in a lightly oiled baking dish, keeping pieces slightly separated. Drizzle with olive oil, turning to coat all surfaces evenly. Combine ranch seasoning, garlic powder, paprika, salt and pepper in a small bowl before sprinkling over chicken, pressing gently to adhere.
- Coating Technique:
- Use your hands to massage seasonings into every crevice of the chicken, ensuring complete coverage. This hands-on approach distributes spices more effectively than simply sprinkling them on top, creating flavor in every bite.
- Optimal Arrangement:
- Position chicken pieces with thicker sides toward the outside of the baking dish where heat is more intense. This strategic placement ensures even cooking across all pieces regardless of slight size variations.
- Baking Perfection:
- Place the dish in the middle rack of your preheated oven. Bake uncovered for 25-30 minutes, allowing seasonings to form a flavorful crust while the interior cooks to juicy perfection.
- Temperature Testing:
- Use an instant-read thermometer inserted into the thickest part to verify chicken has reached exactly 165°F. This precision prevents overcooking while ensuring food safety.
- Resting Period:
- Allow chicken to rest for 5 minutes before serving, tented loosely with foil to keep warm. This crucial step allows juices to redistribute throughout the meat rather than spilling out when cut.
My family particularly loves how this dish transforms everyday chicken into something special. My teenage son, who typically drowns everything in ketchup, eats this chicken exactly as served, claiming it's 'too good to cover up.' The way the ranch seasoning creates a savory crust while keeping the interior moist makes this recipe truly greater than the sum of its parts.
Perfect Pairings
Elevate your baked ranch chicken with thoughtfully chosen side dishes that complement its herb-forward flavor profile. Creamy mashed potatoes create the perfect canvas for soaking up the flavorful juices, while roasted asparagus or green beans offer nutritional balance while complementing the flavors. For a complete meal that feels special yet comes together quickly, pair with garlic bread and a simple Caesar salad.
Creative Variations
Adapt this flexible recipe to create exciting flavor combinations that suit your taste preferences or what you have available. Create a southwestern version by adding lemon zest and oregano to the seasoning mix, finishing with crumbled feta after baking. For a spicy twist, incorporate cayenne pepper and chili powder alongside the other seasonings. My sister makes a fantastic autumn variation with sage and rosemary added to the ranch blend, served alongside roasted sweet potatoes for a seasonal approach.
Storage Solutions
Maintain the delicious quality of your baked ranch chicken with proper storage techniques. Refrigerate cooled chicken in an airtight container for up to three days, separating layers with parchment paper to prevent sticking. For best reheating results, avoid the microwave which can toughen the meat. Instead, place chicken in a 300°F oven for 10-15 minutes until warmed through. This gentle reheating preserves moisture and texture. For meal prep purposes, you can freeze cooked chicken for up to two months – wrap individual pieces tightly in plastic wrap then foil before freezing. Thaw overnight in the refrigerator before reheating gently in a 300°F oven for 15-20 minutes for that fresh-baked taste.
These baked ranch chicken breasts have become my signature dish for those evenings when I need something comforting yet impressive with minimal effort. The combination of simple seasonings and perfect cooking technique creates a meal that feels special enough for company yet straightforward enough for busy weeknights. The beauty of this recipe lies in its accessibility – no special equipment or culinary skills required, just good ingredients and a hot oven.
Common Questions About Cooking
- → Can I make these ahead of time?
- Yes! You can prepare the filling and assemble the chimichangas up to a day ahead. Store them covered in the refrigerator, then brush with oil and bake when you're ready to eat.
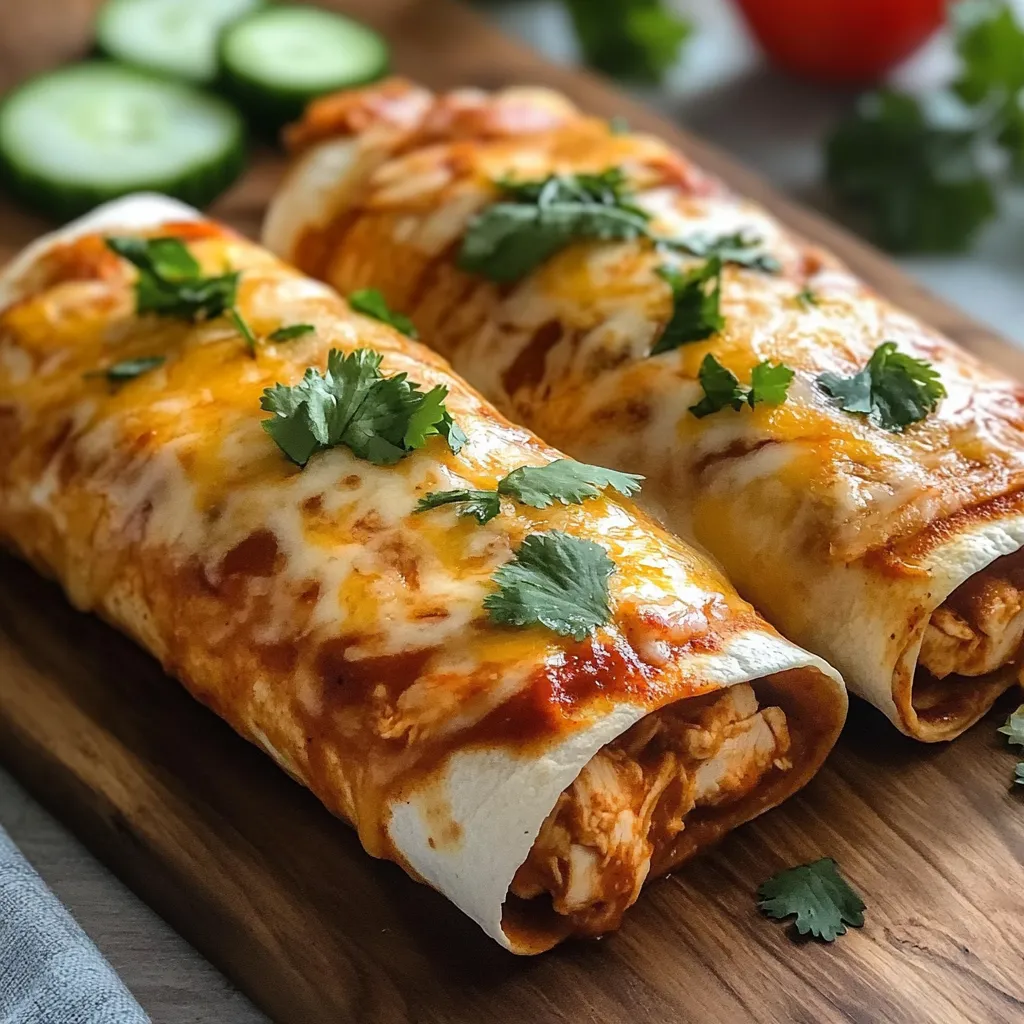
- → What's the difference between a chimichanga and a burrito?
- Traditional chimichangas are deep-fried burritos. This baked version gives you the crispy exterior without the deep frying, while burritos are typically soft and not fried or baked.
- → Can I use corn tortillas instead of flour?
- Flour tortillas work best for chimichangas as they're more pliable and seal better. Corn tortillas tend to crack when folded, but if you warm them first, you can make smaller chimichangas with them.
- → How can I make these vegetarian?
- Simply replace the chicken with a mixture of black beans, pinto beans, or refried beans. Add some sautéed vegetables like bell peppers, corn, and onions for extra flavor and texture.
- → Why are my chimichangas not getting crispy?
- Make sure you're brushing them generously with oil or butter before baking. Also, check that your oven is fully preheated to 400°F, and consider baking them on the upper rack of your oven for maximum crispiness.