 Save
Save
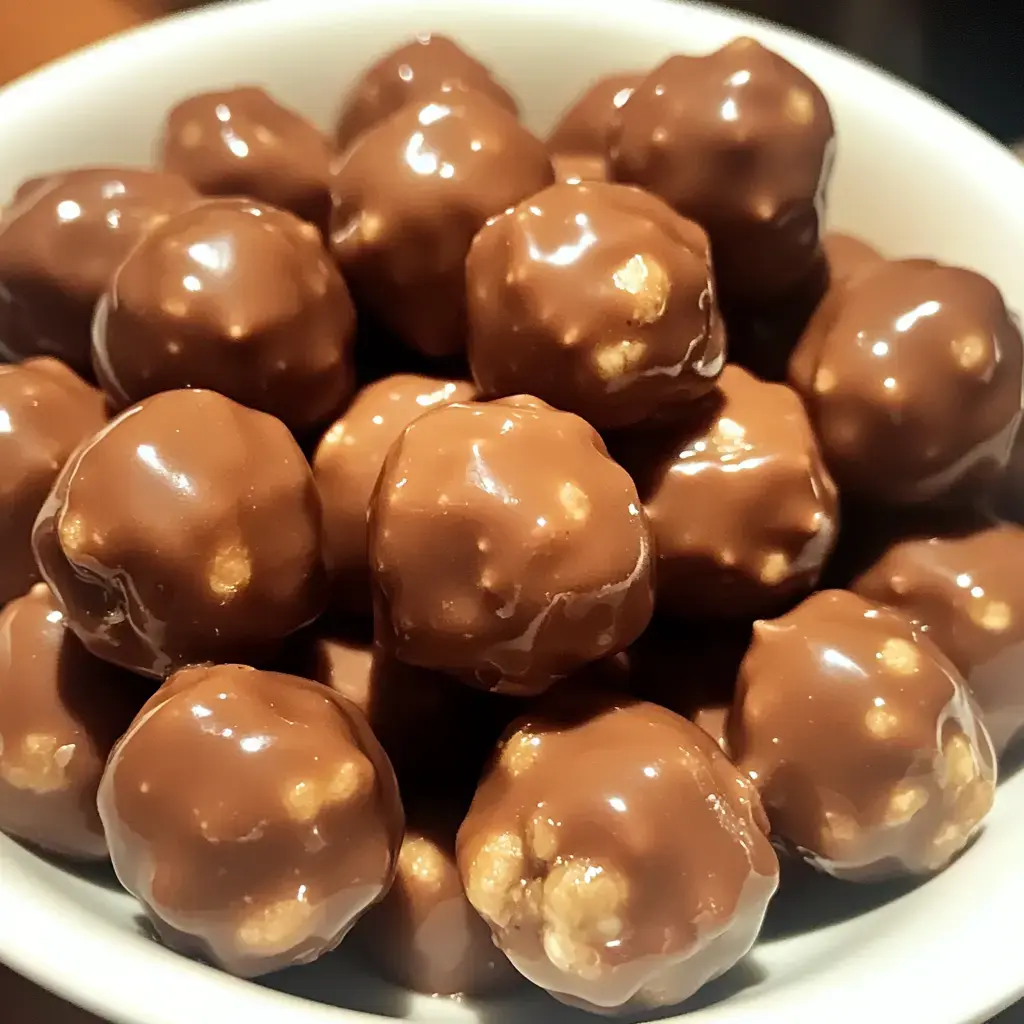
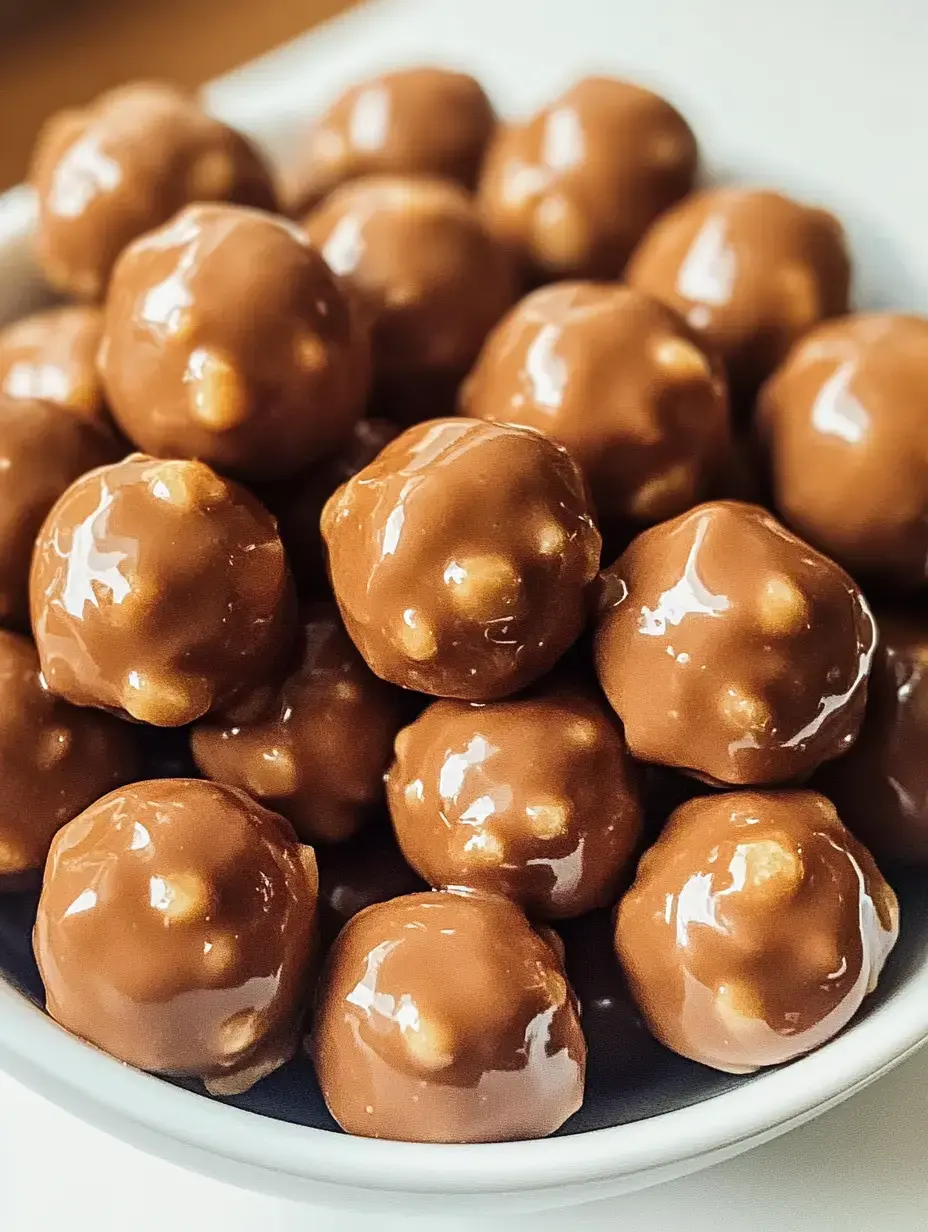
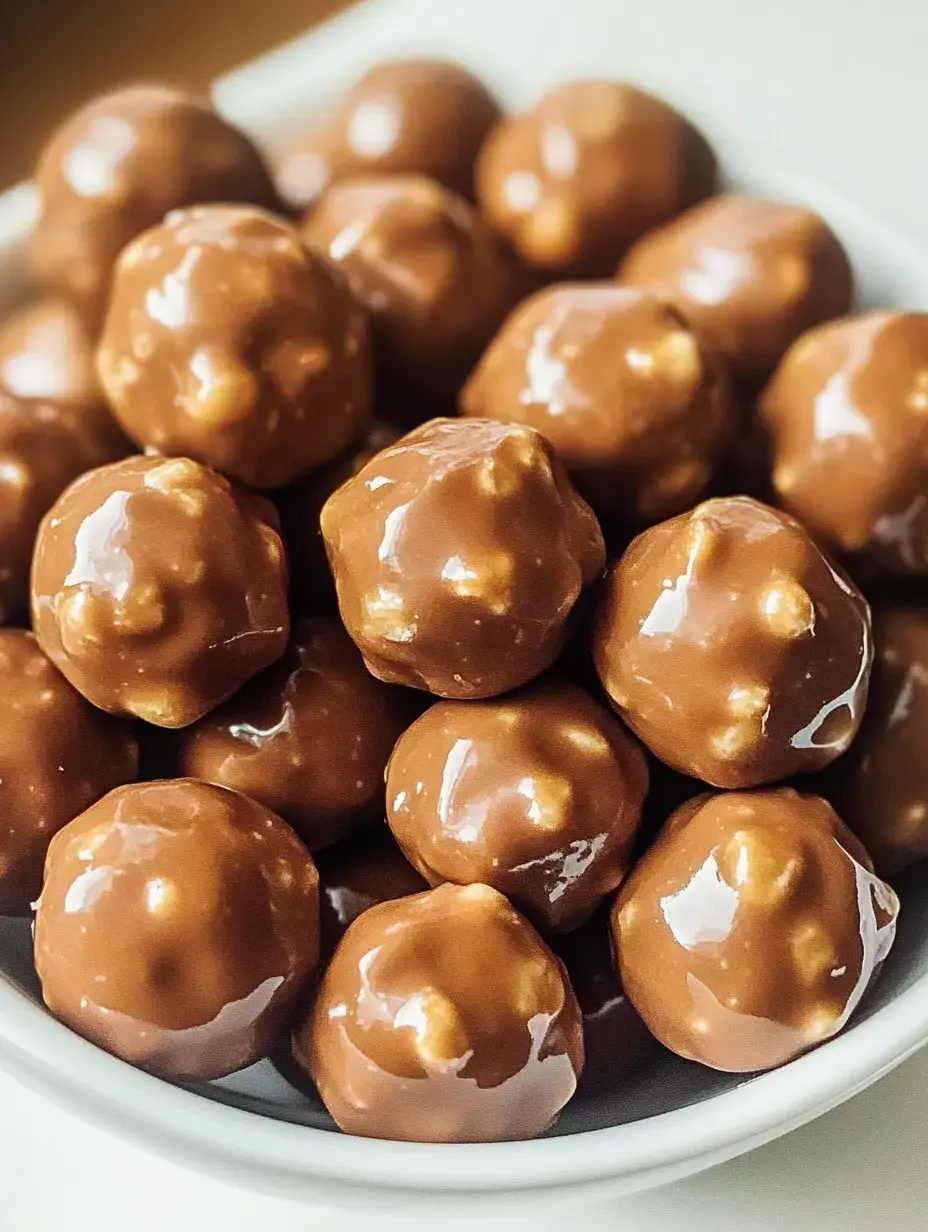
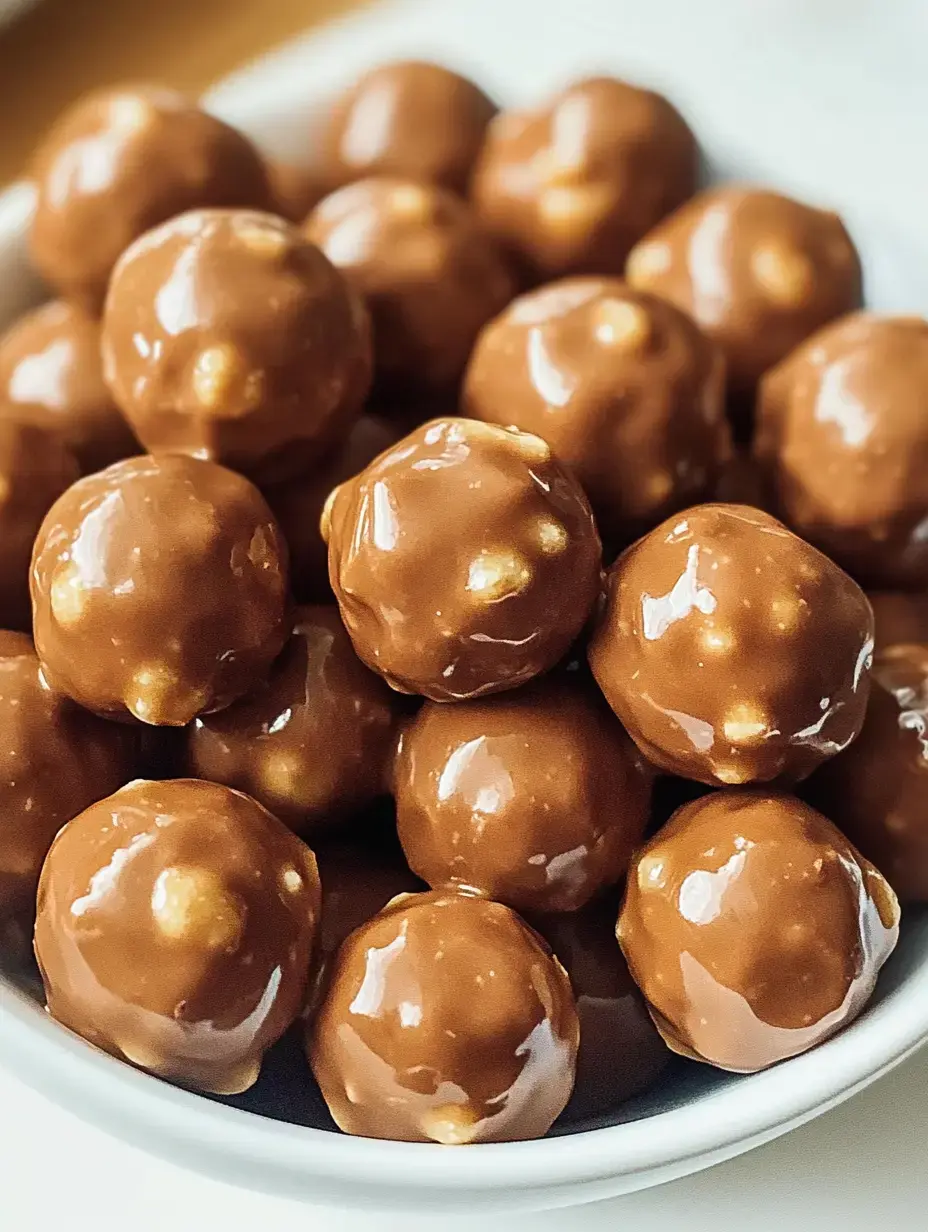
These Butterfinger Balls bring back sweet memories of my childhood candy crushes with a grown up twist. Every time I make them people go crazy for the creamy peanut butter center mixed with crunchy Butterfinger bits all wrapped in silky chocolate. They are ridiculously good and surprisingly simple to make.
Why These Are Always a Hit
The best part about these treats is how quick they come together. No need to turn on the oven just mix crush and roll. The combination of smooth peanut butter and that signature Butterfinger crunch creates something truly magical. I love making a big batch to share with friends or keep in my freezer for sweet cravings.
The Secret to Their Amazing Taste
Adding crushed Butterfinger bars takes these from regular peanut butter balls to something extraordinary. The candy adds this amazing toffee like crunch and intensifies that peanut butter flavor we all love. My kids say they taste like fancy candy shop treats.
Must Have Ingredients
- Peanut Butter: The creamy kind works best here for that silky smooth center.
- Graham Crackers: They add structure and a lovely honey sweetness.
- Butterfinger Bars: The star ingredient that makes these extra special.
- Chocolate: I use chocolate melting wafers for foolproof coating.
Getting Started
Grab your biggest mixing bowl and combine that creamy peanut butter with crushed graham crackers and finely chopped Butterfinger pieces. Mix everything together until it looks like cookie dough. Sometimes I need to add a few more graham cracker crumbs if things feel too sticky.
 Save
Save
Rolling Time
This is where the fun starts. Scoop out little portions and roll them between your palms to make perfect balls. Pop them on a paper lined baking sheet and stick them in the fridge. They need about 20 minutes to firm up which gives you time to melt the chocolate.
The Chocolate Magic
Melting chocolate can be tricky but I found an easy way. I use a glass bowl over simmering water stirring slowly until everything melts smooth. The microwave works too just go slow and stir often. The secret is not getting any water in your chocolate or it will seize up.
Making Them Pretty
Now comes my favorite part dipping those chilled balls in melted chocolate. I use a fork to roll them around then tap off the extra chocolate. Sometimes I sprinkle more crushed Butterfinger on top before the chocolate sets. They look so fancy when they are done.
The Waiting Game
Give them time to set up completely. You can leave them on the counter if your kitchen is cool or pop them back in the fridge. I usually cannot wait and sneak one while they are still a bit soft. They taste amazing either way.
How to Store Your Treats
Keep these little beauties in the fridge in a sealed container. They last about a month that way. Layer them with wax paper so they do not stick together. You can also freeze them for up to 6 months but they never last that long at my house.
 Save
Save
Fun Ways to Mix It Up
- Try Different Candy: Sometimes I use Snickers or Reeses instead of Butterfingers.
- Holiday Style: Add festive sprinkles to match any celebration.
- Allergy Friendly: Sunbutter works great for nut free versions.
Make Them Ahead
You can totally prep these early for parties. I often make a bunch and keep them in the freezer without the chocolate coating. When I need them I just thaw and dip. Fresh chocolate coating makes them look extra special.
Getting the Perfect Texture
The key is getting that filling just right. It should hold together when you roll it but not be too dry. If your peanut butter is super runny add more graham crackers. Want more crunch? Leave some bigger pieces of Butterfinger in the mix.
Try These Tasty Twists
- White Chocolate Coating: Creates a whole new flavor experience.
- Mint Touch: A tiny bit of mint in the chocolate is amazing.
- Extra Crunch: Mix in some rice cereal for more texture.
Ways to Serve
I love setting these out at parties in little candy cups. They look so pretty on a dessert table next to other treats. Package them in clear bags with pretty ribbons and they make perfect holiday gifts or party favors.
 Save
Save
Quick Fixes
- Too Soft: Pop the mixture in the fridge or add more crackers.
- Thick Chocolate: A spoon of oil thins it perfectly.
- Messy Coating: Tap that fork gently to get it smooth.
Good to Know
These are definitely treats meant for special occasions. Each ball has about the same calories as a candy bar. I make mine a bit smaller when I want to keep portions in check but still enjoy the amazing taste.
Perfect Times to Make These
These little bites of joy work for any occasion. From casual movie nights to fancy holiday parties they always disappear fast. Since they do not need baking they are perfect for hot summer days when you want something sweet.
Kitchen Tools You Need
- Big Bowl: For mixing up that yummy filling.
- Small Scoop: Makes rolling balls so much easier.
- Parchment Paper: Nothing sticks to it.
- Double Boiler: Perfect chocolate every time.
My Personal Touch
These Butterfinger Balls have become my signature treat. Friends request them for every gathering and my family knows where to find them in the freezer. They combine everything wonderful about candy making without any complicated steps. Give them a try and watch them become your new favorite too.
Common Questions About Cooking
- → Why can't I use natural peanut butter?
Natural peanut butter is too oily and can cause the balls to separate. Stick with conventional brands like Jif or Skippy for the best texture and stability.
- → Can I freeze these treats?
Yes, these balls freeze well for up to 3 months. Store them in an airtight container with wax paper between layers to prevent sticking.
- → Why do the balls need to be chilled before dipping?
Chilling firms up the balls, making them easier to handle and dip in chocolate. It also helps the chocolate coating set properly and prevents melting.
- → What's the best chocolate for dipping?
Chocolate bark or melting wafers work best as they set firmly and don't need tempering. Regular chocolate chips can be used but may need shortening added for smooth dipping.
- → How do I prevent the chocolate from seizing?
Melt chocolate slowly at 50% power in short bursts, stirring between each interval. Keep water away from the chocolate as even a drop can cause it to seize.
