 Save
Save
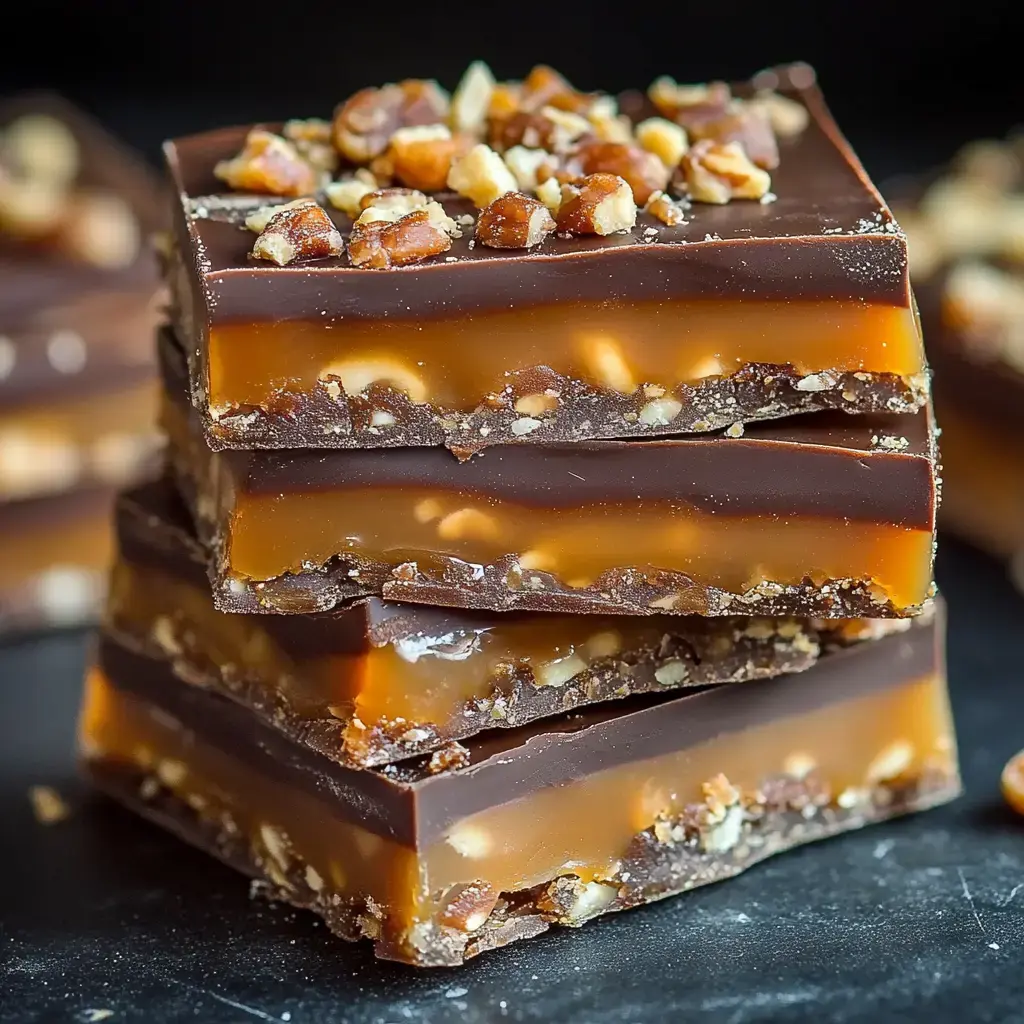
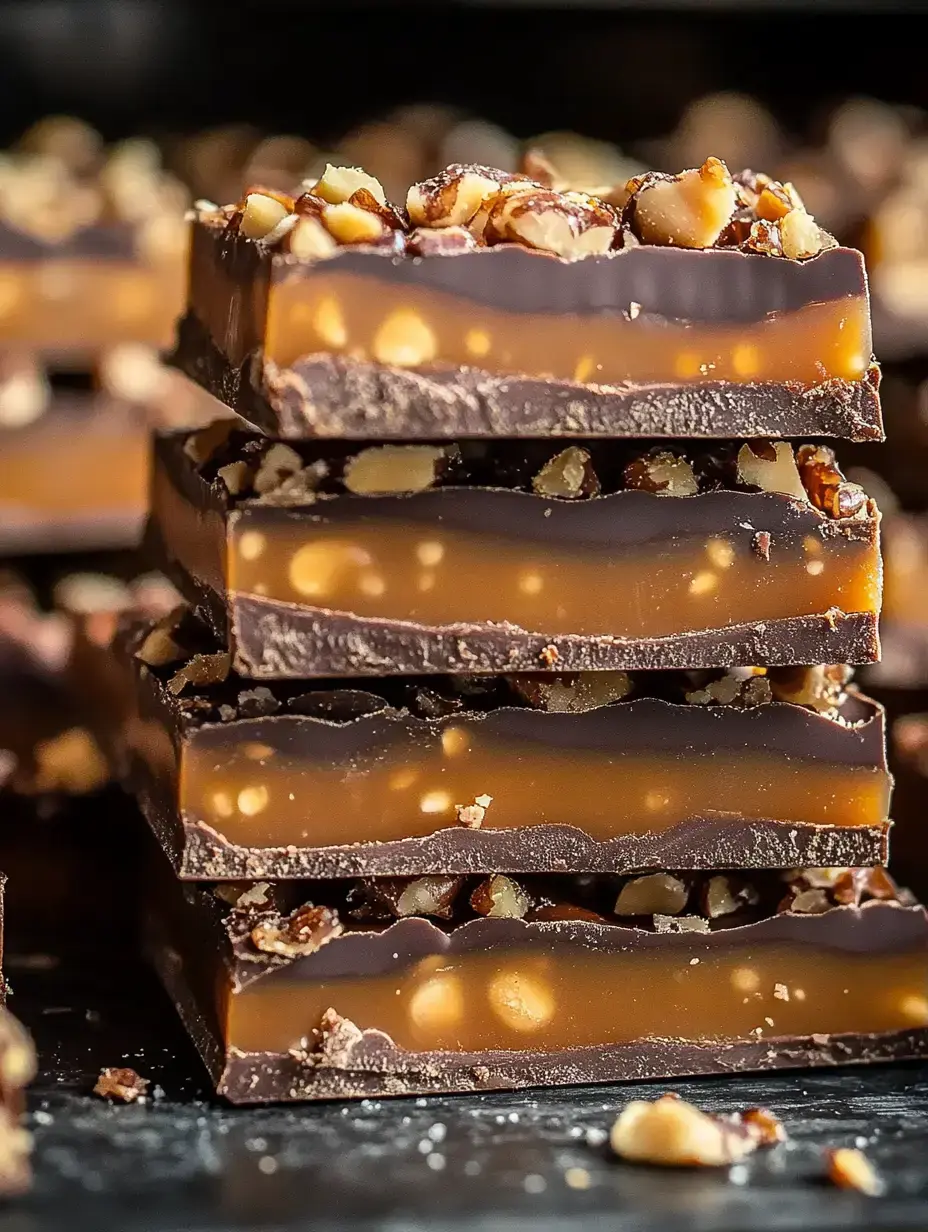
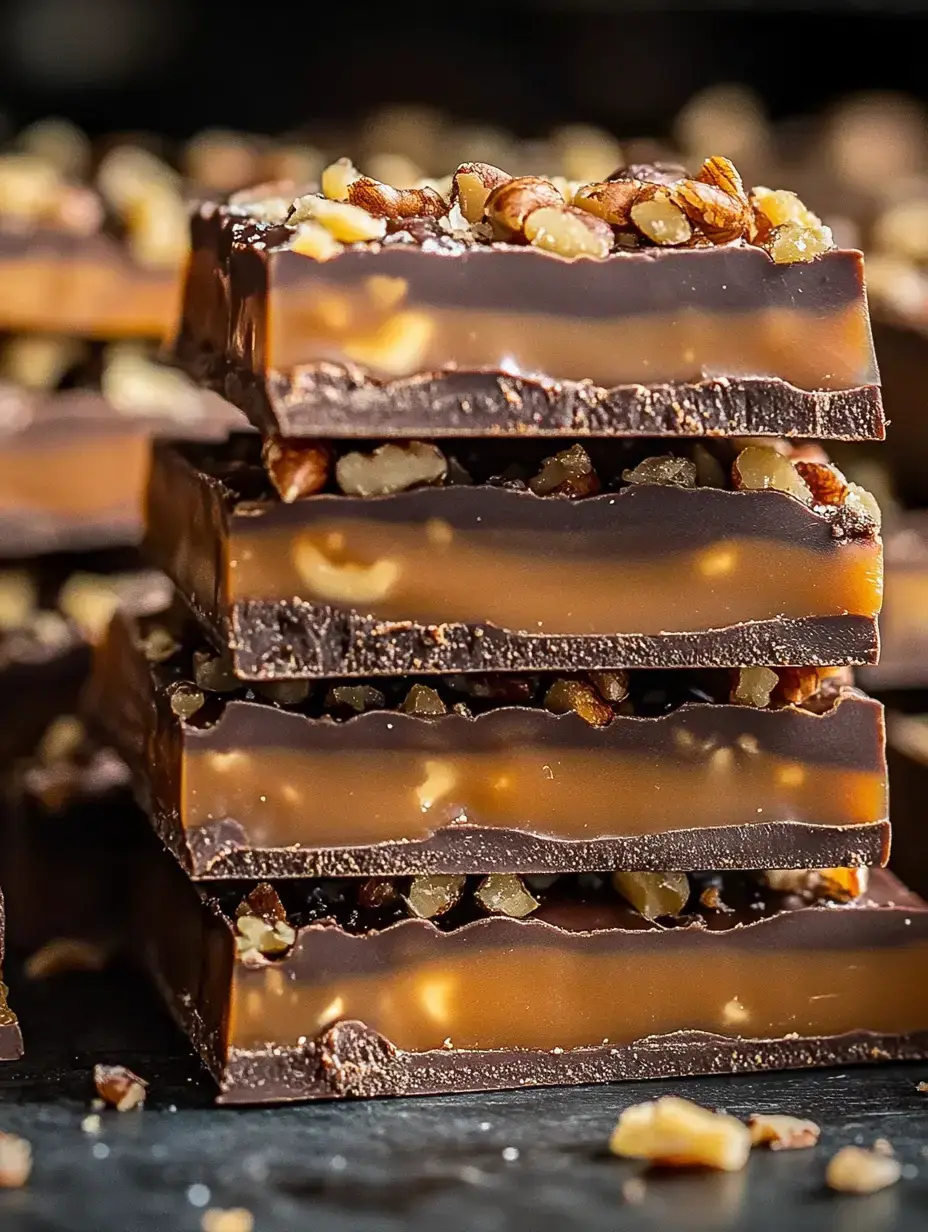
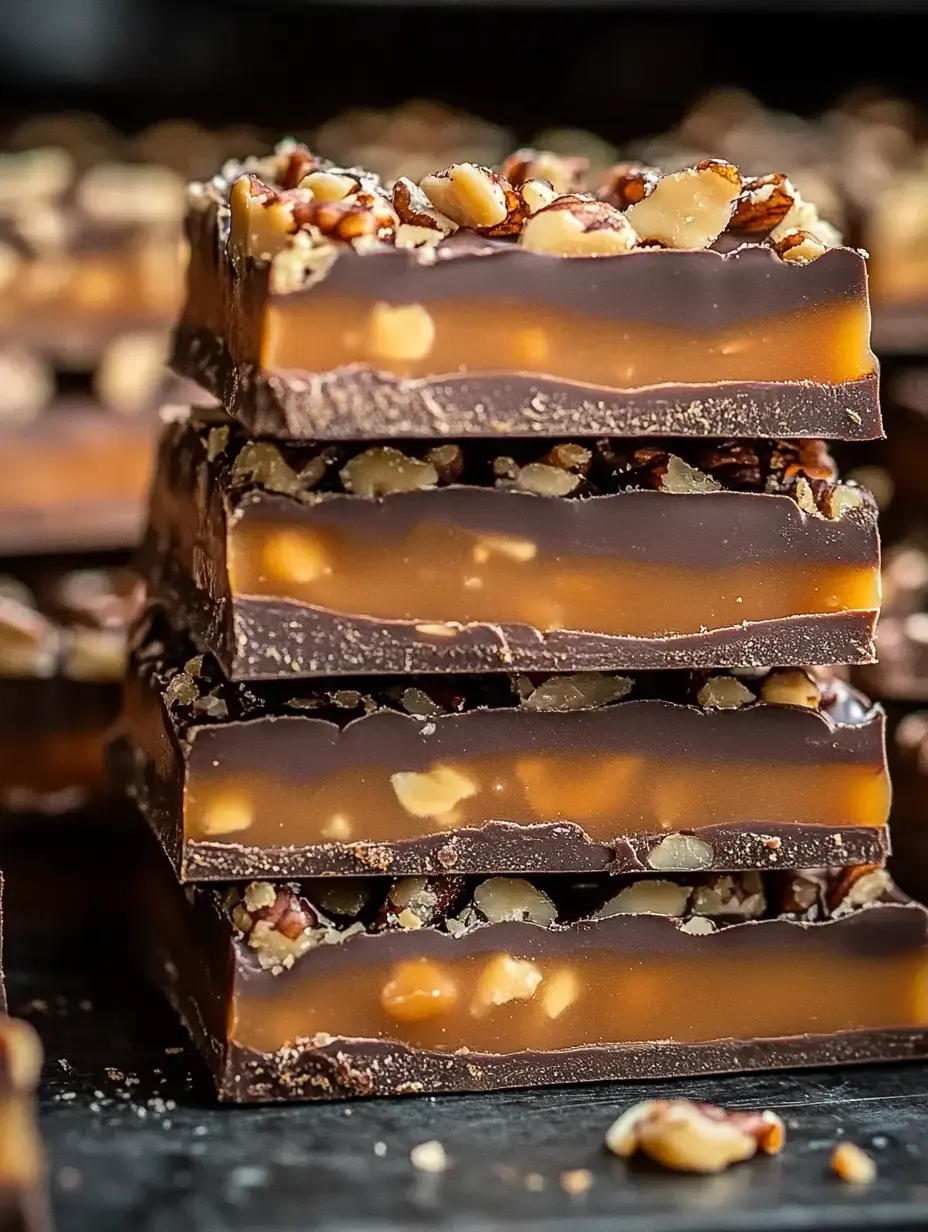
My kitchen fills with the sweetest aroma when I make these Butterfinger Caramel Crunch Bars. After countless potlucks and family gatherings I've discovered they're the one dessert everyone remembers. The buttery base melts in your mouth while the caramel adds that perfect chewiness we all crave. I love watching faces light up with the first bite into these heavenly layers.
The Magic in Every Layer
Since sharing these bars at my sister's baby shower last spring they've become my most requested recipe. The combination just works so perfectly each crunchy bite of Butterfinger paired with smooth caramel creates pure joy. I keep the recipe simple because who needs complicated when the result tastes this amazing? Even my teenage son who claims he doesn't bake managed to make these perfectly on his first try.
Kitchen Essentials
- Graham Cracker Crumbs: You'll need 1 ½ cups crushed into fine bits. Sometimes I use my food processor but honestly crushing them in a zip bag works just fine.
- Unsalted Butter: Grab ½ cup and melt it until just liquid. I learned the hard way not to let it brown.
- Granulated Sugar: A quarter cup gives the crust that perfect sweetness.
- Caramel Bits: One cup makes the dreamiest layer. Look for them near the chocolate chips.
- Heavy Cream: Two tablespoons help create that silky caramel texture.
- Butterfinger Bars: You'll want about 3-4 bars crushed up. I usually buy extra because snacking happens.
- Semi Sweet Chocolate Chips: 1 ½ cups for that perfect top layer.
- Extra Butterfingers: For sprinkling on top because more is more.
Let's Make Magic
- Start with the Base
- Get your oven warming to 350°F. While that's happening mix your graham crumbs with melted butter and sugar until it feels like wet sand. Press it into your lined pan I always use my measuring cup to get it nice and compact. Eight minutes in the oven gives you that perfect golden color.
- Create the Caramel Layer
- Watching caramel melt is pure therapy. Pop your caramel bits and cream in the microwave stirring every 30 seconds until silky smooth. Pour it over your crust while it's still warm.
- Butterfinger Time
- Sprinkle those crushed pieces all over like confetti. Give them a gentle press into the caramel.
- Top it Off
- Melt your chocolate chips with a touch of butter until glossy. Spread it carefully you want that mirror finish.
- The Waiting Game
- Let everything cool down before popping in the fridge. Trust me patience makes perfect squares.
Making That Perfect Foundation
My secret to the best crust? Press press press. You want it packed tight enough that it won't crumble when you cut it later. I learned from my grandma to line the pan with parchment letting it hang over the sides. Makes lifting the whole thing out super easy.
 Save
Save
Caramel Layer Secrets
The key to dreamy caramel is taking your time. I've found those little caramel bits melt better than the wrapped squares. Adding cream keeps everything soft and gooey even after refrigeration. No one wants to fight with rock hard caramel.
Crushing Those Butterfingers
Sometimes I let my kids help crush the Butterfingers. We put them in a ziplock bag and they take turns with the rolling pin. Just watch those enthusiastic helpers some pieces need to stay big enough to give that satisfying crunch.
Making Chocolate Shine
The chocolate topping needs a gentle touch. I add a spoonful of butter while melting it makes everything smooth and glossy. Spread it carefully while warm and you'll get that bakery style finish everyone loves.
The Cool Down
Letting these bars set properly is crucial. I leave them on my counter until they're completely cool then pop them in the fridge for a few hours. Nothing worse than rushed cutting that ruins those pretty layers.
Adding Extra Sparkle
Sometimes I can't resist sprinkling extra Butterfinger bits on top while the chocolate is still wet. It makes the bars look irresistible and adds that extra bit of crunch that my family goes crazy for.
 Save
Save
Keeping Them Fresh
These bars stay perfect in a sealed container on your counter for about five days. Though honestly they've never lasted that long in my house. Pop them in the fridge if your kitchen runs warm.
Switch It Up
Last week I tried these with Snickers instead of Butterfingers and my book club went wild. Twix works beautifully too. The fun part is making each batch your own special creation.
Share the Love
Every time I bring these to a gathering they steal the show. The layers look so pretty on a dessert table and people always ask for the recipe. They're perfect for those times when you want to make something special without spending hours in the kitchen.
Wrap Them Up
During the holidays I cut these into squares wrap them in pretty parchment and tie them with ribbon. They make the sweetest homemade gifts. My neighbors look forward to their little packages every Christmas.
Sweet Success
There's something magical about creating these layers of happiness. The combination of textures and flavors brings smiles every single time. Whether you're baking for family friends or yourself these bars never disappoint. They've become part of countless happy memories in my kitchen and I know they'll do the same in yours.
 Save
Save
Common Questions About Cooking
- → How do I store these Butterfinger bars?
You can store the bars in an airtight container at room temperature for up to 5 days. For longer storage, keep them in the refrigerator where they'll stay fresh for up to a week.
- → Can I prepare these bars ahead of time?
Yes, these bars are perfect for making ahead. They need about 2 hours to set properly in the refrigerator, and the flavors actually develop better overnight.
- → What's the best way to cut these bars?
For clean cuts, refrigerate until completely firm. Use a sharp knife warmed under hot water and wiped dry. Clean and rewarm the knife between cuts for the neatest results.
- → Can I use different candy bars instead of Butterfinger?
While Butterfingers give these bars their signature crunch and flavor, you can experiment with other candy bars. Just make sure to choose ones that complement the caramel and chocolate layers.
- → Why do you need to line the pan with parchment paper?
The parchment paper prevents the bars from sticking to the pan and makes removal much easier. The overhang helps lift the entire batch out cleanly for cutting into squares.
