
 Save
Save
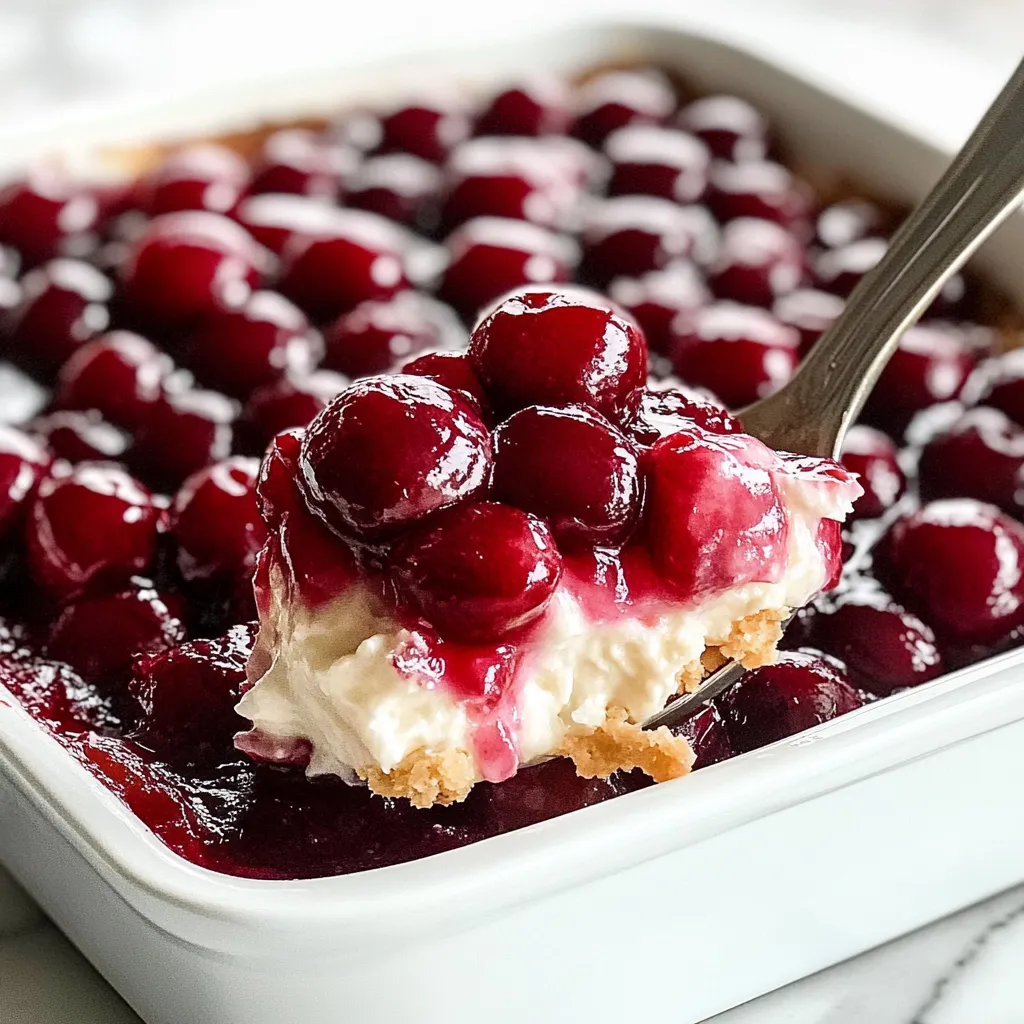
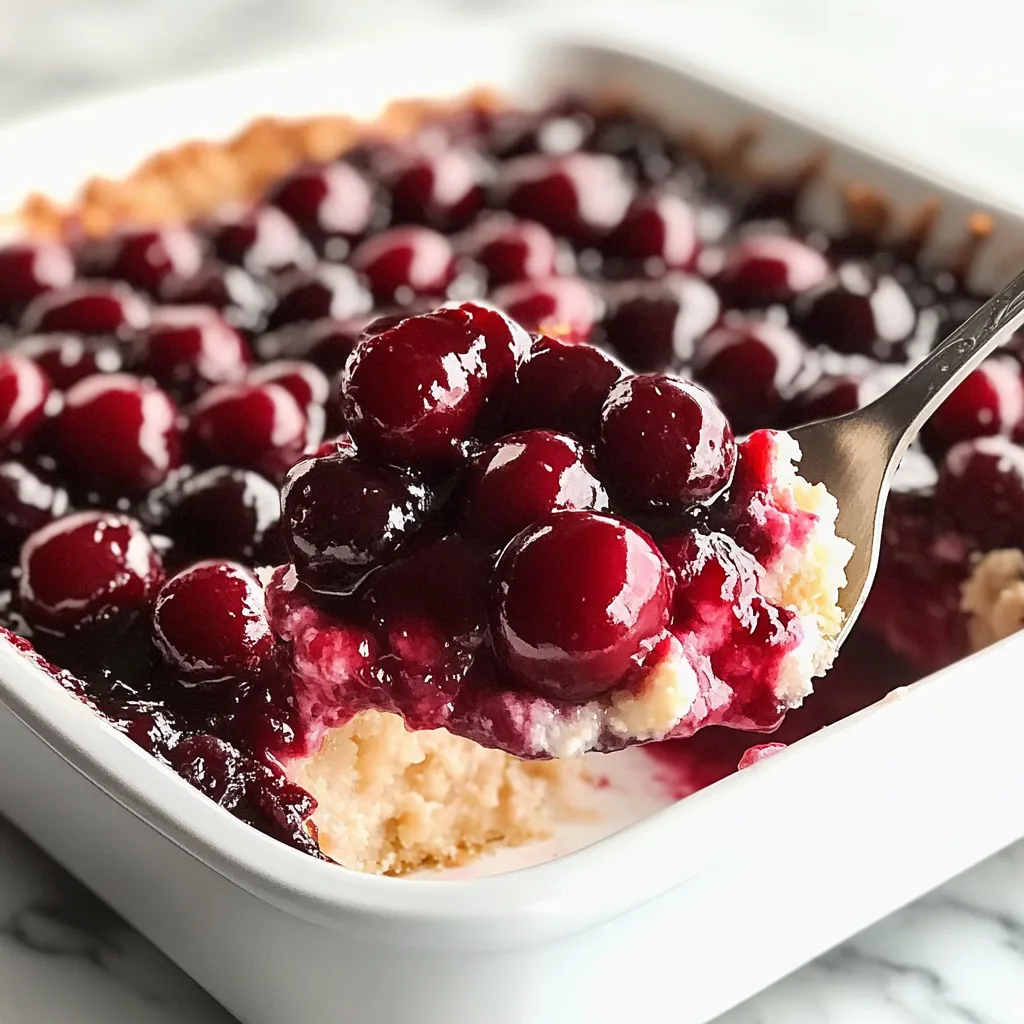
A heavenly combination of fluffy angel food cake, silky cream cheese filling, and jewel-toned cherries creates this enchanting no-bake dessert. The contrast between light-as-air cake cubes and rich, creamy layers, crowned with vibrant cherry topping, makes this vintage recipe a stunning addition to any gathering. Each spoonful delivers the perfect balance of sweet, tart, and creamy textures that transform simple ingredients into an elegant treat.
Ever since discovering this recipe, it's become my secret weapon for potlucks and family gatherings. The way people's faces light up when they see those beautiful layers never fails to bring me joy. The first time I served it at a holiday dinner, three different guests asked for the recipe before the evening was over.
Perfect Your Ingredients
- Angel food cake: Provides the cloud-like base; choose quality store-bought or homemade for the best texture
- Full-fat cream cheese: Creates the richest, most luxurious filling; ensure it's properly softened
- Premium cherry pie filling: Offers the best flavor and appearance; look for whole cherries in the mix
- Pure vanilla extract: Enhances all the flavors; avoid artificial versions
- Stabilized whipped topping: Ensures your dessert holds its shape beautifully
Sweet Assembly Steps
- Foundation Building:
- Cut angel food cake into uniform cubes, creating the perfect base for absorbing flavors.
- Cream Creation:
- Beat softened cream cheese until silky smooth before incorporating other ingredients.
- Gentle Folding:
- Combine whipped topping with cream cheese mixture using light, careful motions.
- Layer Love:
- Create alternating layers of cake, cream, and cherries for visual impact.
- Cherry Crown:
- Top with remaining cherries, allowing their juice to create beautiful crimson streams.
- Final Rest:
- Chill thoroughly, letting all components meld into perfect harmony.
My grandmother first introduced me to this dessert at a summer picnic, and I was mesmerized by its beauty. She taught me that the key to perfect layers was patience – taking time to spread each component carefully and letting it chill properly. Now, decades later, I still hear her voice guiding me whenever I make it.
Serving Suggestions
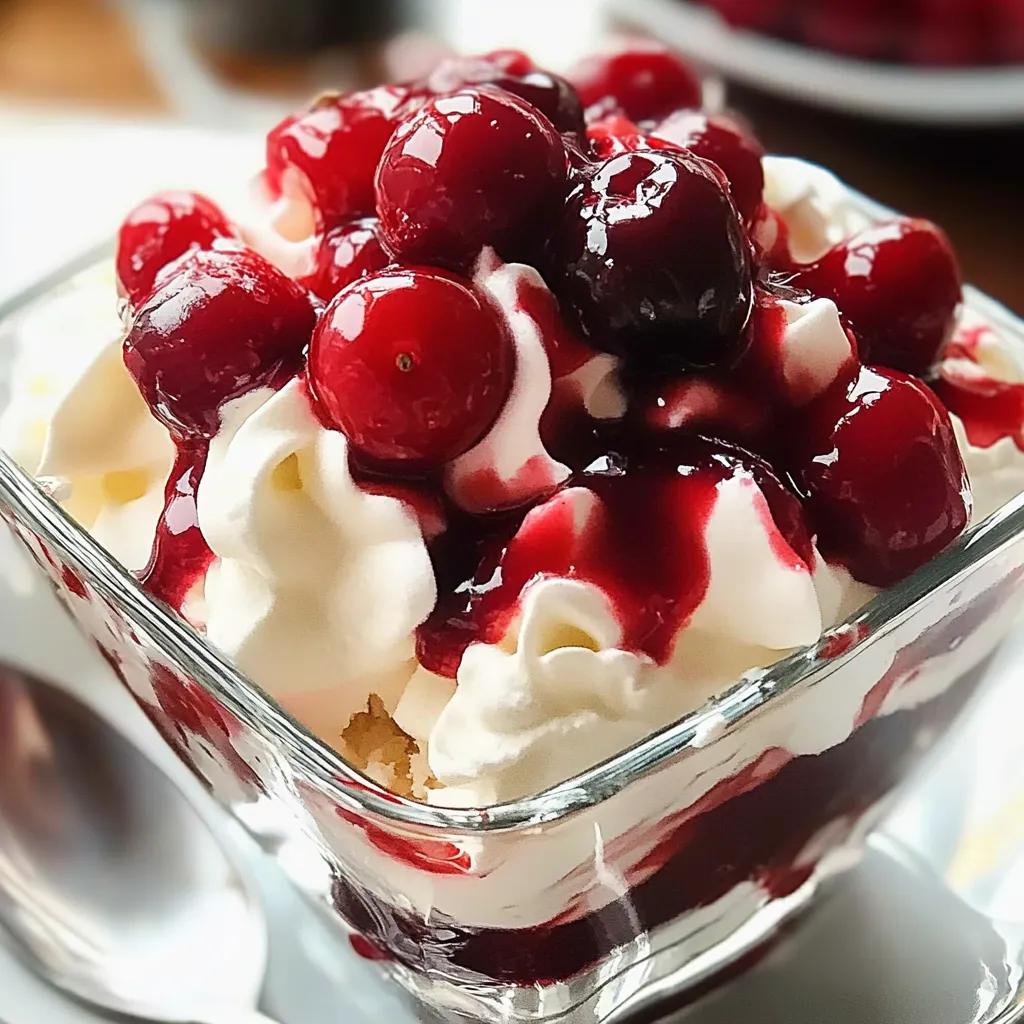
Present this ethereal dessert in a clear trifle dish to showcase its beautiful layers. For individual servings, create miniature versions in glass dessert cups or mason jars. A light dusting of shaved chocolate or a fresh mint leaf adds an elegant finishing touch without overwhelming the classic presentation.
Creative Variations
Transform this versatile dessert by experimenting with different fruit toppings like blueberry or strawberry pie filling. Add a layer of chocolate pudding between the cream cheese layers for a black forest inspired twist. Create a tropical version using crushed pineapple and coconut cream in the filling.
Storage Secrets
Keep your dessert fresh by storing it covered in the refrigerator for up to three days, though it rarely lasts that long. For make-ahead convenience, prepare up to 24 hours in advance, keeping it chilled until serving. Individual portions can be frozen for up to one month in airtight containers.
Through years of making this cherries in the snow dessert, I've discovered it's more than just a recipe – it's a conversation starter, a memory maker, and a tradition builder. Every time I serve it, I'm reminded of the joy that comes from sharing something both beautiful and delicious with the people I love.
Common Questions About Cooking
- → Can I make this ahead of time?
- Yes, make up to 24 hours ahead. It actually tastes better after chilling overnight.
- → Can I use fresh cherries?
- Stick with cherry pie filling - fresh cherries won't give you the same saucy texture.
- → What can I substitute for Cool Whip?
- Use 3 cups of freshly whipped cream with 2 tablespoons of sugar mixed in.
- → Can I freeze this dessert?
- Not recommended - the texture of the cream mixture changes when frozen and thawed.
- → How long will it keep?
- Stays fresh in the fridge for up to 3 days if covered well.