 Save
Save
In my cozy kitchen, Chicken Milanese is one of those recipes that brings back sweet memories of Sunday family dinners. The sound of that crispy coating as you slice into juicy chicken is simply pure magic. I've perfected this recipe over countless dinner parties and quiet family meals and trust me it never disappoints.
The Magic Behind My Recipe
Through my years of cooking and sharing recipes on my blog, this Chicken Milanese has won hearts at every table. The secret lies in that perfect golden crust hugging tender chicken inside. A squeeze of fresh lemon brightens everything up making this dish sing. It's my go-to recipe when I need something quick yet impressive enough for guests.
What's in My Shopping Cart
- Chicken: I always pick boneless chicken breasts and slice them thin myself. Your butcher can do this too just ask for scallopini style cuts.
- Eggs: Fresh eggs from my local farmers market make the best coating mixture. Two large ones whisked with sea salt and fresh pepper do the trick.
- Flour: Regular all-purpose flour works perfectly. About ¾ cup creates that essential first layer.
- Bread Crumbs: Italian seasoned ones are my favorite but sometimes I make my own with day-old bread. You'll need about a cup.
- Oil: A good quality vegetable oil about ¼ cup lets that coating turn beautifully golden.
- Lemon: Always keep fresh lemons on hand that final squeeze makes all the difference.
Kitchen Steps
- Getting Started
- First thing I do is turn my oven to 200°F. This keeps everything warm while I finish cooking each batch.
- Setting Up My Station
- I line up three shallow dishes one with beaten eggs seasoned just right next comes flour and finally those bread crumbs.
- The Breading Process
- Each piece of chicken gets a flour coating then an egg bath and finally a generous coating of bread crumbs. Pat them firmly they should stick nicely.
- Time to Cook
- Get your oil nice and hot in a big skillet. Cook each piece until golden about 3 minutes per side. I always check with my thermometer to make sure we hit 165°F inside.
- Keeping Everything Perfect
- As each batch finishes pop them in that warm oven on a baking sheet. This way everyone gets hot crispy chicken at dinner.
 Save
Save
My Kitchen Secrets
Here's something I learned after countless tries press those bread crumbs on really well before they hit the pan. Don't crowd your skillet give each piece plenty of space to get crispy. Thin chicken is the key to perfect results every time it cooks quickly and evenly.
Common Questions from My Readers
What about using panko? Go for it! Panko makes everything extra crunchy. Mix in some grated parmesan and it's absolutely divine.
Which oil works best? Any neutral oil with a high smoke point works beautifully. I switch between vegetable canola and light olive oil.
Need it gluten free? Simply swap in your favorite gluten free flour and bread crumbs. My celiac friends swear it tastes just as good.
Storing leftovers? Pop them in an airtight container they'll keep for 3 days. Reheat in a 350°F oven for about 10 minutes to bring back that crunch.
Perfect Pairings
In my house this chicken loves to snuggle up next to creamy mashed potatoes or a bright arugula salad. Sometimes I whip up a quick lemon butter sauce or warm some marinara. Pour a glass of crisp white wine or my homemade lemon iced tea and dinner is served.
Making It Look Beautiful
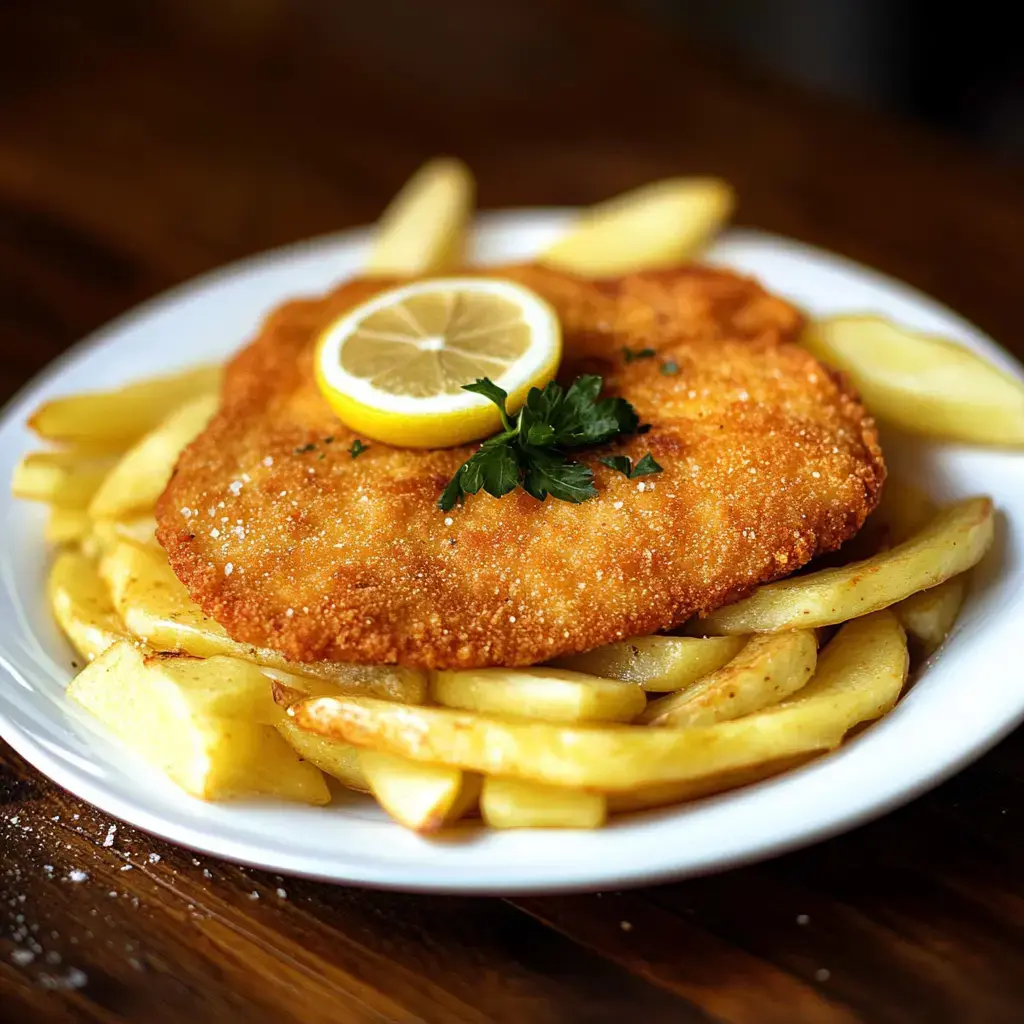
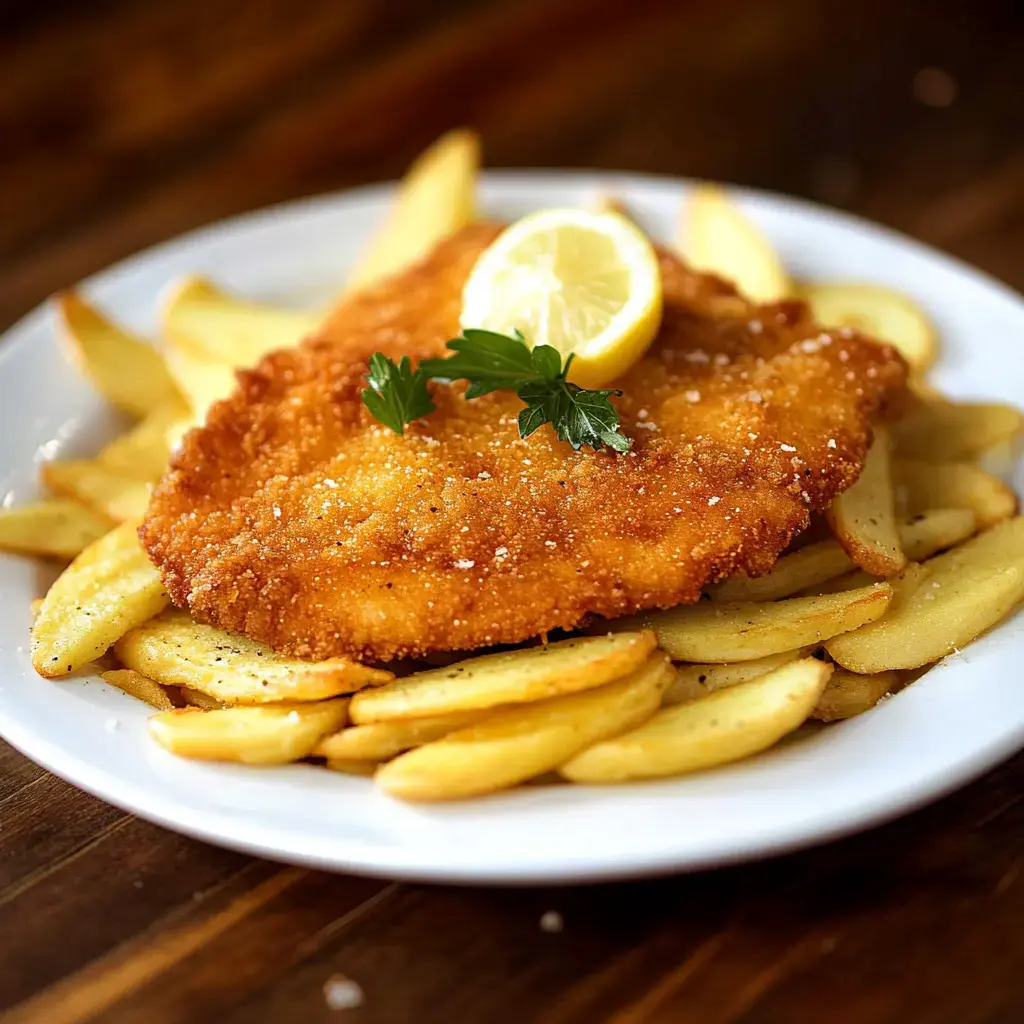
I love arranging these golden cutlets on my grandmother's old serving platter. A scatter of lemon wedges and fresh parsley makes everything pop. When I'm feeling fancy a shower of fresh parmesan or truffle shavings turns this comfort food into something really special.
Common Questions About Cooking
- → Why slice the chicken breast thinly?
Thin slices ensure quick, even cooking and help achieve the perfect crispy exterior without burning.
- → Why keep cooked pieces in the oven?
Keeping the cooked pieces warm in a low-temperature oven helps maintain crispiness while cooking remaining batches.
- → Can I prepare these ahead of time?
While best served fresh, you can bread the chicken several hours ahead and refrigerate until ready to cook.
- → Why use three separate dishes for coating?
The three-step breading process (flour, egg, breadcrumbs) ensures a crispy coating that adheres well to the chicken.
- → What oil is best for frying?
Vegetable oil is ideal for its neutral flavor and high smoke point. You can also use canola or peanut oil.
