
 Save
Save
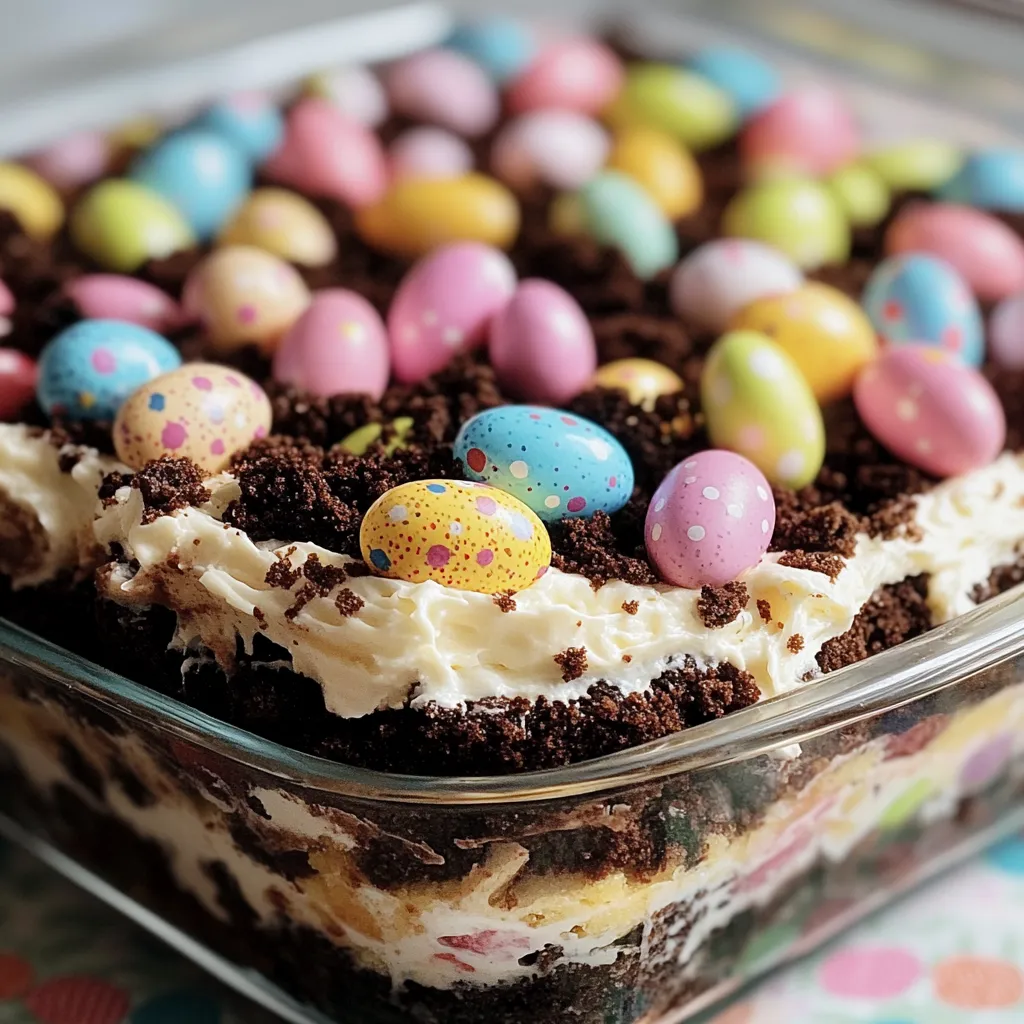
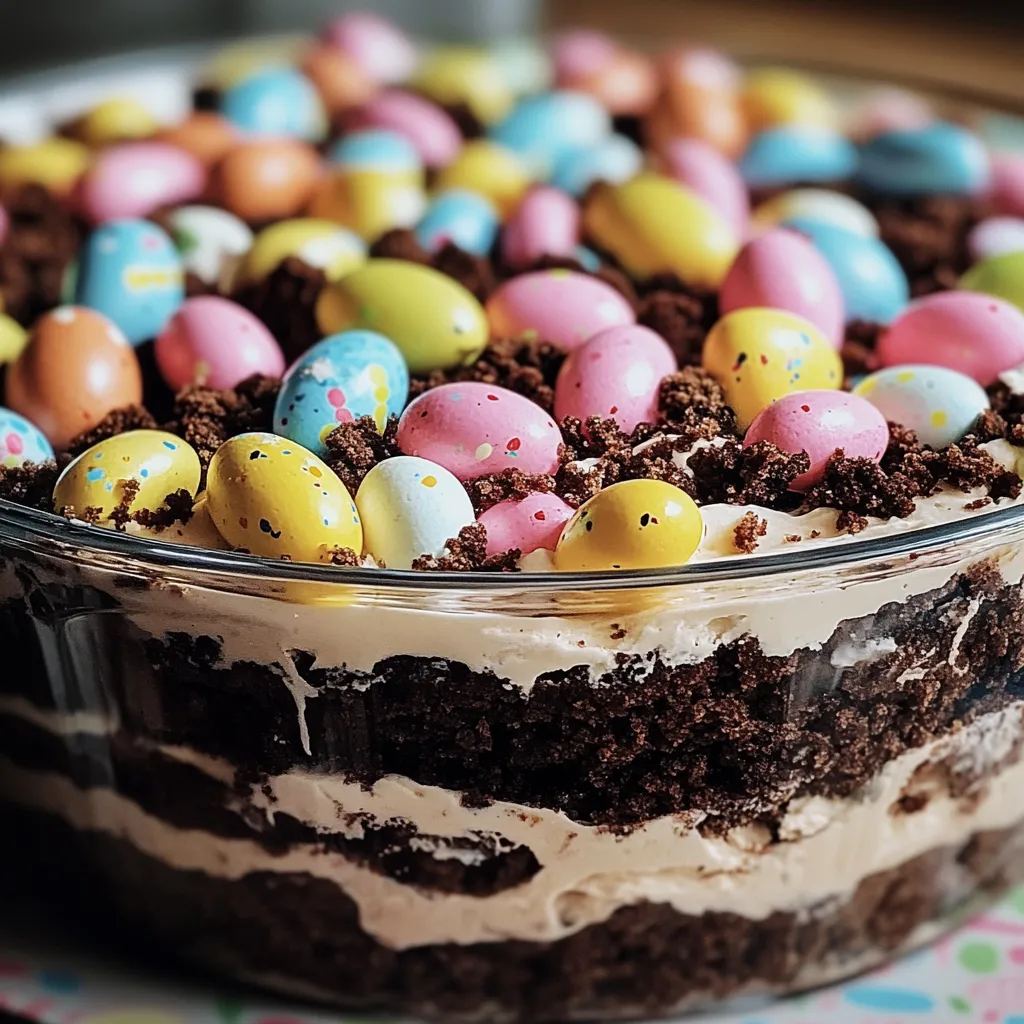
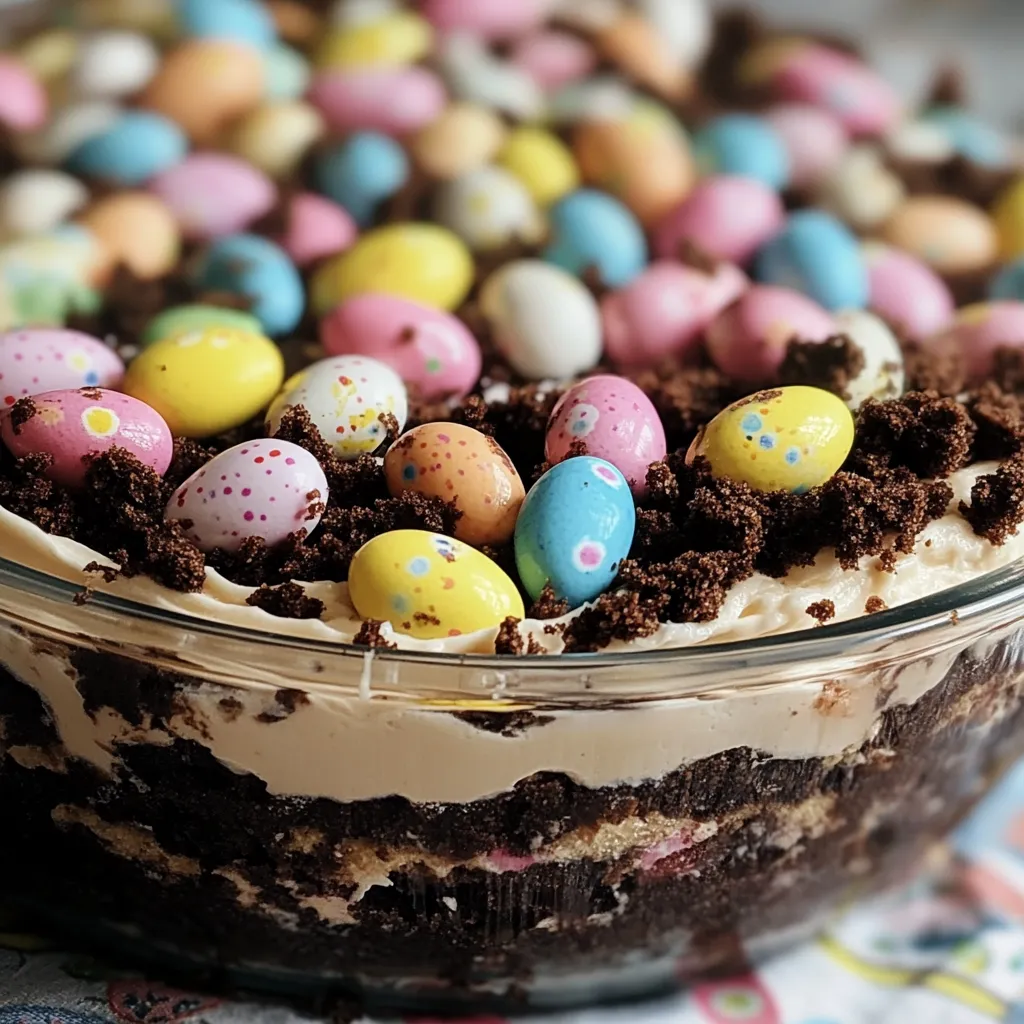
Easter dirt cake casserole transforms simple ingredients into a whimsical spring dessert that captivates both eyes and taste buds. Layers of velvety pudding mixture and chocolate cookie crumbs create the perfect canvas for a playful Easter scene complete with colorful candies and treats. This no-bake wonder delivers the ideal balance of creamy and crunchy textures in every spoonful, while its festive appearance makes it the centerpiece of any spring gathering. The beauty of this dessert lies in its simplicity – just a few minutes of assembly yields an impressive creation that looks like you spent hours in the kitchen.
I first made this dessert for my daughter's spring birthday party years ago, and the children's wide-eyed reactions when I brought it to the table made it instantly worth the effort. What surprised me most was how the adults hovered around it just as eagerly, sneaking spoonfuls long after the kids had moved on to playing. My brother, who typically avoids sweets, asked for the recipe after his third helping. Now it's a tradition in our family to see who can create the most creative Easter scene on top – last year my nephew won with a remarkably detailed Peeps parade complete with jelly bean spectators.
Sweet Foundations
- Chocolate sandwich cookies: Create both the "dirt" base and topping that gives the dessert its name; regular Oreos work perfectly, but chocolate cream varieties intensify the chocolate flavor
- Cream cheese: Provides tangy richness that balances the sweetness of other ingredients; full-fat versions yield the creamiest results, but reduced-fat works acceptably
- Instant vanilla pudding: Forms the base of the creamy filling with its velvety texture and subtle vanilla flavor; French vanilla pudding offers a more pronounced flavor profile
- Milk: Activates the pudding mix and creates the proper consistency; whole milk creates the richest result, but any percentage works well
- Whipped topping: Lightens the entire mixture with its airy texture; authentic whipped cream can substitute but won't maintain its structure as long as stabilized versions
- Powdered sugar: Sweetens the cream cheese base while dissolving completely without grittiness; sift before adding to ensure the smoothest texture
- Butter: Enriches the filling with subtle richness and helps solidify the mixture when chilled; unsalted varieties prevent any savory notes
- Easter candies: Create the playful decorative scene that makes this dessert special; choose colorful options with varying textures and shapes
- Shredded coconut: Transforms into realistic "grass" when colored; sweetened varieties hold color better than unsweetened
- Green food coloring: Creates the spring grass effect that brings the Easter scene to life; gel coloring provides more vibrant results than liquid types
Assembly Method
- Cookie preparation:
- Place approximately 24 chocolate sandwich cookies into a food processor fitted with the metal blade. Pulse several times, then process continuously until the cookies become fine crumbs resembling actual soil. Alternatively, place cookies in a heavy-duty zip-top bag and crush with a rolling pin, working in batches if necessary to achieve consistent texture. Reserve about ½ cup of these crumbs for the final topping.
- Cream cheese mixture:
- In a large mixing bowl, combine 8 ounces of softened cream cheese, ¼ cup softened butter, and 1 cup powdered sugar. Beat with an electric mixer on medium speed until completely smooth and fluffy, about 2-3 minutes, scraping down the sides of the bowl halfway through. The mixture should be pale and free of any lumps for the smoothest texture in the finished dessert.
- Pudding development:
- In a separate medium bowl, whisk together two 3.4-ounce packages of instant vanilla pudding mix with 3 cups cold milk. Whisk vigorously by hand for about 2 minutes until the mixture begins to thicken but remains pourable. It will continue to thicken upon standing, so move to the next step relatively quickly.
- Complete combination:
- Gently scrape the pudding mixture into the cream cheese mixture. Using a rubber spatula, fold them together with a light hand using a figure-eight motion until just combined. Next, add an 8-ounce container of whipped topping and continue folding gently until fully incorporated with no white streaks remaining, being careful not to deflate the mixture.
- Base layer:
- Select a clear glass 9×13-inch casserole dish to showcase the distinct layers. Evenly distribute about half of the cookie crumbs across the bottom of the dish, gently pressing them into an even layer. The dark crumbs against the clear glass immediately creates the "dirt" effect that gives this dessert its charm.
- Creamy center:
- Carefully spoon the cream cheese and pudding mixture over the cookie crumb base. Use an offset spatula to spread it into an even layer, making sure to reach the corners and edges of the dish. The smooth, level surface will serve as the "ground" for your Easter decorations.
- Dirt topping:
- Sprinkle the reserved cookie crumbs over portions of the cream layer, leaving some areas uncovered for "grassy" sections. This creates visual interest and allows for creating different areas in your Easter scene.
- Grass creation:
- If desired, place 1½ cups of shredded coconut in a zip-top bag with 6-8 drops of green food coloring. Seal the bag and massage it until the coconut is evenly tinted a spring green color. Sprinkle this "grass" over the designated areas of the casserole, creating small mounds and tufts for a more realistic effect.
- Easter decoration:
- Arrange your chosen Easter candies across the top of the dessert to create a festive scene. Position chocolate eggs partially buried in the "dirt," stand Peeps marshmallow chicks in the "grass," and scatter jelly beans as colorful accents throughout. Small chocolate bunnies, pastel-colored candies, or edible flowers can add extra charm to your display.
- Final setting:
- Cover the completed dessert carefully with plastic wrap, avoiding contact with the decorations. Refrigerate for at least 2 hours or up to overnight to allow the flavors to meld and the dessert to set properly. This chilling time is essential for achieving the perfect sliceable consistency.
I learned the importance of properly softened cream cheese the hard way when I once tried to rush this recipe for a last-minute gathering. The lumpy filling was a textural disappointment compared to the silky-smooth version I normally create. My grandmother taught me her trick of placing the wrapped cream cheese on a warm (not hot) mug of water for about 15 minutes to gently bring it to the perfect temperature without melting. When my children were younger, they loved helping arrange the candy decorations on top, and I discovered that giving each child their own section to design not only prevented squabbles but resulted in wonderfully creative scenes that became increasingly elaborate each year.
Festive Presentations
Holiday gatherings shine with thoughtful serving approaches for this playful dessert. Create an interactive dessert station by assembling the base layers in advance, then setting out various Easter candies and decorations for guests to personalize their own portions. Children particularly enjoy this hands-on approach while adults appreciate the nostalgic creativity. For a more sophisticated presentation, serve individual portions in clear glass trifle cups or mason jars, layering the components vertically for a striking visual effect. The single-serving approach allows for beautiful layering visible from all angles and eliminates messy serving at the table. When bringing this dessert to potlucks or family gatherings, transport it in a cooler with ice packs to maintain its ideal consistency, and consider adding the most delicate decorations just before serving to preserve their appearance.
Seasonal Adaptations
Creative variations keep this versatile dessert relevant throughout the year. Transform it into a summer garden party centerpiece by replacing Easter candies with fresh berries, edible flowers, and butterfly-shaped cookies arranged among the "grass" and "dirt." The fresh fruit adds brightness that complements the creamy filling beautifully. For Halloween celebrations, create a spooky graveyard scene using the same base recipe but decorating with cookie headstones, gummy worms, and candy pumpkins scattered throughout the crumbled cookie "soil." Black food coloring can be added to portions of the cookie crumbs for a more dramatic effect. Christmas adaptations feature crushed peppermint candies, mini candy canes, and chocolate Santa figures arranged in a winter wonderland, perhaps with coconut "snow" drifts replacing the green grass for a festive holiday version.
Freshness Maintenance
Proper storage techniques ensure this delightful dessert remains at its best. Cover the casserole dish with plastic wrap pressed gently against any exposed filling areas but tented over decorative elements to prevent smudging. Store in the refrigerator for up to three days, though the texture is most perfect within the first 48 hours before cookies begin softening significantly. For make-ahead convenience, prepare the base layers and refrigerate covered for up to two days, then add decorative elements shortly before serving. This approach maintains the ideal contrast between creamy filling and crunchy cookie elements. If serving outdoors, place the dish in a larger pan filled with ice to keep it properly chilled, and avoid exposure to direct sunlight which can melt both the filling and chocolate decorations.
After years of bringing this Easter dirt cake to family gatherings, I've discovered that its appeal transcends age barriers in the most delightful way. There's something about the combination of nostalgic flavors and playful presentation that bridges generations – grandparents reminiscing about childhood treats, parents enjoying the no-bake simplicity, and children captivated by the imaginative scene. What makes this dessert truly special isn't just its taste (though the creamy-crunchy texture contrast is undeniably delicious), but the conversations and shared smiles it inevitably creates. The moment when someone takes their first bite and their expression shifts from "this is so cute" to "this is actually amazing" never fails to bring me joy. In our family, it has evolved from just another holiday dessert to a cherished tradition that marks the arrival of spring with sweetness and creativity.
Common Questions About Cooking
- → Can I make this Easter Dirt Cake ahead of time?
- Yes! This dessert can be made up to 24 hours in advance. Just keep it refrigerated until ready to serve.
- → What can I use instead of Cool Whip?
- You can substitute homemade whipped cream (about 3 cups) stabilized with a little gelatin or whipped heavy cream with 2 tablespoons powdered sugar.
- → Is there a way to make this without coconut?
- Absolutely! You can skip the coconut 'grass' entirely, or use green-tinted white chocolate shavings or green sprinkles instead.
- → Can I use chocolate pudding instead of vanilla?
- Yes, chocolate pudding works great for a richer chocolate flavor that complements the cookie 'dirt' layers.
- → How should I store leftovers?
- Cover the dish with plastic wrap and refrigerate for up to 3 days. The texture of the cookies will soften over time but will still taste delicious.