 Save
Save
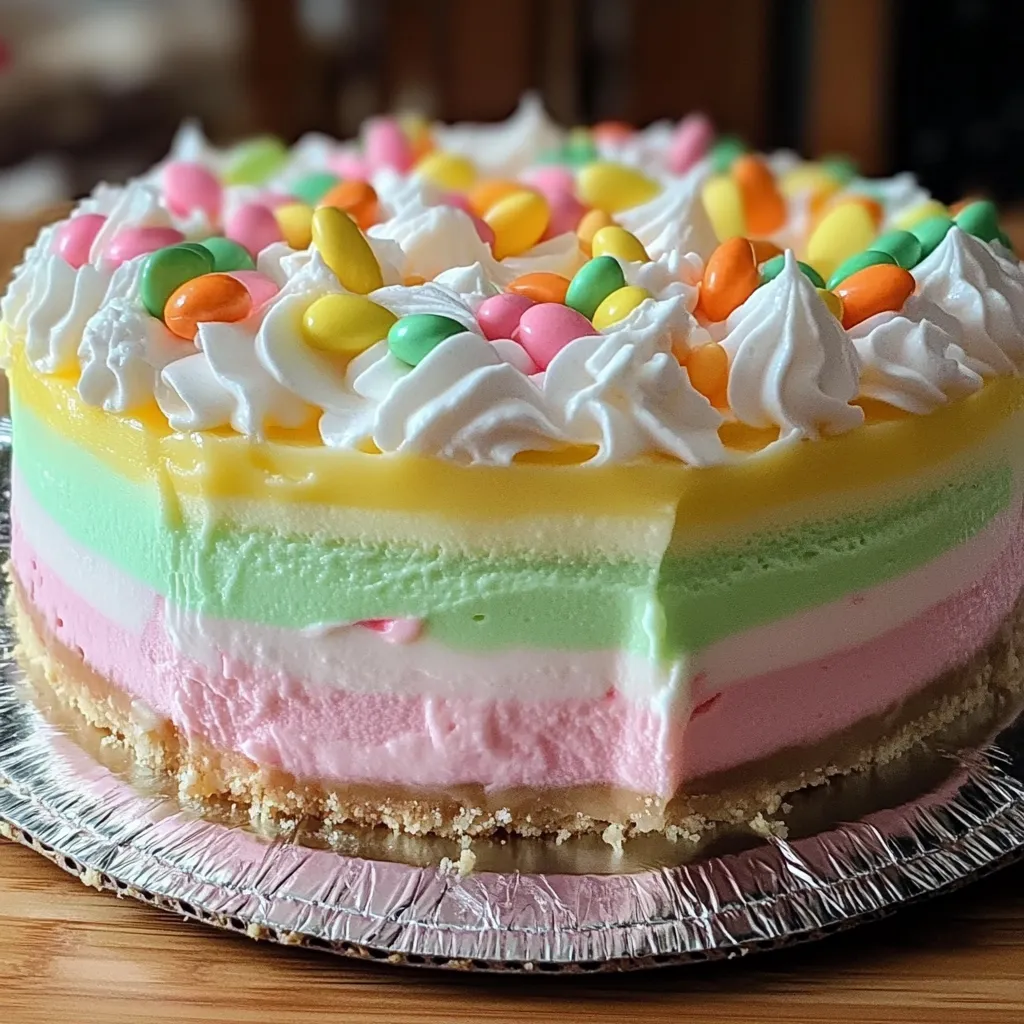
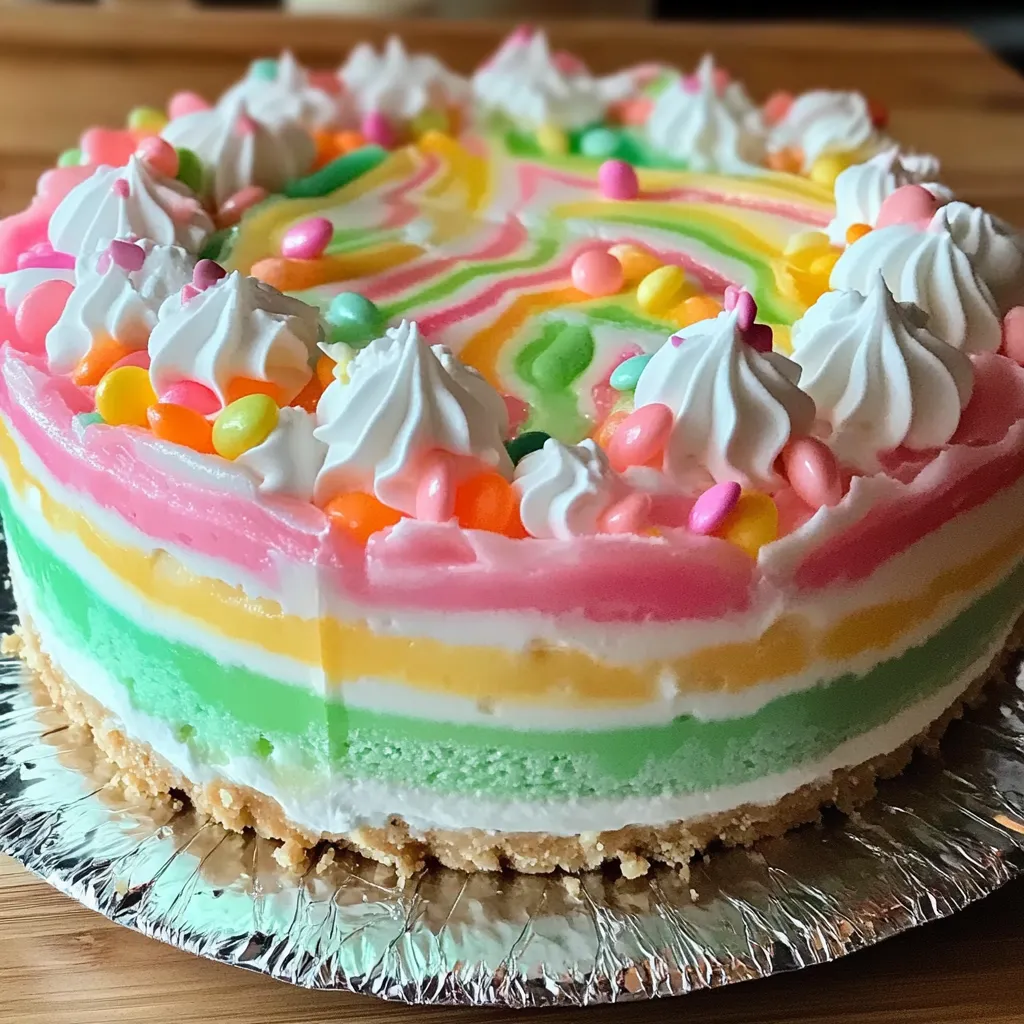
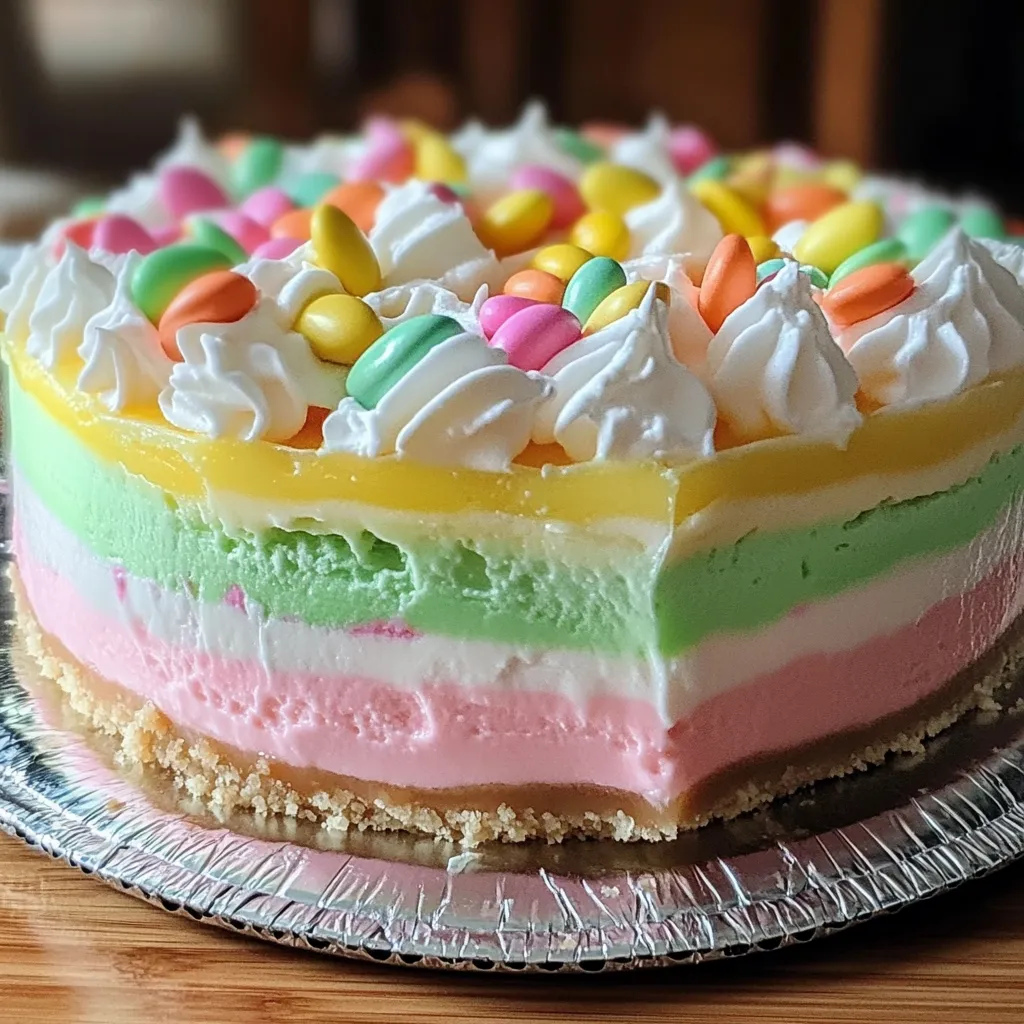
Easter jello pie delivers festive vibrancy and creamy sweetness in every slice without requiring any oven time. The combination of smooth cream cheese filling sandwiched between colorful jello layers creates an eye-catching dessert that brightens any spring celebration. This make-ahead treat provides delightful textural contrasts between the buttery graham cracker crust, silky cream cheese center, and bouncy jello top that will delight guests of all ages.
I brought this colorful creation to our family Easter gathering last year, and my usually dessert-indifferent nephew couldn't stop talking about the "rainbow pie." The simple joy on his face made all the layering worthwhile. Since then, I've adapted the colors for different holidays, but the Easter version remains our family favorite with its pastel perfection.
Perfect Pie Ingredients
- Graham cracker crust: Whether store-bought or homemade, this buttery, slightly sweet base provides the essential foundation with satisfying crunch against the softer layers above.
- Cream cheese: Select full-fat, brick-style cream cheese for proper consistency and rich flavor. Allow it to soften completely at room temperature for at least an hour before using.
- Granulated sugar: Fine sugar incorporates most evenly into the cream cheese layer, creating silky smoothness without grittiness.
- Vanilla extract: Pure extract rather than imitation delivers superior flavor. Its warmth enhances the cream cheese filling while complementing the fruit flavors.
- Jello powders: Choose complementary flavors and colors that reflect Easter's pastel palette. Strawberry, lemon, lime, and berry varieties work beautifully together.
- Boiling water: The temperature must be properly hot to fully dissolve jello crystals, ensuring smooth texture without graininess.
- Cold water: Properly chilling the jello mixture before assembly prevents it from melting through layers below.
- Whipped topping: Stabilized varieties hold their shape better for decoration than fresh whipped cream, though either works deliciously.
- Easter decorations: Mini chocolate eggs, pastel sprinkles, or jelly beans add festive finishing touches that transform this dessert into a celebration centerpiece.
Layer Creation Process
Bottom Jello Preparation
Empty one jello packet into a medium bowl and pour boiling water over it. Stir continuously until completely dissolved, ensuring no granules remain at bottom or sides. The hot water opens jello molecules, allowing them to later trap water during cooling.
First Layer Cooling
Add cold water to dissolved jello mixture and stir gently. This immediately begins the cooling process essential for proper setting. Pour half this mixture into prepared graham cracker crust, reserving remaining liquid for top layer.
Initial Setting Period
Place pie carefully in refrigerator, ensuring level placement to create even jello depth. Allow approximately 40 minutes chilling time until jello reaches semi-set stage where it's firm enough to support cream layer but still slightly tacky on surface.
Cream Filling Creation
Beat softened cream cheese until completely smooth with no lumps remaining. Gradually incorporate sugar while continuing to mix until light and fluffy. Fold in vanilla extract until evenly distributed throughout mixture.
Middle Layer Application
Remove partially set pie from refrigerator and gently spread cream cheese mixture in even layer over jello. Use offset spatula for smoothest application, spreading from center outward with light pressure to avoid disturbing jello beneath.
Secondary Chilling Phase
Return pie to refrigerator for additional 40 minutes until cream cheese layer firms enough to support final jello layer. This patience ensures distinct separation between colorful components rather than muddled blending.
Top Layer Construction
Prepare second jello flavor while cream cheese chills, following same dissolution process as first layer. Allow mixture to cool to room temperature before carefully pouring over cream cheese layer, using spoon back to break liquid's fall and prevent disturbing layers below.
Final Resting Period
Refrigerate completed pie minimum six hours, preferably overnight, allowing all components to fully set and flavors to meld beautifully. This extended chilling ensures clean slices that showcase distinct layers when serving.
 Save
Save
The secret to perfect jello layers comes from my grandmother, who taught me to watch for the "ripple test" before adding each new component. When you gently tap the refrigerator shelf and the jello wobbles slightly but doesn't splash, it's ready for the next layer. Her patience with this process always resulted in picture-perfect desserts that wowed everyone at family gatherings.
Creating multi-colored variations expands this recipe's versatility beyond Easter. Red and blue layers make patriotic summer desserts, while orange and black create Halloween treats. My daughter requested rainbow layers for her birthday, which required carefully timing six different colors but resulted in her declaring it "the best cake that's not really cake ever."
Understanding temperature management creates successful outcomes. Jello needs proper cooling before being added to previous layers, but waiting too long causes setting that prevents smooth pouring. Similarly, cream cheese must be room temperature to prevent lumps but not so warm that it melts into jello layers. Mastering these temperature balances ensures perfect layers.
Festive Presentations
This colorful creation shines as the centerpiece of any Easter dessert table. Place it on a slightly elevated cake stand surrounded by fresh spring flowers or small chocolate bunnies for maximum impact. The height difference draws attention while surrounding elements enhance the seasonal theme.
For individual servings, prepare this recipe in clear glass cups or small mason jars. The transparent containers showcase beautiful layers while providing perfect portions for buffet-style serving. Top each with a small Easter candy or chocolate egg for personalized presentation.
Create a dessert grazing table featuring this jello pie alongside complementary treats like pastel macarons, sugar cookies, and fresh berries. The variety of textures and flavors offers options for every guest while maintaining the cohesive spring color palette throughout the display.
Creative Variations
Transform this recipe into a tropical escape by using pineapple and coconut cream jello flavors. Add shredded coconut to the crust and garnish with small chunks of fresh pineapple for a vacation-inspired variation that works beautifully for spring and summer gatherings.
Create an elegant grown-up version by incorporating sparkling wine into the jello layers. Replace half the cold water with chilled prosecco or champagne, allowing it to lose some carbonation before adding. The subtle sophistication elevates this nostalgic dessert for adult gatherings.
Accommodate dietary needs by using sugar-free jello varieties and reduced-fat cream cheese. While texture differs slightly, the visual impact remains impressive while making this treat accessible to more guests. Dairy-free cream cheese alternatives also work with minimal adjustment to setting times.
Storage Success
Keep this dessert refrigerated until shortly before serving time. The ideal temperature maintains proper jello consistency while preventing cream cheese from becoming too soft. Remove from refrigeration no more than 15 minutes before slicing for cleanest results.
Cover leftovers carefully with plastic wrap pressed gently against exposed surfaces to prevent condensation from dripping onto jello layers. Properly stored, this dessert maintains quality for up to three days, though the graham cracker crust gradually softens with extended refrigeration.
Freeze individual slices for longer storage by placing completely set portions on a baking sheet until solid, then wrapping tightly in plastic wrap and foil. Thaw overnight in refrigerator for best texture restoration, though some separation may occur with previously frozen portions.
The simple joy of creating this colorful dessert transcends its straightforward preparation. There's something magical about watching children's eyes widen when they first glimpse those vibrant layers, promising both visual delight and sweet satisfaction. While more complex desserts might showcase technical skill, this humble jello pie delivers pure happiness with minimal effort. The tradition of making this each Easter connects our family across generations, from my grandmother's careful instructions to my daughter now learning to create her own layered masterpiece. I encourage you to start your own tradition with this versatile recipe that brings spring's cheerful colors to your table.
 Save
Save
Common Questions About Cooking
- → Can I use different jello flavors?
- Absolutely! Feel free to use whatever colors and flavors you prefer. For Easter, pastel colors like berry blue, lime, lemon, and strawberry work beautifully. You can even create an ombre effect with similar colors.
- → How far in advance can I make this pie?
- You can make this pie up to 2 days ahead of time. Keep it covered in the refrigerator, but add the whipped topping and decorations just before serving for the freshest presentation.
- → Can I use homemade whipped cream instead of whipped topping?
- Yes! Freshly whipped cream works great. Just beat 1 cup heavy cream with 2 tablespoons sugar and 1/2 teaspoon vanilla until stiff peaks form. Keep in mind it won't stay firm as long as store-bought whipped topping.
- → My jello layers didn't set properly. What went wrong?
- Make sure you're allowing enough chilling time between layers (at least 30-45 minutes per layer). Also, ensure you're using the correct ratio of boiling to cold water, and that each layer is slightly set before adding the next.
- → What candies work best for decorating?
- Small, lightweight candies work best, like pastel M&Ms, mini chocolate eggs, jelly beans, or sprinkles. Avoid heavy candies that might sink into the whipped topping. You can also use fresh berries for a lighter option.
