
 Save
Save
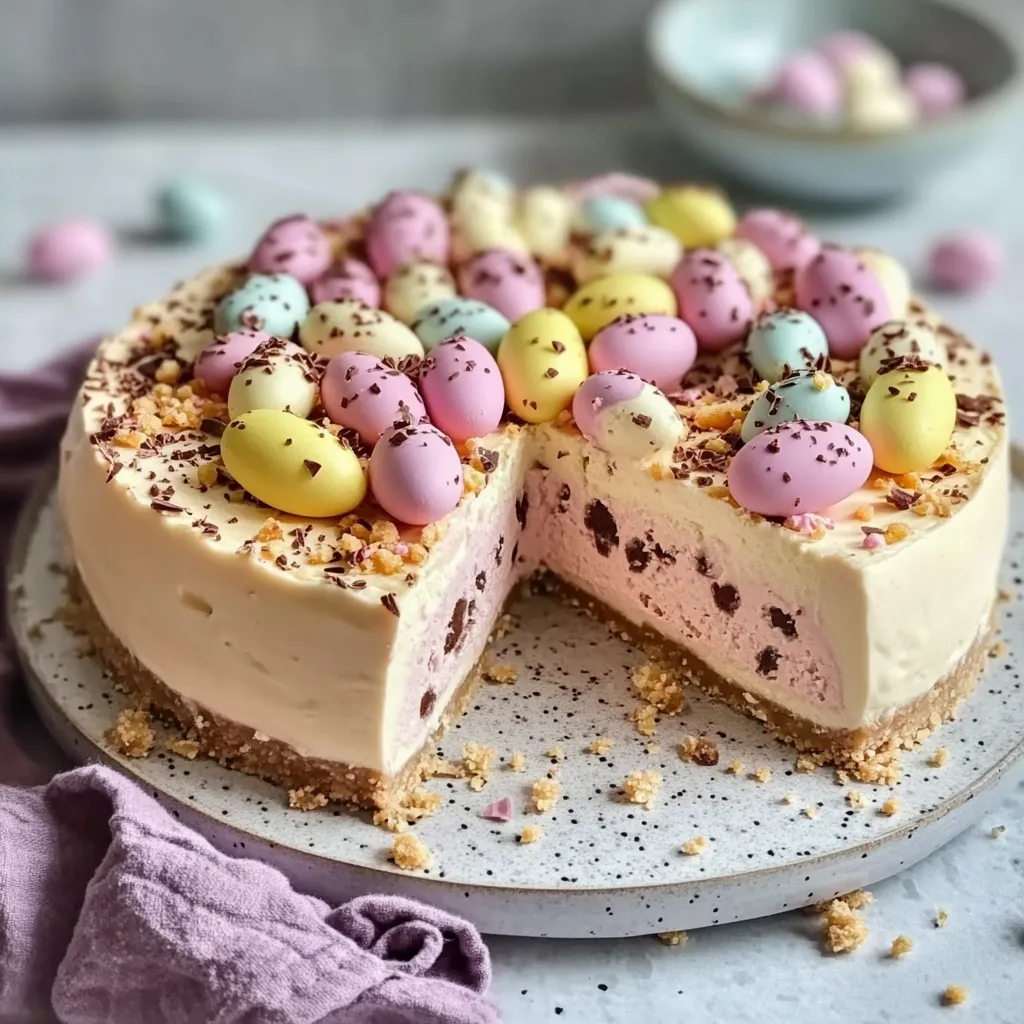
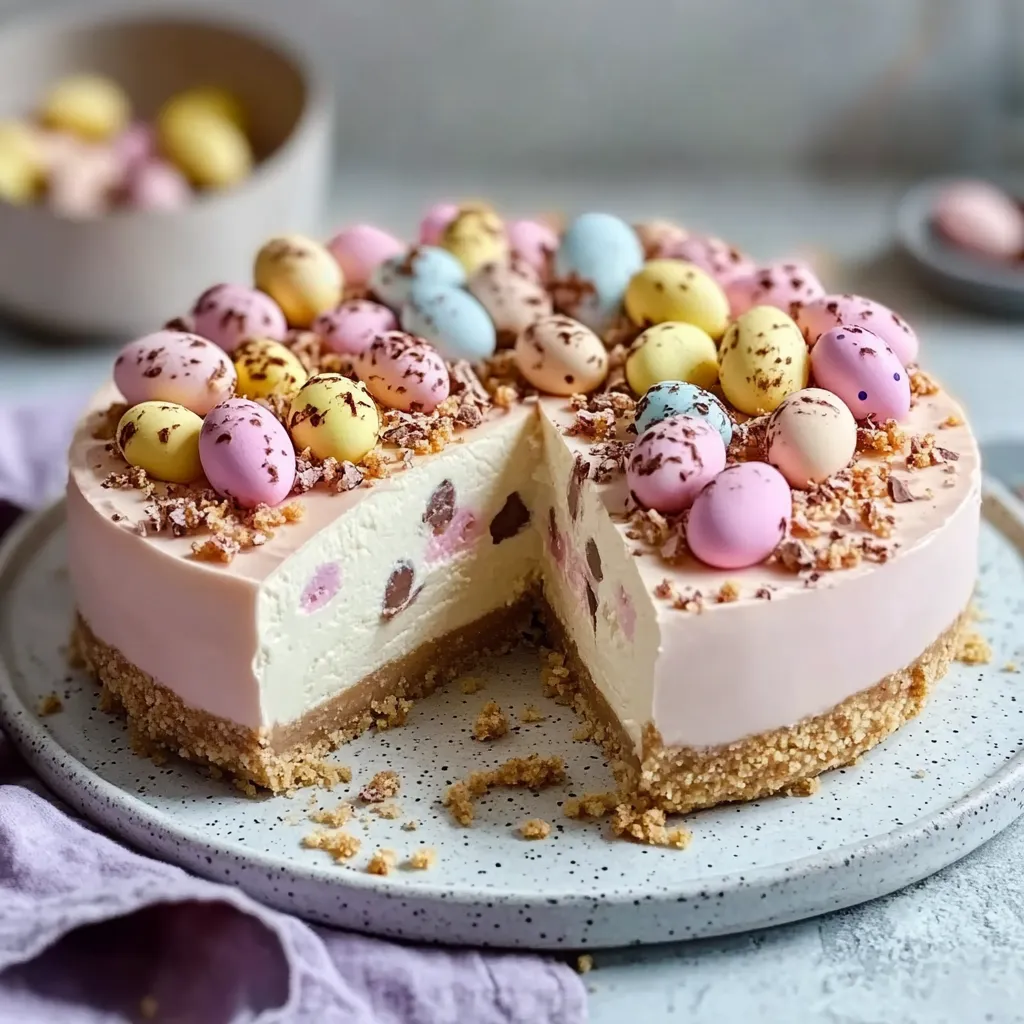
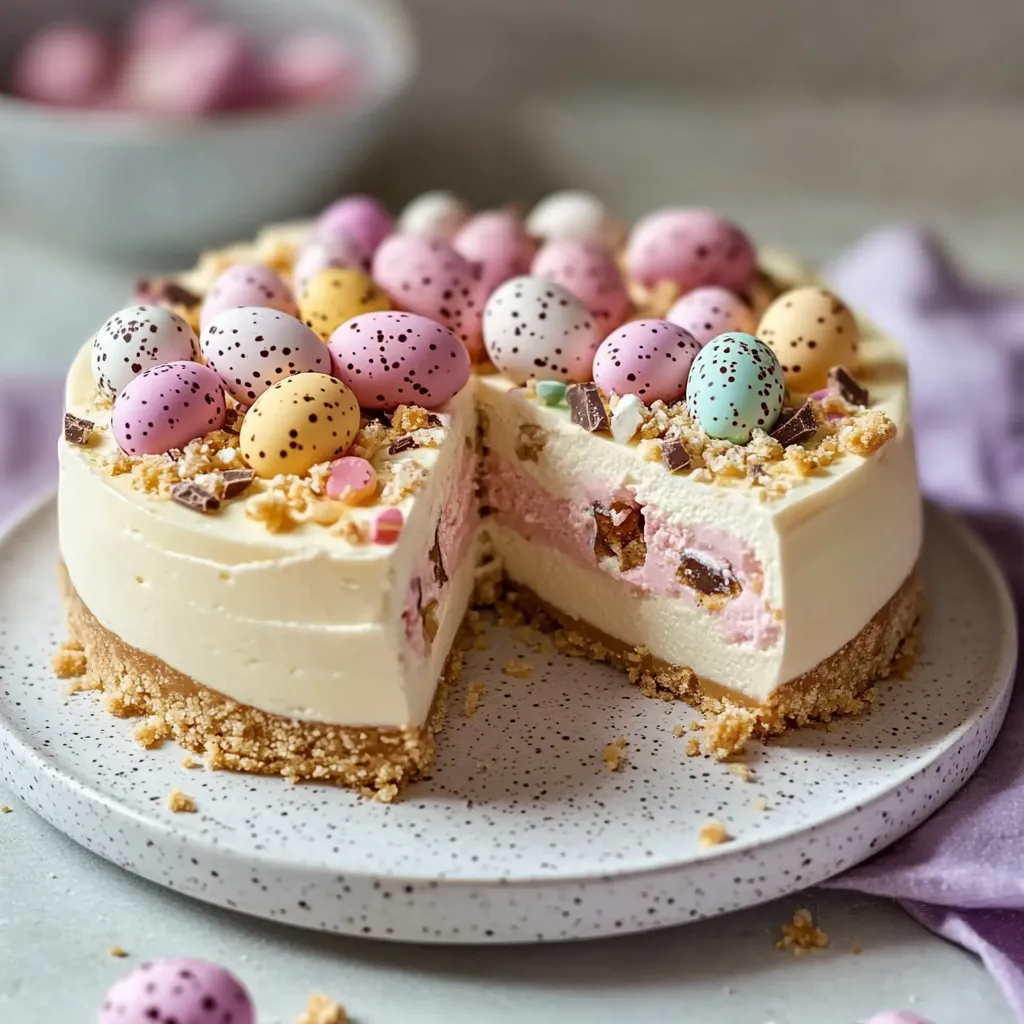
Easter no-bake mini egg cheesecake delivers pure springtime indulgence without ever turning on your oven. The buttery biscuit base provides the perfect foundation for a luxuriously smooth cream cheese filling studded with colorful Cadbury mini eggs. Each slice reveals beautiful pastel chocolate pieces suspended throughout the creamy vanilla layers, creating both visual delight and textural contrast that transforms an ordinary cheesecake into a festive Easter masterpiece worth celebrating.
I discovered this recipe while seeking a showstopping Easter dessert that wouldn't compete for precious oven space with our traditional holiday lamb. The moment I served it, conversation around the table stopped as everyone savored their first bites. My nephew, who typically avoids most desserts, requested a second slice before finishing his first. Even my mother-in-law—a notoriously critical baker—asked for the recipe, which might be the highest compliment this cheesecake could receive.
Perfect Ingredients
- Digestive Biscuits: Create the ideal buttery foundation with subtle sweetness. Their distinct wheat flavor complements the creamy filling better than plain graham crackers
- Philadelphia Cream Cheese: Provides the signature tangy richness essential to authentic cheesecake flavor. Full-fat versions deliver superior stability and texture compared to reduced-fat alternatives
- Double Cream: Transforms the dense cream cheese into a cloud-like consistency. Whipping it separately before folding ensures proper aeration for that perfect mousse-like texture
- Vanilla Bean Paste: Introduces aromatic complexity with visible flecks of real vanilla. The concentrated flavor infuses every bite with warm, fragrant notes no extract can match
- Powdered Sugar: Sweetens while dissolving completely into the filling. Its fine texture prevents grittiness that might disrupt the cheesecake's silky mouthfeel
- Mini Eggs: Contribute both festive appearance and textural contrast. Their thin candy shells and milk chocolate centers create delightful pops of sweetness throughout the filling
- Fine Salt: Enhances all other flavors without making the cheesecake taste salty. Just a small amount amplifies the vanilla and balances the sweetness perfectly
Cheesecake Creation
- Perfect Base Preparation:
- Begin by lining a 9-inch springform pan with parchment paper, creating an overhang for easy removal later. Process digestive biscuits to fine crumbs, maintaining some texture rather than reducing to powder. Mix thoroughly with melted butter until resembling wet sand, then press firmly into the pan using the flat bottom of a measuring cup. Create an even layer with a slight rim up the sides for structural integrity.
- Cream Cheese Preparation:
- Ensure cream cheese reaches complete room temperature before beating, which prevents lumps in the final filling. Beat until completely smooth and slightly fluffy using an electric mixer, scraping down the bowl frequently. This initial preparation is crucial for achieving that signature silky cheesecake texture throughout.
- Whipped Cream Perfection:
- In a separate bowl, whip cold double cream until it holds stiff peaks that maintain their shape when the beater is lifted. The cream should be voluminous but not overwhipped to the point of becoming grainy or butter-like. Proper whipping incorporates air that creates the perfect no-bake texture.
- Careful Sweetening:
- Add powdered sugar, vanilla bean paste, and salt to the beaten cream cheese, mixing until just combined. Taste and adjust sweetness if needed, remembering that the mini eggs will add additional sweetness to the finished cheesecake.
- Gentle Folding Technique:
- Using a large rubber spatula, fold the whipped cream into the cream cheese mixture with a light hand. Cut through the center, sweep along the bottom, and fold over the top in a J-motion rather than stirring, which would deflate the air bubbles. Continue until no white streaks remain but avoid overmixing.
- Mini Egg Integration:
- Gently crush mini eggs in a sealed plastic bag using a rolling pin, creating various sized pieces ranging from coarse crumbs to quarter pieces. Fold three-quarters of the crushed eggs into the filling mixture, reserving the remainder for topping. The varied sizes create interesting texture throughout each slice.
- Proper Assembly:
- Pour the filling onto the chilled biscuit base, using an offset spatula to create a smooth, level surface. Tap the pan gently against the counter a few times to release any large air bubbles that might create holes in the finished cheesecake.
- Essential Chilling:
- Cover loosely with plastic wrap and refrigerate for at least 6 hours, preferably overnight. This extended chilling period allows the filling to set properly and the flavors to develop fully. Patience during this step ensures perfect sliceability and texture.
My grandmother always emphasized that cheesecake requires patience above all else. When I first attempted this recipe, I rushed the chilling time and ended up with a slightly too-soft center. The next time, I followed her wisdom and allowed a full overnight rest in the refrigerator. The difference was remarkable—perfect texture, clean slices, and significantly enhanced flavor as the ingredients had time to harmonize. Sometimes the most important ingredient truly is time.
Stunning Presentation
This showstopping dessert deserves thoughtful presentation to maximize its visual impact. Release the cheesecake from the springform pan only after complete chilling, using the parchment overhang to transfer it carefully to a serving platter. Arrange whole and halved mini eggs decoratively around the top edge, creating a festive Easter nest appearance. For special occasions, dust the outer edge with a little powdered sugar 'snow' and add chocolate curls created by running a vegetable peeler along a chocolate bar. Serve slices on chilled plates with fresh berries for color contrast.
Creative Variations
Transform this adaptable recipe by experimenting with different flavor combinations and presentations. Create a chocolate version by adding 100g melted dark chocolate to the cream cheese mixture before folding in the whipped cream. Lemon lovers can incorporate the zest of two lemons and 2 tablespoons of juice for bright citrus notes. For individual servings, prepare in glass jars or ramekins for elegant portion control. White chocolate enthusiasts might appreciate 100g of melted white chocolate in the filling with raspberries added alongside the mini eggs for a striking color contrast.
Storage Strategy
Maintain optimal texture and flavor by following proper storage techniques. Keep the cheesecake covered in the refrigerator for up to 4 days, though the mini eggs may soften slightly over time. For longer storage, freeze individual slices wrapped in plastic wrap followed by foil for up to one month. Thaw frozen slices overnight in the refrigerator for the best texture restoration. If preparing for an event, the cheesecake can be made up to two days in advance and kept refrigerated until serving time.
This Easter no-bake mini egg cheesecake exemplifies how thoughtfully combined simple ingredients can create something truly spectacular. The contrast between smooth, creamy filling and crunchy chocolate pieces creates an irresistible textural experience, while the familiar flavors of vanilla cheesecake and beloved Easter candy create a dessert that feels both sophisticated and nostalgic. Whether concluding a formal Easter dinner or brightening a casual spring gathering, this impressive yet accessible creation delivers joy in every colorful slice.
Common Questions About Cooking
- → Can I make this cheesecake ahead of time?
- Yes! This is a perfect make-ahead dessert. You can prepare it 1-2 days before serving and keep it refrigerated. The flavor actually improves as it chills.
- → What can I use instead of Mini Eggs?
- You can substitute with other Easter candies like chocolate eggs, M&Ms, or even chopped chocolate bars. For a non-Easter version, try crushed Oreos, toffee pieces, or cookie chunks.
- → Can I freeze this cheesecake?
- Yes, this cheesecake freezes well for up to a month. Wrap it tightly in plastic wrap and foil before freezing, then thaw overnight in the refrigerator before serving.
- → Why isn't my cheesecake setting properly?
- This could be due to not whipping the cream to stiff peaks, using low-fat cream cheese, or not allowing enough chilling time. Make sure to use full-fat ingredients and chill for at least 6 hours.
- → Can I make this in individual portions?
- Absolutely! Use a muffin tin lined with paper liners to make mini cheesecakes. Reduce the chilling time to about 4 hours for smaller portions.