
 Save
Save
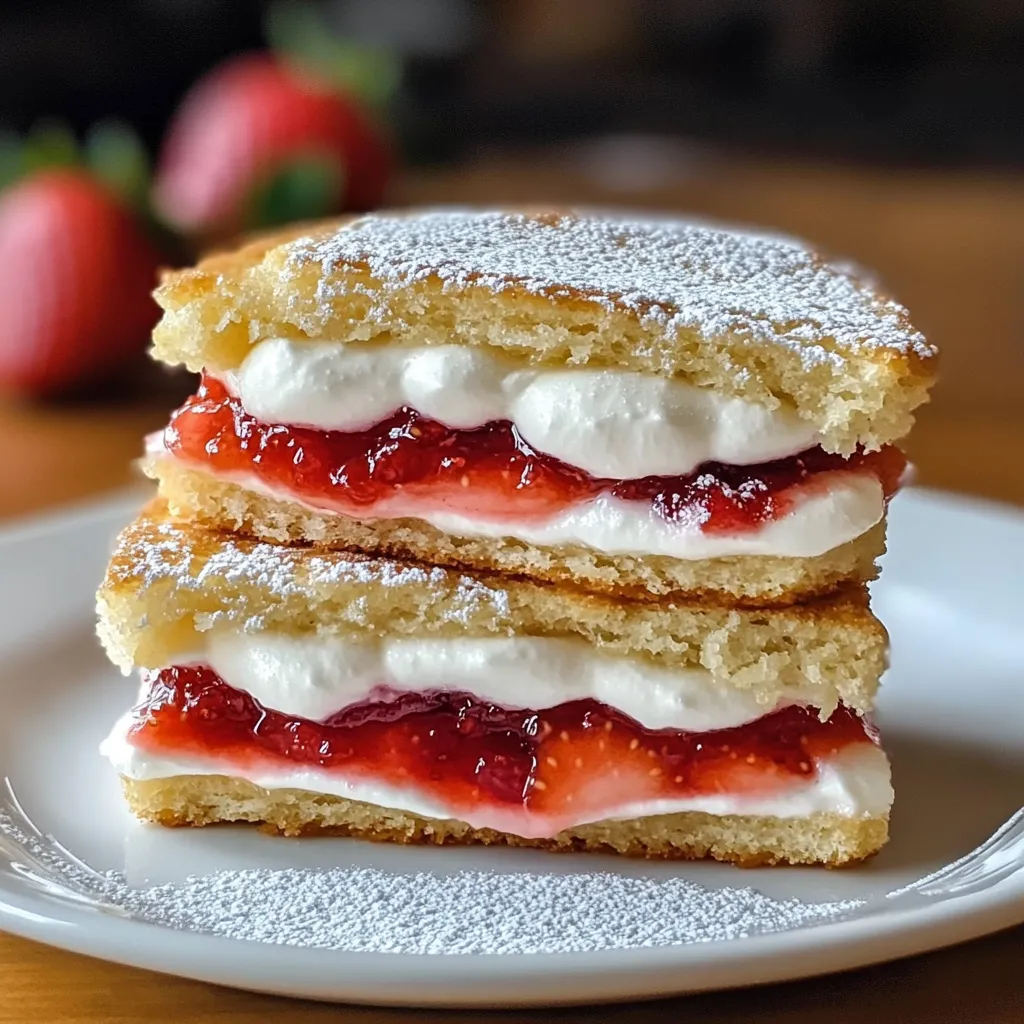
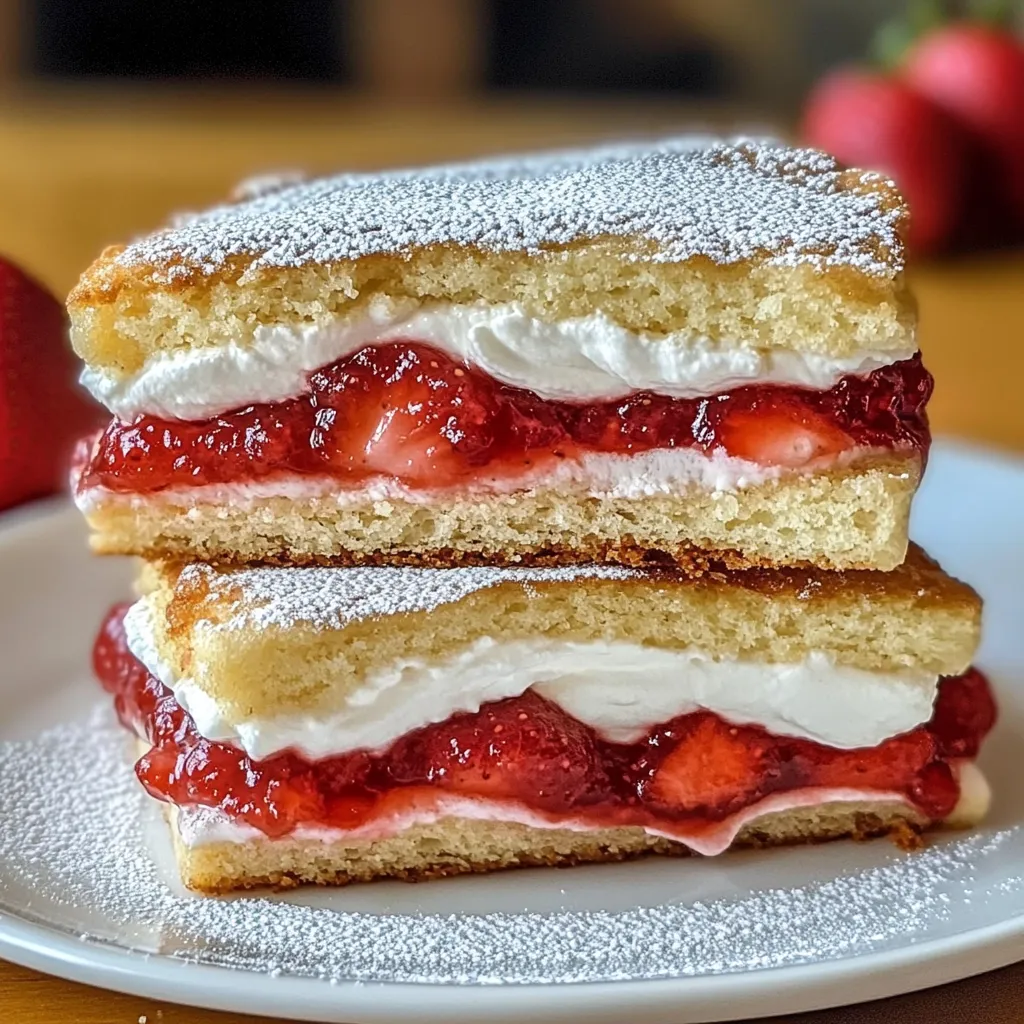
Golden, buttery bread encases a luscious filling of sweetened cream cheese and juicy strawberries in these indulgent sandwiches that transform breakfast into a celebration-worthy treat. Each bite delivers the perfect contrast between crispy exterior and creamy, fruity interior, creating a delightful symphony of textures and flavors reminiscent of strawberry cheesecake. The finishing touch of powdered sugar adds just the right sweetness and visual appeal, making these sandwiches as beautiful as they are delicious for special morning gatherings or an unexpected dessert option.
The first time I made these sandwiches was for a lazy weekend brunch when I wanted something special but didn't have the energy for anything complicated. I had some leftover cream cheese and strawberries in the fridge, and inspiration struck. My usually reserved husband took one bite and closed his eyes in pure bliss. "It's like having cheesecake for breakfast, but better," he mumbled through a full mouth. Now they've become our tradition for celebrating special mornings – birthdays, anniversaries, or just because we deserve a little indulgence. There's something magical about that first bite when the crispy exterior gives way to creamy, strawberry-studded filling.
Sweet Foundations
- Brioche bread - The perfect canvas for these sandwiches with its subtle sweetness and rich, buttery flavor; thick-cut slices provide structure for the filling
- Cream cheese - Creates the velvety, tangy base reminiscent of cheesecake filling; full-fat varieties provide the creamiest, most indulgent texture
- Fresh strawberries - Bring bright, juicy pops of flavor and beautiful color; ripe berries provide the perfect natural sweetness
- Strawberry jam - Intensifies the berry flavor while adding sweetness that melts into the bread; seedless varieties create the smoothest texture
- Powdered sugar - Both sweetens the filling and provides that beautiful finishing dust that makes these sandwiches look as special as they taste
- Real butter - Essential for creating that golden, crispy exterior that shatters perfectly with each bite
- Free-range eggs - Create the rich custard coating that transforms ordinary bread into something extraordinary when fried
Blissful Creation
- Prepare the filling
- Begin by softening 8 ounces of cream cheese to room temperature for easy spreading. In a medium bowl, combine the softened cream cheese with 2 tablespoons of powdered sugar and whisk until smooth and fluffy. The cream cheese should be completely lump-free for the best texture, so take your time with this step. If desired, add a half teaspoon of vanilla extract for additional depth of flavor. This filling creates the "cheesecake" element that makes these sandwiches so special.
- Assemble with care
- Select 8 thick slices of brioche bread and lay them out on your work surface. Spread the cream cheese mixture generously on one side of four slices, leaving a half-inch border around the edges to prevent overflow during cooking. Arrange thinly sliced fresh strawberries (about 1 cup total) over the cream cheese layer, then spoon a tablespoon of strawberry jam over the berries on each sandwich. Top with the remaining bread slices and press the edges gently to seal, creating four complete sandwiches.
- Create the custard coating
- In a shallow dish, whisk together 2 large eggs and 2 tablespoons of milk until completely blended. This mixture will create the French toast-like exterior that makes these sandwiches so delightful. The egg mixture should be smooth and homogeneous to ensure even coating. One by one, dip each assembled sandwich into the egg mixture, allowing each side to soak for about 10 seconds. The bread should absorb some of the egg mixture but not become soggy.
- Achieve golden perfection
- Heat a large skillet or griddle over medium heat and add 2 tablespoons of butter, allowing it to melt and begin to bubble slightly. Place the egg-dipped sandwiches into the hot butter, being careful not to overcrowd the pan. Cook for approximately 3 minutes on each side until golden brown and crispy, adjusting the heat as needed to prevent burning. The ideal sandwich has a uniform golden color and crisp texture on the outside while the filling becomes warm and melty inside.
- Finish with flair
- Transfer the fried sandwiches to a cutting board and let them rest for one minute. This brief rest allows the filling to set slightly for cleaner slicing. Cut each sandwich diagonally with a sharp knife and arrange on serving plates. Dust generously with powdered sugar just before serving – this not only adds sweetness but creates that bakery-worthy presentation that makes these sandwiches feel special. For an extra touch of indulgence, serve with additional fresh strawberries on the side.
My grandmother taught me the importance of patience when making any fried bread treat. The first time I attempted these sandwiches, I cranked the heat to high, hoping to speed up the process. The result was a burnt exterior and cold filling – a disappointing mess. "The pan should be hot enough to hear a sizzle, but not so hot it scares you," she advised during my next attempt. That golden rule of medium heat has served me well ever since, resulting in perfectly crisp exteriors that take just long enough to develop while the filling warms to melty perfection inside.
Perfect Pairings
These indulgent sandwiches welcome thoughtfully chosen accompaniments that complement their rich flavors. Serve alongside a dollop of lightly sweetened whipped cream for an extra touch of luxury, perfect for dessert presentations. A drizzle of maple syrup creates a delightful breakfast version that bridges the gap between French toast and cheesecake. For a refreshing contrast, offer a side of additional fresh berries or a simple fruit salad dressed with a touch of honey and mint. When serving as a dessert, a scoop of vanilla ice cream transforms these sandwiches into a complete dessert experience reminiscent of a deconstructed cheesecake à la mode.
Creative Variations
The basic recipe welcomes thoughtful adaptations to suit different tastes and occasions. Create a mixed berry version by incorporating blueberries, raspberries, or blackberries alongside or instead of strawberries. For a more decadent twist, add a thin layer of Nutella before the strawberries for a chocolate-covered strawberry effect. Those who enjoy contrasting flavors might appreciate a sprinkle of lemon zest in the cream cheese mixture, brightening the overall flavor profile. For special occasions, consider using cookie cutters to create shaped sandwiches before dipping and frying—perfect for holidays or children's parties. The banana foster variation replaces strawberries with sliced bananas and adds a sprinkle of cinnamon to the filling for a warm, caramelized flavor profile.
Storage Wisdom
While these sandwiches are best enjoyed immediately after cooking when the contrast between crispy exterior and warm, creamy filling is at its peak, proper storage allows you to prepare components ahead of time. The cream cheese filling can be made up to two days in advance and stored in an airtight container in the refrigerator. If you need to store assembled but not yet fried sandwiches, wrap each tightly in plastic wrap and refrigerate for up to 4 hours before dipping and frying. Fully cooked sandwiches can be refrigerated for up to 24 hours and reheated in a 350°F oven for 5-7 minutes to recrisp the exterior, though the texture will not be quite as perfect as freshly made.
These Fried Strawberry Cheesecake Sandwiches represent the perfect balance between familiar comfort and unexpected indulgence. They prove that with just a few simple ingredients and techniques, you can transform everyday components into something truly special. Whether served as an impressive brunch centerpiece or a creative dessert alternative, these sandwiches bring a touch of celebration to any table, creating memories with every crispy, creamy, berry-filled bite.
Common Questions About Cooking
- → Can I use other fruits instead of strawberries?
- Absolutely! This recipe works wonderfully with other berries like blueberries, raspberries, or blackberries. You could also try sliced bananas, peaches, or even thinly sliced apples (though you may want to sauté apple slices briefly first to soften them). Just be sure to pair the fruit with a complementary jam flavor.
- → Can I make these ahead of time?
- While these sandwiches are best enjoyed fresh and warm, you can prepare the components ahead of time. Mix the cream cheese filling and slice the strawberries in advance, storing them separately in the refrigerator. You can even assemble the sandwiches a few hours before cooking and keep them chilled until you're ready to dip and fry them.
- → What can I use instead of brioche or challah bread?
- If you don't have brioche or challah, any soft, slightly sweet bread will work well. Texas toast, Hawaiian sweet bread, or thick-sliced white bread are good alternatives. The key is to use bread that's sturdy enough to hold the filling but soft enough to soak up the egg mixture without falling apart.
- → How do I know when the sandwiches are done cooking?
- The sandwiches are ready when both sides are golden brown and crispy, usually after 2-3 minutes per side over medium heat. The bread should be toasted and slightly crisp on the outside, while the inside should be warm enough to soften the cream cheese filling. If your heat is too high, the outside will brown before the inside warms, so adjust as needed.
- → Can I make these in the oven instead of frying?
- Yes! For a lighter version, you can bake these in a preheated 375°F oven. After dipping in the egg mixture, place the sandwiches on a parchment-lined baking sheet, spray or brush both sides with melted butter, and bake for about 8-10 minutes, flipping halfway through, until golden brown and heated through.