
 Save
Save
Sticky-sweet and endlessly chewy, homemade bubble gum brings playground nostalgia directly into your kitchen through a surprisingly simple process. The transformation of ordinary ingredients into stretchy, flavorful gum creates a magical experience that store-bought varieties simply cannot match. Creating your own bubble gum allows complete control over flavors, colors, and ingredients while providing a fascinating kitchen chemistry project that results in a truly personalized chewing experience.
Sweet Satisfaction
I first attempted homemade bubble gum during a summer vacation with my nieces and nephews. Their initial skepticism quickly transformed into wide-eyed amazement as they watched simple ingredients develop into actual chewing gum. The pure delight on their faces when they successfully blew their first bubbles with something we created together made every sticky counter and powdered sugar footprint worthwhile. My sister-in-law now requests this activity during every family gathering, claiming she's never seen the children so engaged in a kitchen project.
Essential Elements
- White granulated sugar: Forms the sweet base; use ultra-fine varieties for smoother texture and quicker dissolution
- Light corn syrup: Creates essential elasticity; avoid dark corn syrup which alters flavor and color
- Unflavored gelatin powder: Provides crucial chewiness; check expiration date as older gelatin affects setting properties
- Fine salt: Enhances flavor perception; kosher varieties dissolve more slowly and may create texture issues
- Food coloring: Adds visual appeal; gel formulations offer vibrant colors without thinning the mixture
- Flavor extracts: Delivers signature taste; oil-based varieties maintain flavor longer during extended chewing
- Powdered sugar: Prevents sticking; sift thoroughly to remove any lumps before using as workable surface
Gum Creation
- Gelatin Preparation:
- Sprinkle unflavored gelatin over measured cold water in small bowl, allowing it to bloom completely without stirring to ensure proper hydration.
- Sugar Dissolution:
- Combine granulated sugar with corn syrup and remaining water in heavy-bottomed saucepan, stirring gently over medium heat until crystals disappear completely.
- Temperature Control:
- Attach candy thermometer to pan without touching bottom, watching carefully as mixture climbs to precisely 300°F, the critical hard-crack stage essential for proper consistency.
- Heat Removal:
- Take pan off heat source immediately upon reaching target temperature to prevent scorching, working quickly during subsequent steps before mixture begins cooling.
- Flavor Integration:
- Stir bloomed gelatin into hot syrup along with salt and chosen extracts and colorings, incorporating thoroughly to ensure even distribution throughout the mixture.
- Cooling Period:
- Transfer mixture to heat-resistant surface or silicone mat, allowing it to cool until thickened enough to handle but still pliable enough to manipulate effectively.
- Kneading Technique:
- Dust workspace liberally with powdered sugar before working mixture with well-sugared hands, folding and pressing repeatedly until stretchy consistency develops.
- Portion Division:
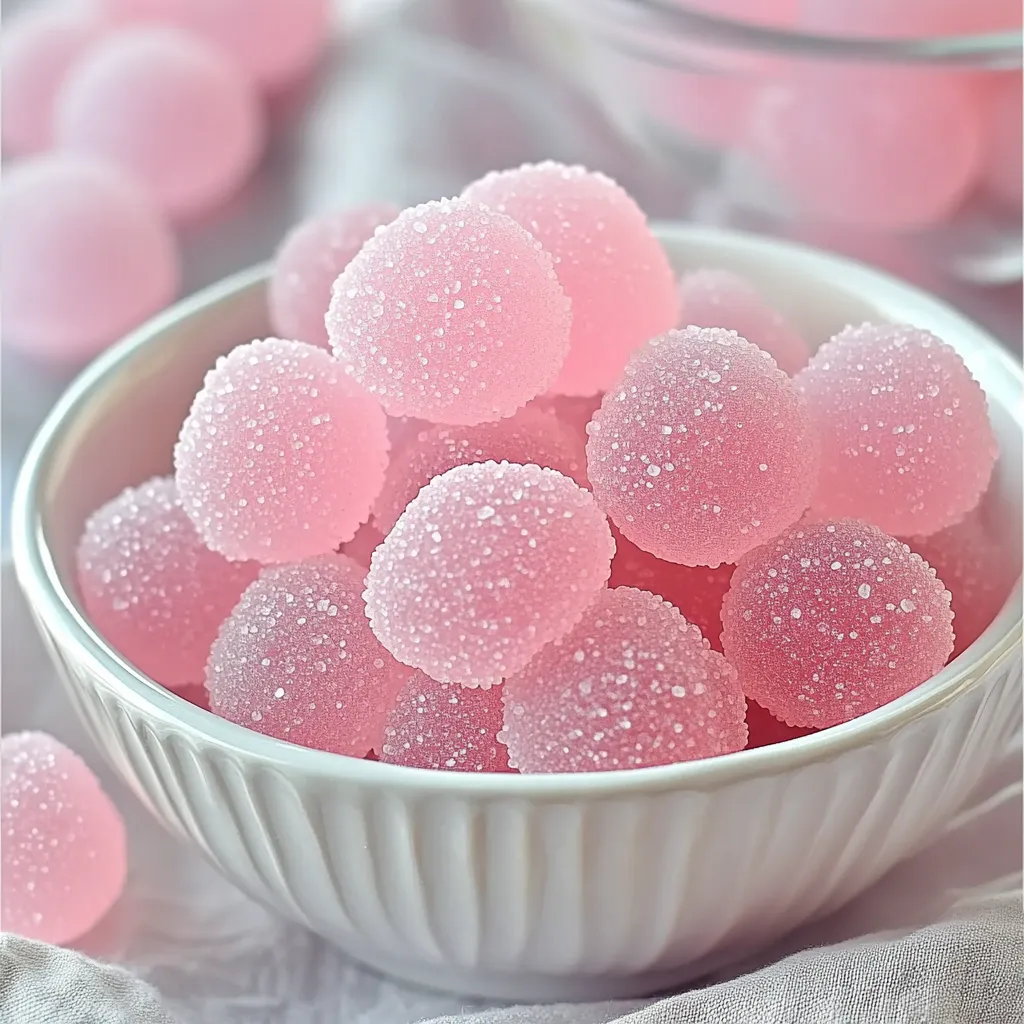
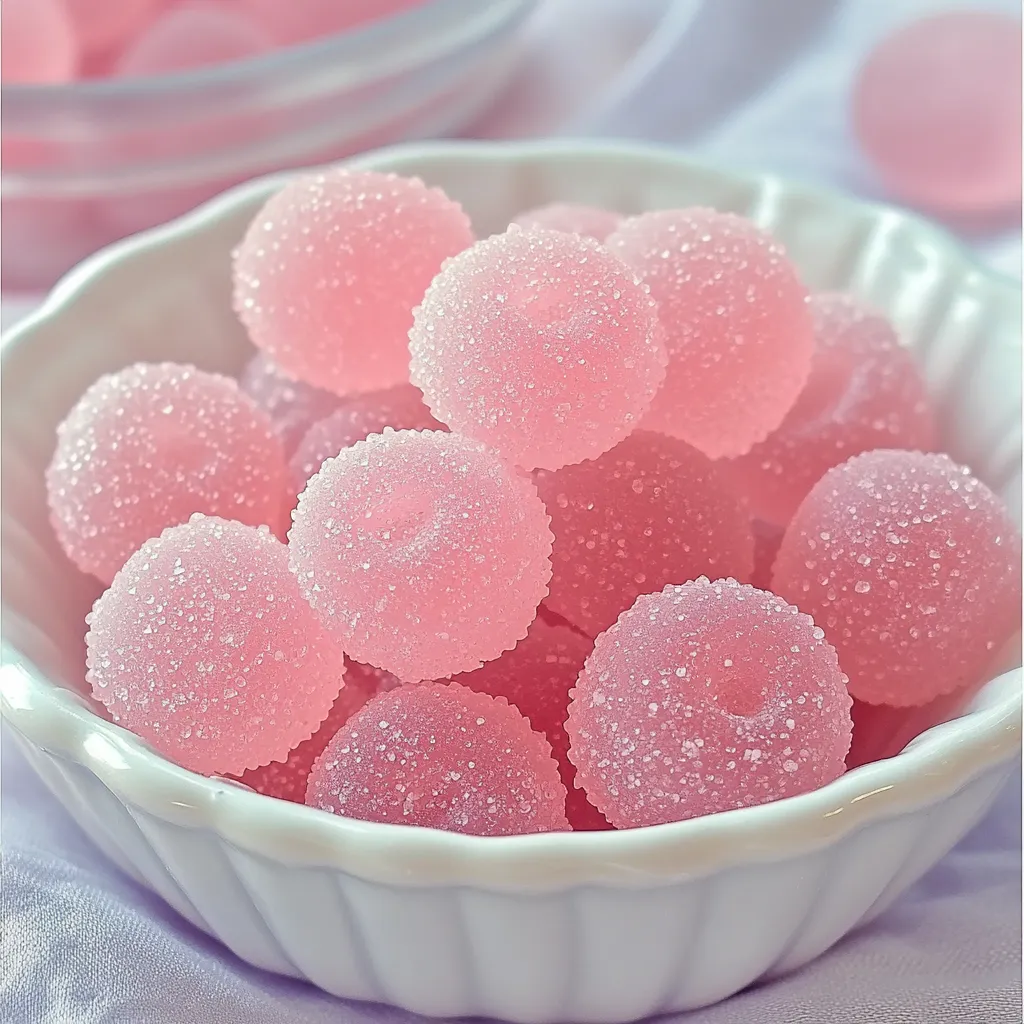
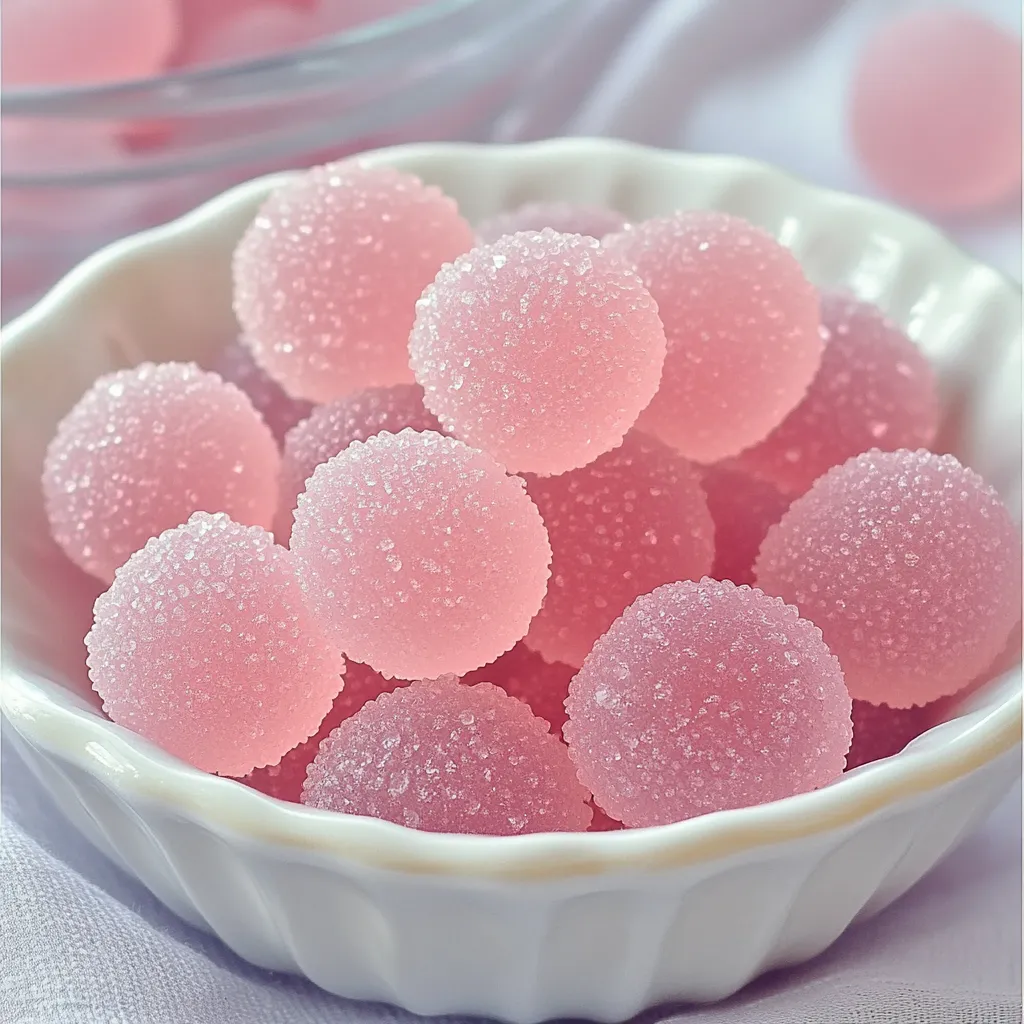
- Pull small pieces from main batch, rolling between palms to create traditional gum ball shapes or flattening into sticks depending on personal preference.
My grandmother taught me to add a tiny drop of glycerin to homemade candy recipes to prevent crystallization. When I incorporated this technique into my bubble gum, the results were transformative - extending the chewing time significantly and creating a smoother texture. During a family reunion last year, my cousins initiated a bubble-blowing contest using our homemade gum, and I couldn't help feeling proud when my uncle declared it better than the name-brand stuff he usually chewed.
Serving Ideas
Transform ordinary gatherings into memorable events by presenting homemade bubble gum in vintage candy jars with small decorative scoops for self-serving. For children's parties, create color-coordinated bubble gum stations where guests select their preferred colors and flavors, then package their creations in small cellophane bags tied with coordinating ribbons as take-home treats. During holiday seasons, shape the gum into festive forms or seasonal colors, nestling pieces in decorative tins lined with parchment paper for thoughtful handmade gifts.
Flavor Innovations
Explore exciting taste combinations by infusing your bubble gum with unexpected flavor pairings that commercial varieties rarely offer. Combine coconut extract with a hint of pineapple for tropical-inspired chewing gum that transports taste buds to island getaways. For sophisticated adult palates, experiment with subtle lavender and honey infusions that provide aromatic complexity beyond typical sweet profiles. Create color-changing gum by layering differently colored portions together during the kneading process, resulting in an ever-evolving visual experience throughout the chewing cycle.
Storage Wisdom
Preserve your homemade bubble gum's ideal texture by wrapping individual pieces tightly in small squares of waxed paper, twisting ends to secure freshness. Store wrapped pieces in airtight containers placed in cool, dry locations away from direct sunlight or heat sources that could compromise texture. For extended storage, place containers in refrigerator where gum will harden slightly but return to proper consistency after warming in hands briefly before chewing. Avoid freezing as this alters the molecular structure and results in irreversible texture changes.
Creating homemade bubble gum remains one of my favorite kitchen adventures after all these years. There's something deeply satisfying about transforming basic ingredients into something most people never imagine making themselves. My daughter recently featured our bubblegum-making process for her science fair project, demonstrating the chemical transformations while sharing samples with judges who couldn't believe it was homemade. The expressions of surprise and delight when people realize they're chewing something made from scratch in my kitchen never loses its charm. While commercial gum certainly offers convenience, the personalized flavors and knowledge of exactly what goes into each piece makes this recipe worth the sticky fingers every single time.
Common Questions About Cooking
- → Can I use different types of sugar?
- Yes, while granulated sugar works best for this recipe, you can experiment with brown sugar for a different flavor. Just know it might change the color of your final product.
- → What if I don't have a candy thermometer?
- You can do the cold water test instead. Drop a small amount of the hot mixture into cold water - if it forms hard, brittle threads that snap when bent, it's reached the right temperature.
- → How long does homemade bubble gum last?
- When stored properly in an airtight container, your homemade gum will stay fresh for 1-2 weeks. It's definitely best when enjoyed fresh within the first few days.
- → Can I make this recipe vegan?
- Yes, substitute the gelatin with agar-agar powder, a plant-based alternative. You'll need to adjust the amounts - typically use about the same amount of agar-agar as gelatin.
- → Why is my bubble gum too sticky?
- If your gum remains too sticky, you probably need more powdered sugar during the kneading process. Keep adding small amounts and working it in until you reach the right consistency.
- → Can kids help make this recipe?
- Kids can definitely help with certain parts like adding colors and flavors, but adult supervision is necessary for the cooking steps since the sugar mixture gets extremely hot.