
 Save
Save
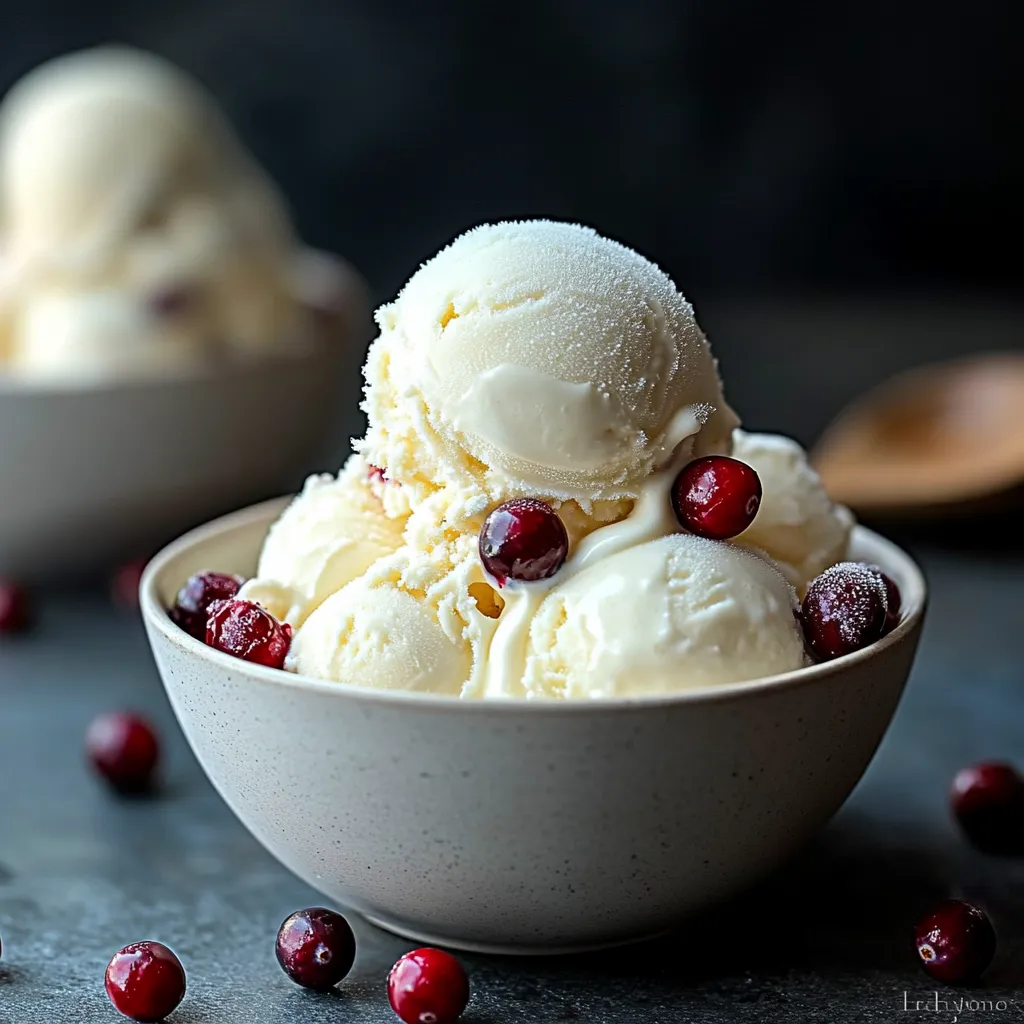
Silky smooth frozen cream transforms into luscious homemade ice cream without any specialized equipment beyond your freezer and determined whisking arm. Each spoonful delivers rich, pure flavor that commercial ice cream can't match, while the process creates satisfying kitchen alchemy that feels almost magical. The simplicity of ingredients allows natural dairy sweetness to shine through, creating dessert that tastes like pure summer memories. Perfect for spontaneous entertaining or family projects when specialized equipment isn't available.
My journey with machine-free ice cream began during a vacation rental stay where equipment was limited but ice cream cravings were strong. The discovery that patient whisking could create textures rivaling churned versions completely changed my approach to homemade frozen desserts. Now this technique appears whenever special equipment isn't available, proving that determined whisking creates surprisingly professional results.
Essential Elements
- Whole milk: Provides essential dairy foundation with perfect fat content for smooth freezing
- Heavy cream: Creates luxurious richness and essential fat content for proper texture
- Granulated sugar: Sweetens while helping prevent large ice crystal formation
- Pure vanilla extract: Contributes sophisticated flavor enhancement throughout mixture
- Kosher salt: Enhances all other flavors while balancing sweetness perfectly
Simple Creation
- Base Preparation:
- Combine milk, heavy cream, sugar, vanilla extract, and salt in large mixing bowl, stirring until sugar completely dissolves throughout mixture.
- Initial Freezing:
- Pour prepared mixture into shallow baking pan, creating thin layer that freezes more quickly and evenly than deep containers.
- First Whisking:
- After ninety minutes, remove partially frozen mixture and whisk thoroughly, breaking ice crystals that have formed along edges and throughout.
- Crystal Management:
- Return mixture to freezer for forty-five minutes before whisking again, ensuring even texture development throughout freezing process.
- Consistency Monitoring:
- Continue checking and whisking every thirty minutes, maintaining careful observation of texture development throughout freezing cycle.
- Textural Assessment:
- After three to four hours total freezing time, mixture should achieve soft-serve consistency perfect for immediate consumption if desired.
- Final Setting:
- For firmer scooping texture, continue freezing additional hour after final whisking, creating perfect ice cream consistency.
- Beautiful Service:
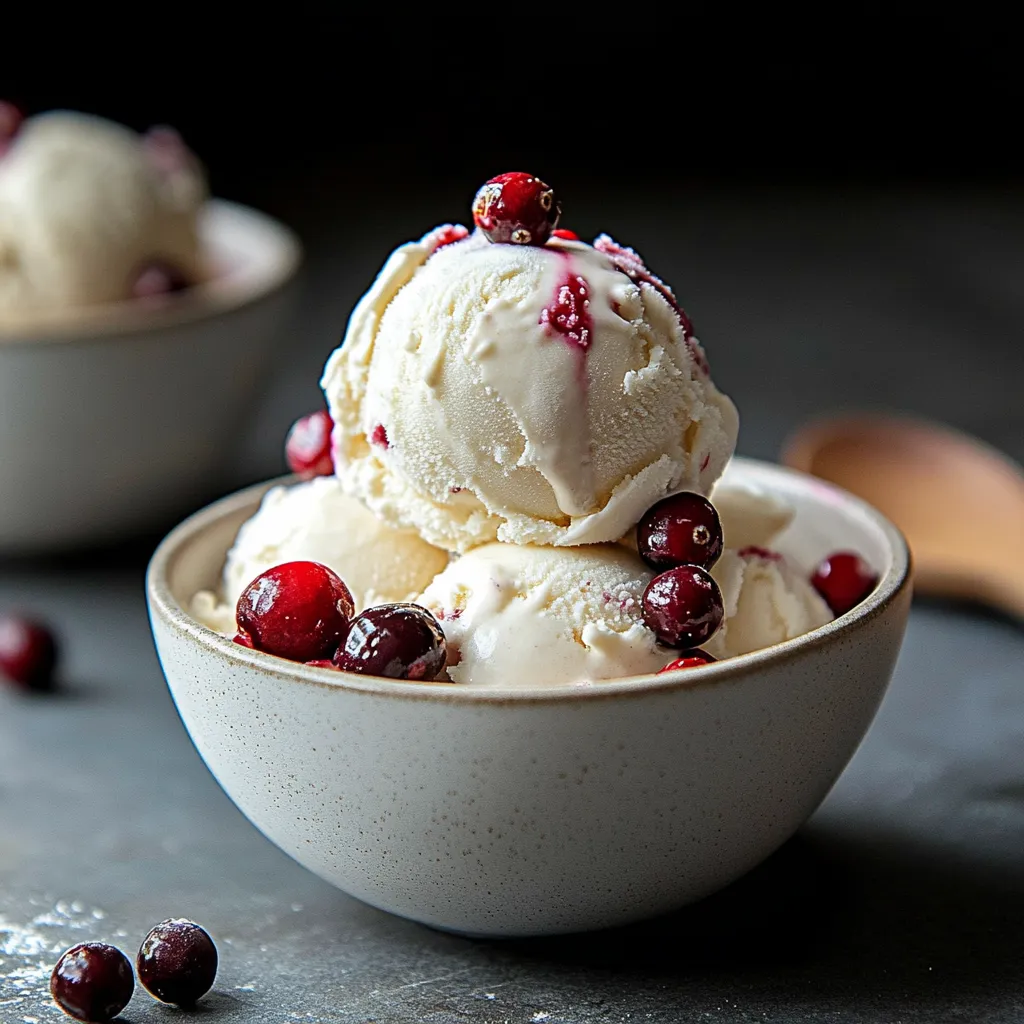
- Scoop finished ice cream into bowls or cones, adding optional toppings or mix-ins according to personal preference.
The secret to exceptional no-machine ice cream lies in understanding ice crystal formation and prevention. I learned from a dairy scientist that mechanical churning primarily serves two purposes - introducing air while breaking apart ice crystals. Patient whisking accomplishes the same goals more gradually, creating similar results through different mechanisms. The key difference is time investment rather than quality difference.
Creative Variations
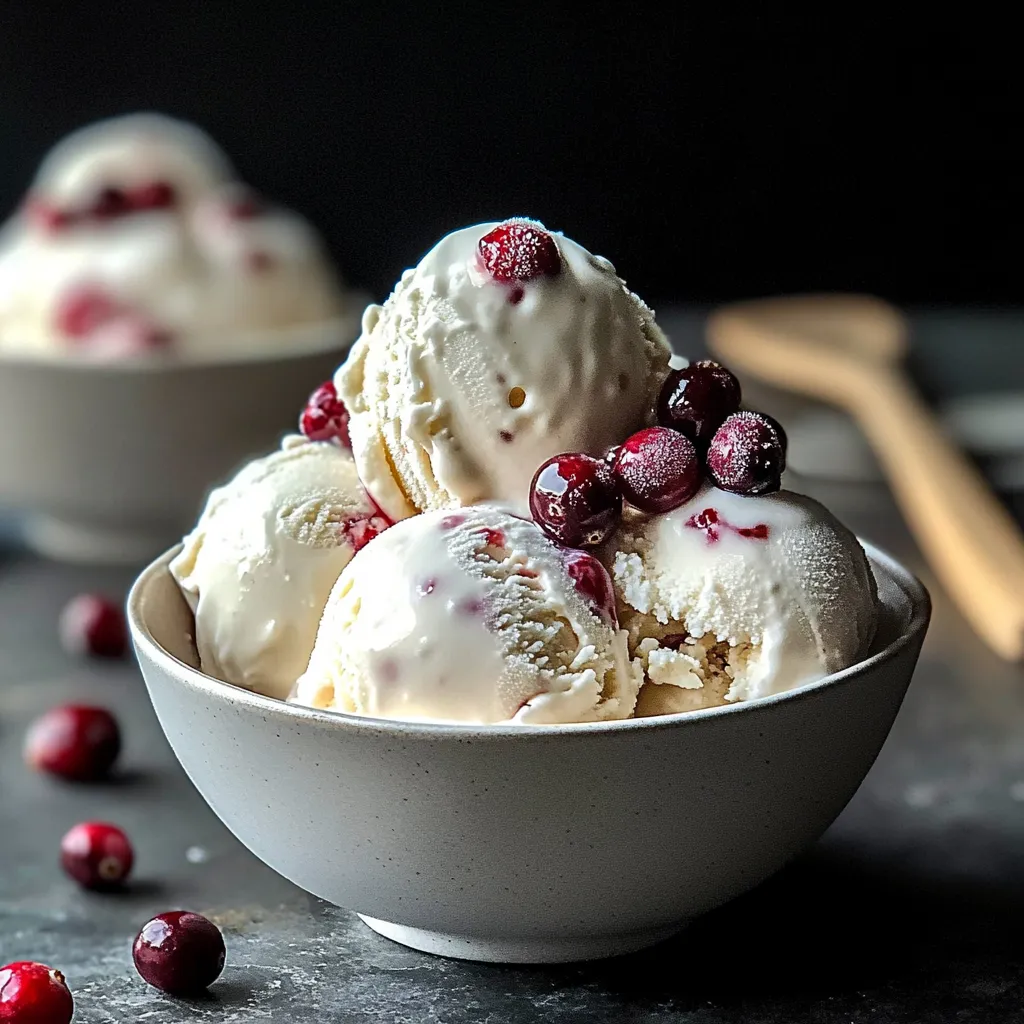
Transform basic vanilla into exciting flavor adventures with different additions and modifications. Chocolate versions incorporate cocoa powder during initial mixing for complete integration. Fruit infusions blend fresh or frozen berries for vibrant color and flavor. Cookie additions create beloved classics with minimal effort. Each variation maintains the essential technique while exploring diverse flavor territories.
Nutritional Advantages
This homemade approach provides surprising health benefits beyond commercial alternatives. Complete control over ingredients eliminates artificial additives and stabilizers. Natural dairy provides calcium and protein benefits. Sugar adjustments accommodate different dietary requirements easily. Each serving provides genuine satisfaction that prevents overindulgence typically associated with lower-quality commercial options.
Texture Excellence
Achieving perfect texture requires attention to specific techniques throughout freezing process. Consistent whisking intervals prevent large crystal formation that creates graininess. Proper sugar ratio provides essential freezing inhibition. Fat content from cream creates smooth mouthfeel throughout. These elements combine to create professional-quality results without specialized equipment.
Serving Suggestions
Enhance this versatile dessert with thoughtful serving techniques that elevate the experience. Warm fruit compotes create beautiful temperature contrast. Cookie accompaniments provide complementary crunch. Milkshake transformations extend serving options with minimal effort. Each suggestion maintains the homemade ice cream as centerpiece while creating complete dessert experiences.
Storage Solutions
Proper storage maintains quality while preventing texture degradation over time. Airtight containers prevent freezer burn and flavor absorption. Room temperature rest before serving softens texture for ideal scooping. Consumption within two weeks ensures optimal flavor and texture. Individual portions prevent repeated thawing that compromises quality.
Family Involvement
This approachable technique creates perfect opportunities for family cooking experiences. Children safely handle whisking steps without heat danger. Everyone participates in flavor selection and customization. Teaching freezing science becomes hands-on learning experience. Shared preparation creates anticipation that enhances final enjoyment.
This remarkable ice cream technique proves that exceptional results don't always require specialized equipment - sometimes patience and understanding create equally impressive outcomes. The combination of simple ingredients with thoughtful technique provides accessibility to anyone seeking homemade frozen desserts without machine investment. What I find most satisfying is how this method connects us to historical ice cream making, where determination and ingenuity created beloved treats long before electricity and specialized equipment existed.
Common Questions About Cooking
- → Why do I need to whisk the ice cream while it freezes?
- Whisking breaks up large ice crystals and incorporates air, creating that smooth, creamy texture you expect from ice cream. Without whisking, you'd end up with a solid frozen block.
- → Can I add mix-ins to this basic recipe?
- Absolutely! Add chocolate chips, cookie pieces, fruit, or nuts during the last whisking session. For swirls of fudge or caramel, drizzle them in during the final whisk and gently fold.
- → Can I use different flavors besides vanilla?
- Yes! Try adding 2 tablespoons of cocoa powder for chocolate, or 1/2 cup of pureed fruit for fruit flavors. Extracts like mint, almond, or coffee work great too - just use 1-2 teaspoons.
- → What if I forget a whisking session?
- If you miss a whisking, don't worry! Just whisk it as soon as you remember. You might need to let it soften slightly if it's too frozen solid to whisk properly.
- → Can I use milk alternatives?
- Yes, but the texture will be different. Full-fat coconut milk works best as a non-dairy alternative. Almond or oat milk will make icier ice cream unless you add extra fat.
- → Why is my homemade ice cream getting icy after a few days?
- Homemade ice cream doesn't contain stabilizers like commercial versions, so ice crystals form more easily during storage. For best results, eat within a week and store in an airtight container.