
 Save
Save
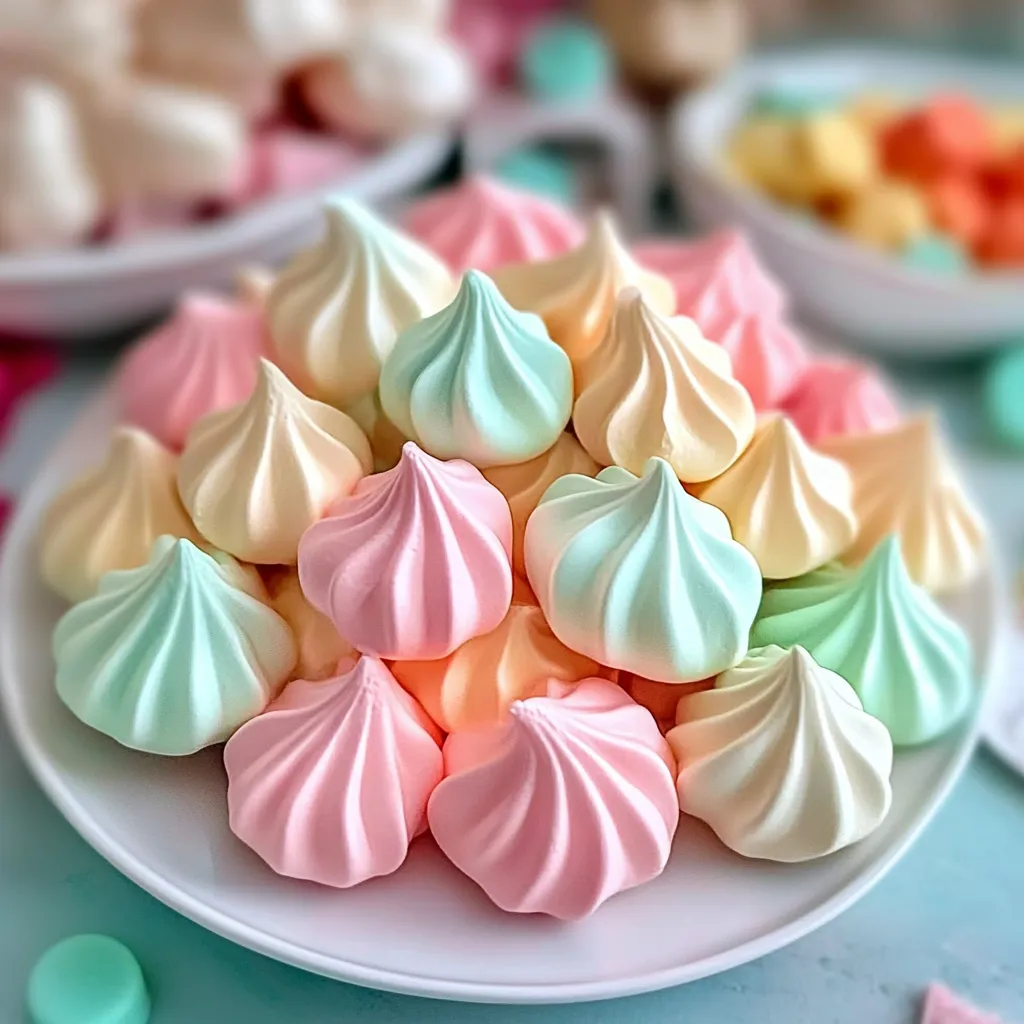
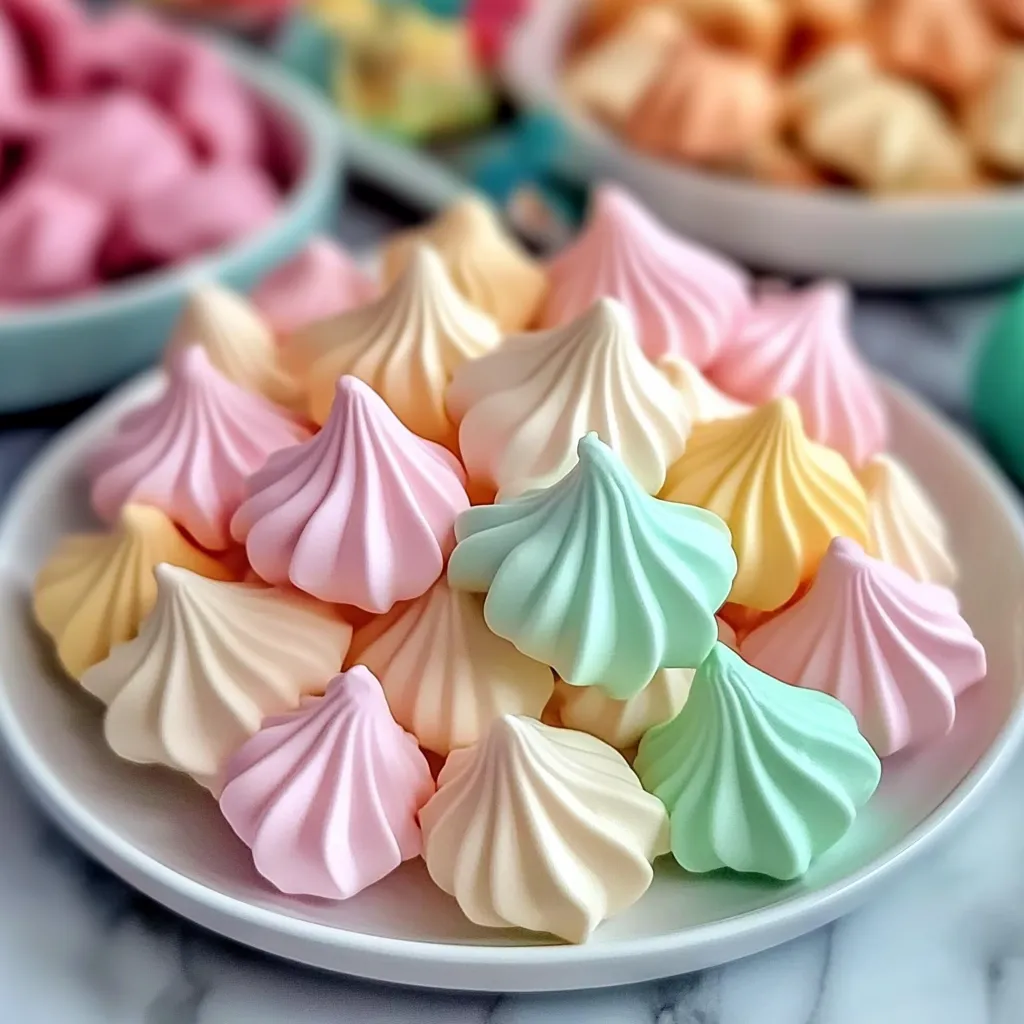
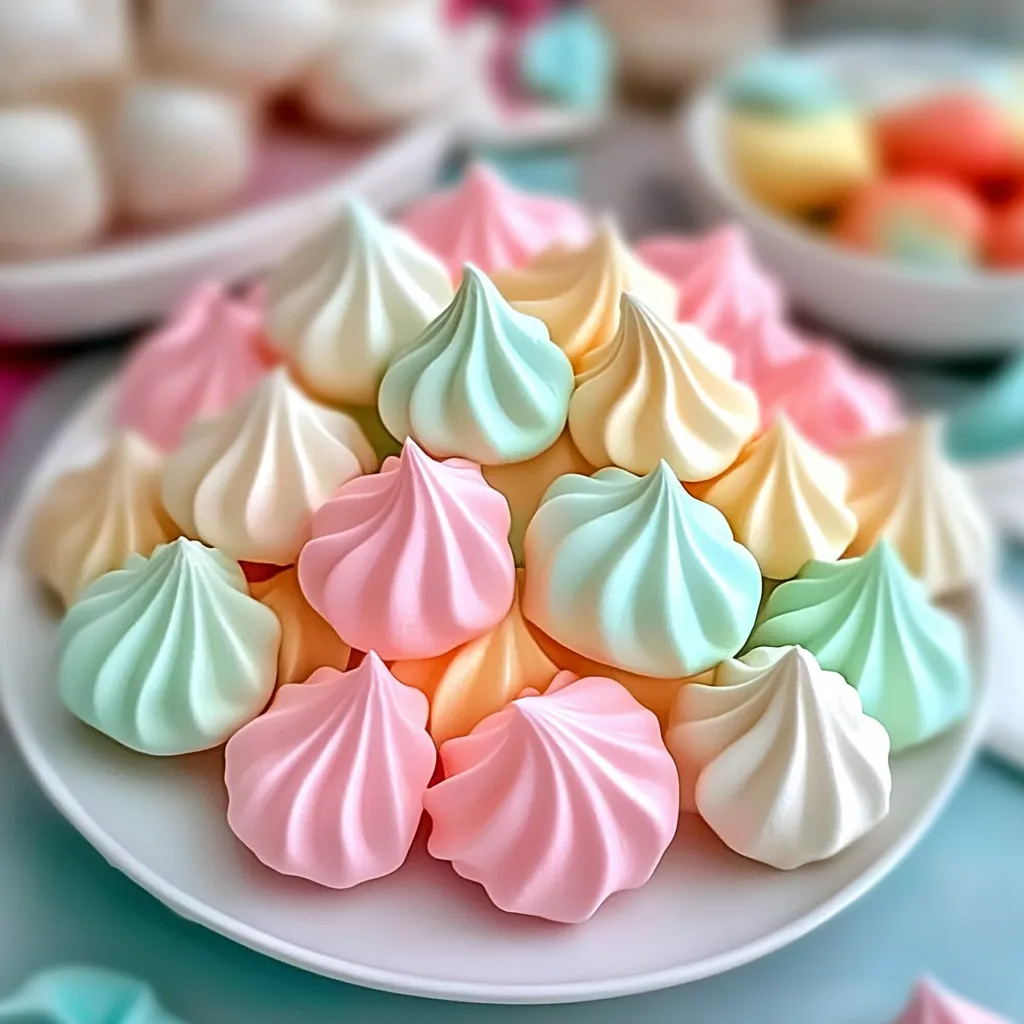
Jello meringue cookies transform ordinary egg whites into colorful clouds of sweetness that dissolve on your tongue with a whisper of fruity flavor. These delicate treats combine the airy lightness of traditional meringues with vibrant colors and playful fruit essences from powdered gelatin. The magic happens as they slowly dry in a low oven, creating a crisp exterior that shatters gently with each bite while maintaining a slightly chewy center. I discovered this clever twist on classic meringues while searching for gluten-free options for my niece's rainbow-themed birthday party, and they've since become my signature contribution to celebrations of all kinds.
I first made these for my sister's baby shower, choosing pink strawberry and blue raspberry flavors for the gender reveal theme. Guests couldn't believe such airy, beautiful cookies could taste so intensely fruity. My brother-in-law, who normally avoids sweets, ate seven in quick succession before sheepishly asking if I had more hidden in the kitchen. There's something about their ethereal texture combined with the nostalgic flavor of Jello that makes them irresistible to both children and adults alike.
Sweet Ingredients
- Fresh Egg Whites: Form the structural foundation that creates the cloudlike texture. Room temperature whites whip to greater volume than cold ones, so plan ahead for the best results.
- Granulated Sugar: Stabilizes the egg whites and creates the glossy meringue structure. Use superfine sugar if available as it dissolves more readily into the egg whites.
- Jello Powder: Provides both vibrant color and distinctive fruit flavor without adding moisture that would compromise texture. Any flavor works, making endless creative possibilities.
- Cream of Tartar: Acts as a stabilizing acid that helps egg whites reach their maximum volume and maintain their structure. This unassuming powder is crucial for meringue success.
- Pure Vanilla Extract: Balances the sweetness and adds depth to the fruit flavors. Use clear vanilla if you want to maintain the purest color from the Jello.
- Salt: Just a pinch enhances all the other flavors and balances sweetness. This often-overlooked ingredient makes a noticeable difference in the final taste.
Baking Method
- Prepare Your Environment:
- Begin by creating the ideal conditions for meringue success. Humidity is the enemy of crisp meringues, so choose a dry day if possible. Preheat your oven to a very low 200°F (95°C), which allows the cookies to dry out without browning. Line two baking sheets with parchment paper – never use greased cookie sheets or waxed paper, as any fat will prevent proper meringue formation. Ensure your mixing bowl and beaters are absolutely clean and completely dry – even a drop of water or speck of grease can prevent egg whites from whipping properly. I wipe my equipment with a paper towel dampened with white vinegar, then dry thoroughly to eliminate any potential residue.
- Create Fluffy Clouds:
- Place room temperature egg whites in your spotless mixing bowl and begin beating on medium-low speed until they become frothy, resembling a sea of tiny bubbles. Add the cream of tartar and a pinch of salt at this point – these ingredients help stabilize the egg whites and prevent them from deflating. Increase the mixer speed to medium-high and continue beating until soft peaks form. This means the mixture will hold brief peaks that fold over when the beaters are lifted. Now comes the critical step: gradually add the sugar, one tablespoon at a time, while continuing to beat. This slow addition allows each spoonful to dissolve completely before the next is added, preventing grainy meringues. Once all sugar is incorporated, sprinkle in the Jello powder and add the vanilla extract. Continue beating until stiff, glossy peaks form that stand straight up when the beaters are lifted. The meringue should feel smooth between your fingers, not gritty, indicating the sugar has fully dissolved.
- Shape With Style:
- Transfer your colorful meringue to a piping bag fitted with a star tip for the most professional appearance. If you don't have piping equipment, a resealable plastic bag with a corner snipped off works in a pinch, or simply use two spoons to create rustic mounds. Pipe or spoon uniform 1-1½ inch mounds onto the prepared baking sheets, spacing them about an inch apart. While meringues don't spread much during baking, they need room for proper air circulation. For a decorative touch, you can swirl the piping bag to create rosettes or pull up sharply at the end for a pointed finish. If making multiple flavors, wash and thoroughly dry your equipment between batches to maintain pure colors and flavors.
- Master Low-Slow Baking:
- Place your trays in the preheated oven and prepare for patience – the secret to perfect meringues is long, slow drying rather than actual baking. Cook for 60-90 minutes depending on their size and your oven's characteristics. Avoid opening the oven door during the first hour, as temperature fluctuations can cause collapse. The meringues are done when they feel dry to the touch and lift easily from the parchment paper. At this point, turn off the oven but leave the cookies inside with the door closed for at least 30 minutes, then crack the door open and let them cool completely in the gradually cooling oven. This slow cooling process prevents the shock of temperature change that can cause cracking and ensures the centers dry completely for that perfect texture balance.
I learned about the importance of weather conditions after a frustrating attempt to make these cookies on a rainy summer day. Despite perfect technique, they remained sticky and never fully dried. My grandmother later explained that meringues and humidity are mortal enemies – an insight that would have saved my efforts! Now I plan these cookies around the weather forecast or ensure my air conditioning has been running to remove excess moisture from the air. My daughter has developed a knack for piping perfect meringue swirls and loves creating custom color combinations for friends' birthdays, matching school colors, or holiday themes.
Serving Ideas
These versatile cookies shine in numerous settings. For elegant entertaining, create a dessert charcuterie board featuring different colored meringues alongside fresh berries, chocolate dipping sauce, and whipped cream for building custom sweet bites. The visual impact is stunning while the combination of textures and flavors keeps guests coming back for more.
For children's parties, use these as edible decorations atop cupcakes or ice cream, where they maintain their crispness for about 30 minutes before beginning to soften. Create a sundae bar with various flavored meringues that can be crumbled over ice cream, adding both color and texture contrast. During holiday seasons, package assorted flavors in clear cellophane bags tied with coordinating ribbon for beautiful homemade gifts that showcase your attention to detail.
Flavor Variations
Tropical Paradise: Create an exotic version by using pineapple or mango-flavored Jello powder in the meringue base. After piping, sprinkle with finely chopped dried coconut before baking. Once cooled, dip the bottoms in melted white chocolate and add a small sprinkle of tajin seasoning for a surprise sweet-spicy-tangy combination that evokes tropical vacation memories.
Chocolate Lovers Dream: Transform the basic recipe by using chocolate pudding mix instead of Jello for deep cocoa flavor without changing the technique. Fold in 1/4 cup mini chocolate chips after achieving stiff peaks, being careful not to deflate the meringue. After baking and cooling, drizzle with melted dark chocolate for an extra chocolate dimension that satisfies serious chocolate cravings.
Grown-Up Sophistication: Elevate these cookies for adult palates by adding 1/4 teaspoon of complementary extract to enhance the Jello flavor - think lime Jello with coconut extract or orange Jello with vanilla bourbon extract. After baking, dust half of each meringue with matching colored sanding sugar for sparkle and texture contrast. These sophisticated variations pair beautifully with after-dinner coffee or dessert wines.
Storage Solutions
Airtight Protection: Store completely cooled meringues in containers with tight-fitting lids, placing parchment paper between layers to prevent sticking. Add a small packet of silica gel (saved from vitamin bottles or shoe boxes) to absorb any residual moisture that might soften your crisp creations. When properly stored at room temperature, they maintain their perfect texture for up to two weeks.
Humidity Defense: For particularly humid environments, try this professional baker's trick: place a few tablespoons of uncooked rice in the bottom of your storage container and cover with a layer of parchment before adding meringues. The rice absorbs ambient moisture that would otherwise soften your cookies. Check the rice every few days and replace if it becomes notably softer.
Revitalization Method: If your stored meringues begin to soften despite your best efforts, they can often be rescued. Place them on a baking sheet lined with fresh parchment paper and into a 200°F oven for about 10-15 minutes, then turn off the heat and let them cool completely in the oven. This gentle reheating removes absorbed moisture and restores their crisp texture without further cooking or browning.
These colorful meringue clouds have brought so much joy to my kitchen adventures over the years. What I love most is watching people's faces light up when they first encounter a platter of these vibrantly colored treats, followed by their surprise at the intense flavor packed into something so light and ethereal. There's a certain magic in transforming such simple ingredients – essentially just egg whites and sugar – into something that looks so special and tastes so distinctive. The slow, gentle process of creating meringues has become almost meditative for me – a reminder that some of the best things can't be rushed. Whether matching colors to a special event or simply using up egg whites left from another recipe, these little cookies never fail to delight both the eye and the palate.
Common Questions About Cooking
- → Why did my meringue cookies turn out chewy instead of crisp?
- Chewy meringues usually happen when they haven't been dried out enough. Try baking them longer at the low temperature, or leaving them in the turned-off oven longer. Also, high humidity can make meringues absorb moisture from the air, so store them in an airtight container.
- → Can I use sugar-free Jello for these meringue cookies?
- Yes, you can use sugar-free Jello, but the texture might be slightly different since regular Jello contains sugar. You may need to adjust the amount since sugar-free Jello is more concentrated in flavor.
- → How long do these meringue cookies stay fresh?
- When stored in an airtight container at room temperature, Jello meringue cookies will stay fresh for 1-2 weeks. The key is keeping them away from moisture. Don't refrigerate them as this can make them soft.
- → Why did my meringue deflate when I added the Jello powder?
- If your meringue deflated, the Jello might have been added too quickly or the meringue wasn't stiff enough. Make sure to beat to stiff peaks before adding the Jello, and fold it in gently rather than mixing vigorously.
- → Can I make these without a piping bag?
- Absolutely! While piping creates a pretty look, you can simply spoon small mounds of the meringue mixture onto the baking sheet. You can also use a zip-top bag with the corner snipped off as a makeshift piping bag.