 Save
Save
No Fuss Pistachio Dream Cheesecake
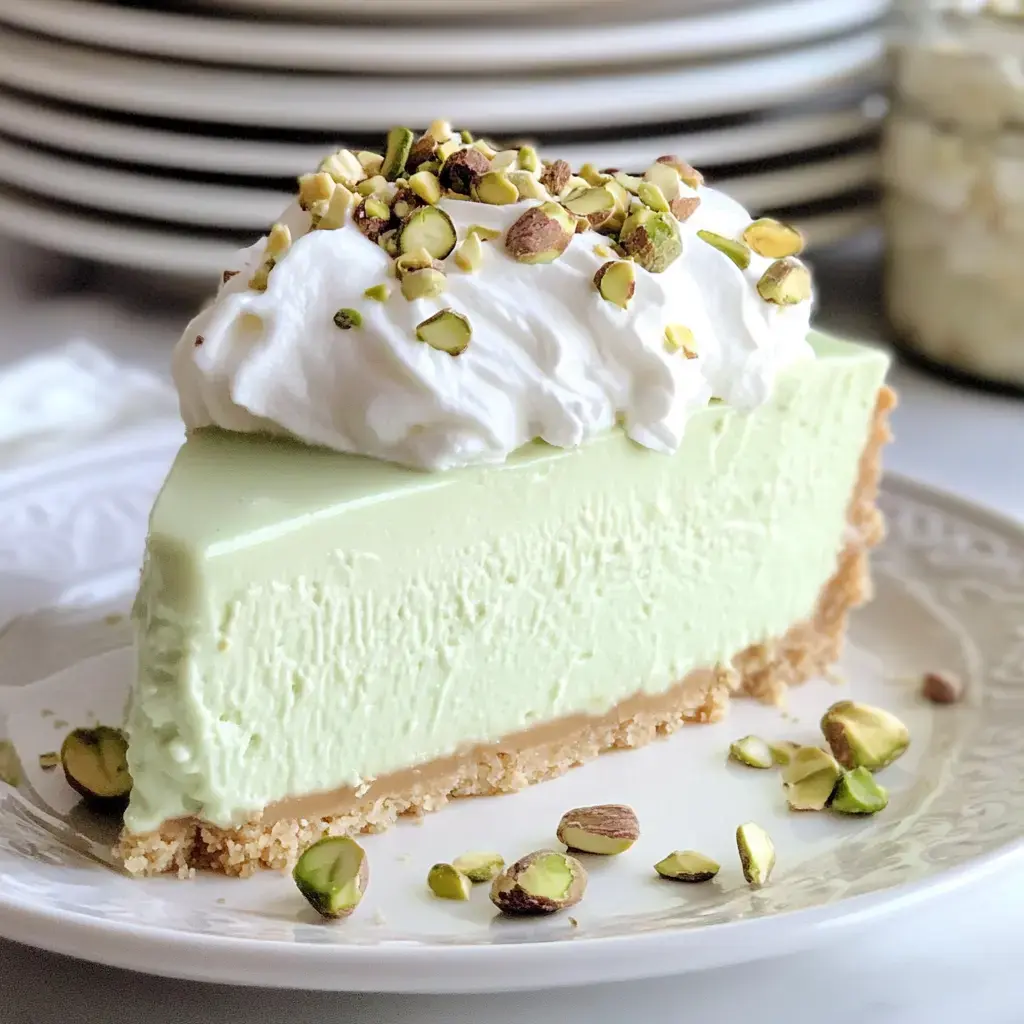
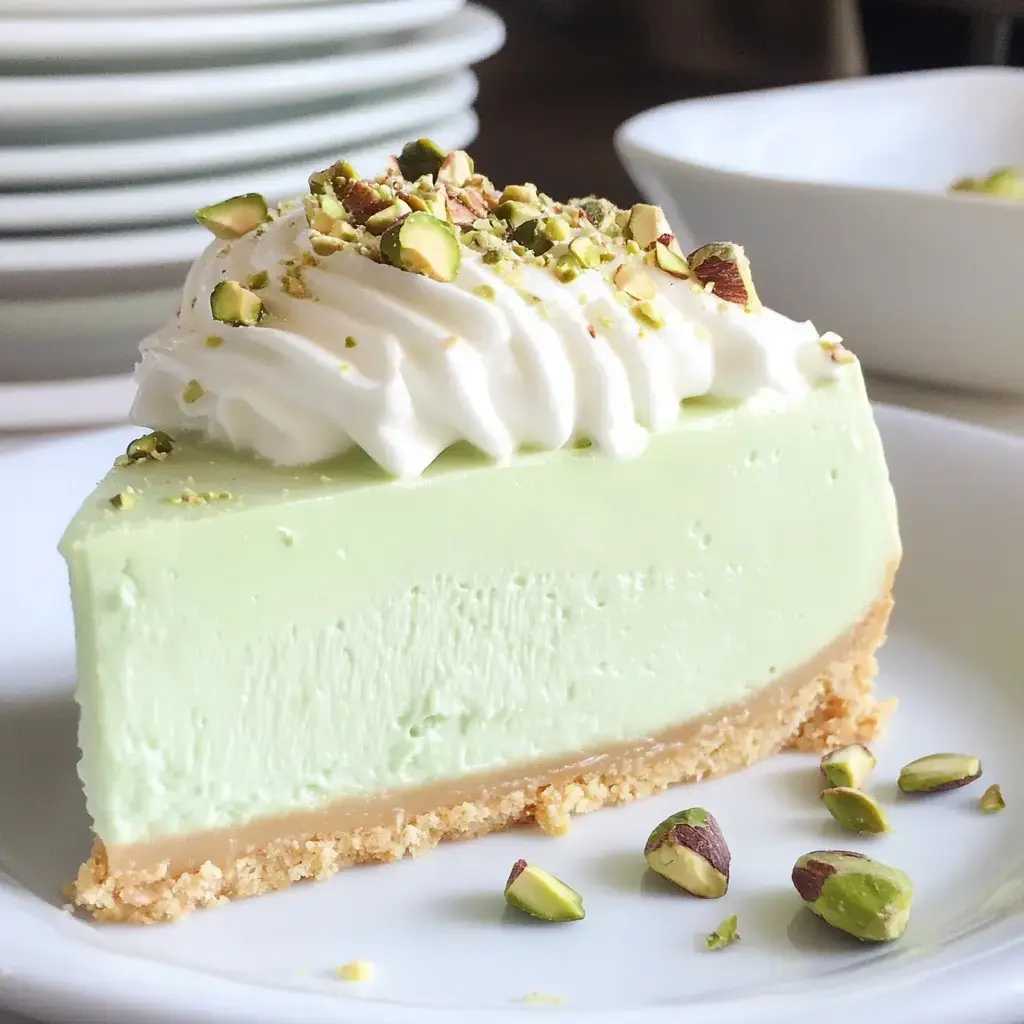
This luscious no bake pistachio cheesecake makes my kitchen smell like a cozy Italian bakery. The combination of smooth pistachio cream filling on a buttery vanilla wafer crust takes me back to my grandmother's kitchen. I love that I can whip this up without turning on my oven. The natural pistachio flavor shines through in every creamy bite.
Why I Love Making This Cheesecake
The velvety texture of this pistachio cheesecake makes my heart sing. The gorgeous pale green color always catches everyone's eye at gatherings. My family begs for this dessert and I love that I can make it ahead without any fuss. The nutty pistachio flavor paired with cream cheese creates pure magic in every slice.
Your Shopping List
- Vanilla wafers: Approximately 2 1/2 cups of finely crushed crumbs, or one box. Graham crackers can be substituted for a different crust flavor.
- Granulated sugar: Adds a touch of sweetness to the crust.
- Salt: Balances the sweetness and enhances flavor.
- Unsalted butter: Melted to bind the crust, use approximately 6 tablespoons.
- Cream cheese: Room temperature for smooth blending, about 16 ounces.
- Instant pistachio pudding mix: 3.4 ounces of instant mix for flavor.
- Vanilla extract: Adds subtle depth of flavor, about 1 teaspoon.
- Pistachio extract: Enhances pistachio flavor, approximately 1/2 teaspoon.
- Powdered sugar: Sweetens the cheesecake filling, about 1/2 cup.
- Heavy cream: Cold heavy or heavy whipping cream, approximately 2 cups for the filling and whipped topping.
Kitchen Magic Time
- Prepare the crust
- Combine vanilla wafer crumbs, granulated sugar, salt, and melted butter. Press the mixture firmly into an 8-inch springform pan, covering the bottom and sides evenly. Chill while preparing the filling.
- Mix the filling
- Beat cream cheese, pistachio pudding mix, vanilla extract, pistachio extract, and powdered sugar until smooth. Gradually add heavy cream, whipping on medium-high speed until the mixture thickens and becomes fluffy.
- Chill the cheesecake
- Pour the filling into the crust and chill for at least 6 hours, ideally overnight. Cover the pan with plastic wrap or foil to keep the cheesecake fresh.
- Whip the cream topping
- Combine cold heavy cream, powdered sugar, and vanilla extract. Whip until stiff peaks form and spread or pipe onto the chilled cheesecake.
 Save
Save
My Secret Tips
After years of making this cheesecake I've learned a few tricks. Make sure to crush those wafers into super fine crumbs for the perfect crust texture. Your cream cheese must be completely soft otherwise you'll end up with little lumps. Let it chill overnight in the fridge and the flavors will blend beautifully. I always make fresh whipped cream just before serving for that perfect finishing touch.
Keep it Fresh
This cheesecake stays perfectly delicious in the fridge for up to five days. Just keep it covered with plastic wrap to keep it fresh. I often make it ahead for parties and sometimes even freeze it without the whipped cream for up to a month when I need a backup dessert. The texture stays wonderfully creamy even after freezing.
Common Questions About Cooking
- → Can I make this cheesecake ahead of time?
Yes, you can make this cheesecake up to 5 days ahead and store it in the fridge. For best results, add the whipped cream topping on the day you plan to serve it.
- → Do I need to use both vanilla and pistachio extract?
While both extracts create the best flavor, you can skip the pistachio extract if you can't find it. The pistachio pudding mix will still give you a nice pistachio flavor.
- → Can I use graham crackers instead of vanilla wafers?
You can definitely swap graham crackers for the vanilla wafers in the crust. Just use the same amount of crumbs and follow the recipe as written.
- → Why does the cream cheese need to be at room temperature?
Room temperature cream cheese blends more smoothly and prevents lumps in your filling. Take it out of the fridge about an hour before starting.
- → What can I do if my crust is crumbly?
If your crust seems too crumbly, add an extra tablespoon of melted butter and press it firmly into the pan. Chilling helps it hold together better.
