
 Save
Save
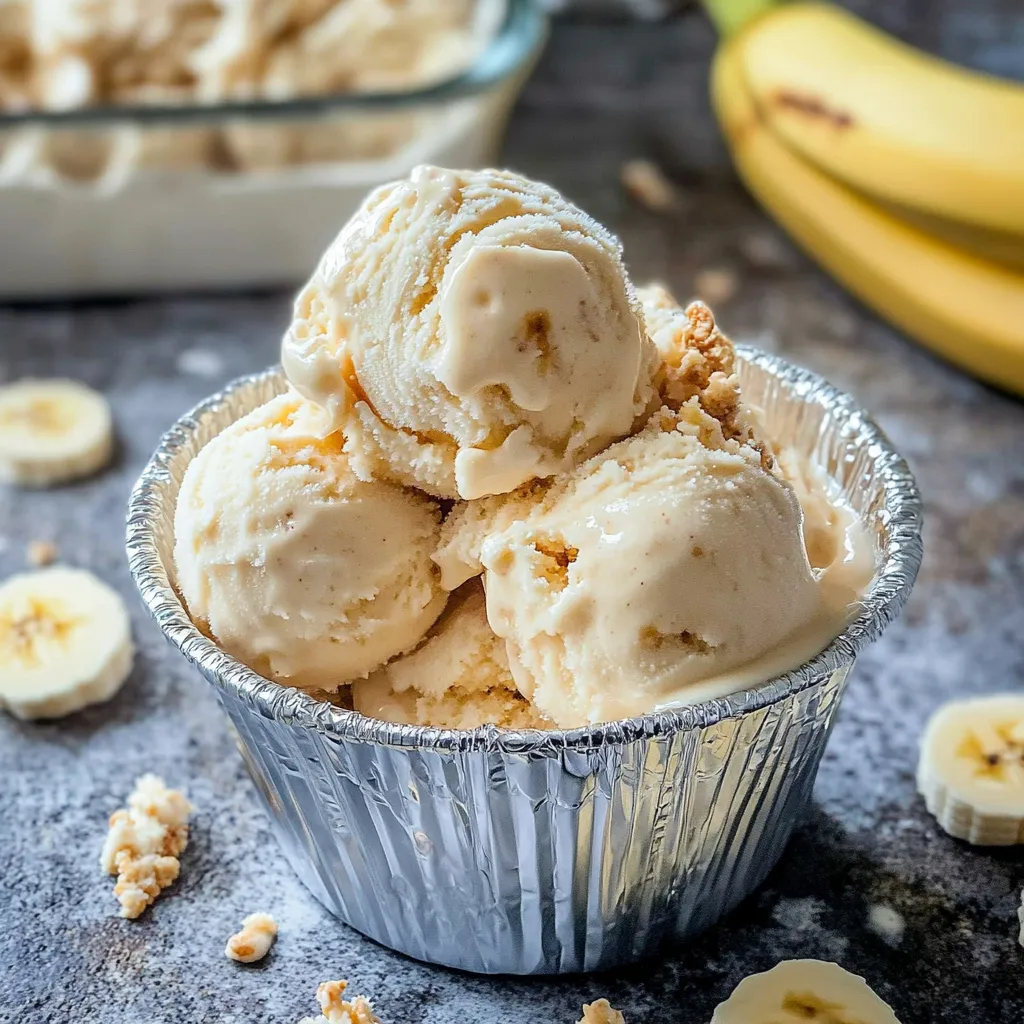
Naturally sweet bananas transform into luxuriously creamy ice cream without any specialized equipment or complicated techniques. Each spoonful delivers pure banana flavor enhanced by rich condensed milk and billowy whipped cream that creates perfect scooping texture. This foolproof method produces professional-quality results that rival premium ice cream shops while requiring minimal effort and simple ingredients. Perfect for using overripe bananas while creating an indulgent frozen treat everyone will love.
I developed this technique during a particularly hot summer when our ice cream maker broke right before a family gathering. Desperate for homemade ice cream, I experimented with this no-churn method using overripe bananas from my counter. The results exceeded all expectations, creating ice cream so smooth and flavorful that guests couldn't believe it wasn't churned. Now this recipe saves those spotted bananas that might otherwise go to waste.
Simple Essentials
- Perfectly ripe bananas: Choose fruit with brown spots for optimal sweetness and smooth texture
- Sweetened condensed milk: Provides necessary sweetness while preventing ice crystal formation
- Pure vanilla extract: Enhances banana flavor without competing for attention
- Heavy whipping cream: Creates essential airiness and rich mouthfeel when properly whipped
- Pinch of salt: Optional but recommended for balancing sweetness naturally
- Creative mix-ins: Chocolate chips, nuts, or other favorites add textural interest
Effortless Assembly
- Banana Preparation:
- Mash ripe bananas thoroughly in large bowl until completely smooth, ensuring no lumps remain that might create texture issues in final product.
- Base Creation:
- Stir sweetened condensed milk, vanilla extract, and optional salt into mashed bananas until mixture becomes uniform and well combined throughout.
- Cream Whipping:
- Beat cold heavy cream with electric mixer until stiff peaks form, creating volume essential for smooth, scoopable ice cream texture.
- Gentle Folding:
- Fold whipped cream into banana mixture using rubber spatula with gentle motions that preserve airiness while ensuring complete integration.
- Mix-In Addition:
- If desired, fold in chocolate chips, nuts, or other mix-ins carefully to distribute evenly without deflating whipped cream structure.
- Container Preparation:
- Pour mixture into freezer-safe container, smoothing top with spatula while ensuring even distribution for consistent freezing.
- Proper Covering:
- Cover surface directly with plastic wrap before adding lid to prevent ice crystal formation during freezing process.
- Patient Freezing:
- Freeze for minimum four to six hours until completely firm, allowing proper setting for optimal scooping consistency.
The secret to exceptional no-churn ice cream lies in achieving proper aeration through whipped cream incorporation. I learned from a pastry chef that the fat content in heavy cream combined with air incorporation creates the structure typically achieved through churning. The condensed milk acts as a natural anti-freeze, preventing large ice crystal formation that makes homemade ice cream icy rather than creamy.
Flavor Adventures
Transform basic banana ice cream into exciting variations with creative additions and modifications. Chocolate lovers enjoy cocoa powder mixed into the base for rich chocolate-banana combination. Peanut butter swirls create childhood favorite flavors reminiscent of Elvis's preferred combination. Fresh berry additions provide color contrast and complementary flavors. Each variation maintains the smooth, creamy base while exploring different flavor territories.
Texture Perfection
Achieving ideal texture requires attention to specific techniques throughout preparation. Room temperature bananas mash more easily than cold ones straight from refrigerator. Whipped cream should reach stiff peak stage without over-beating that creates butter. Gentle folding preserves air bubbles essential for light texture. Proper freezing time ensures firmness without becoming rock-hard difficult to scoop.
Creative Presentations
Elevate simple banana ice cream with thoughtful serving suggestions that enhance visual appeal. Serve in chilled bowls with fresh banana slices and toasted nuts. Create elegant sundaes with caramel drizzle and whipped cream dollops. Consider ice cream sandwiches using homemade cookies for special treats. Individual parfait glasses showcase layers beautifully for dinner party presentations.
Storage Success
Proper storage maintains quality and prevents texture degradation over time. Use freezer-safe containers with tight-fitting lids to prevent air exposure. Press plastic wrap directly against surface before sealing to minimize ice crystal formation. Label containers with preparation dates for rotation management. Consume within two weeks for optimal flavor and texture quality.
Seasonal Celebrations
This versatile ice cream adapts beautifully to various occasions throughout the year. Summer gatherings appreciate the cooling tropical flavors. Holiday versions might incorporate seasonal spices like cinnamon or nutmeg. Birthday parties benefit from customizable mix-ins that please different preferences. Each adaptation honors the banana foundation while celebrating specific occasions appropriately.
Family-Friendly Fun
Involve children in creating this simple ice cream for bonding experiences and kitchen education. Young helpers can safely mash bananas and measure ingredients. The no-cook preparation makes this activity safe for all ages. Customization options allow each family member to create personal versions. These activities create lasting memories while teaching basic cooking skills.
Mix-In Mastery
Strategic mix-in additions create textural interest without overwhelming delicate banana flavor. Add dry ingredients like chocolate chips during final folding stage. Swirl liquid additions like peanut butter through mixture for marbled effects. Consider complementary flavors that enhance rather than compete with banana. Distribute additions evenly for consistent experience throughout container.
This remarkable no-churn ice cream proves that exceptional desserts don't require expensive equipment or complicated techniques. The natural sweetness of bananas combined with rich cream creates satisfaction that rivals any premium ice cream while utilizing ingredients that might otherwise be wasted. What I find most satisfying is how this recipe democratizes ice cream making, allowing anyone to create professional-quality frozen desserts in their home kitchen with confidence and minimal effort.
Common Questions About Cooking
- → How ripe should the bananas be?
- The riper the better! Look for bananas with brown spots - they're sweeter and will give you the most flavor. Overripe bananas that you might think are too far gone are perfect for this.
- → Can I make this without sweetened condensed milk?
- Yes! For a healthier version, use 1 cup Greek yogurt mixed with 1/4 cup honey. You can also blend the bananas with a bit of cream and sugar to taste.
- → Why is my ice cream icy instead of creamy?
- Make sure to whip the cream to stiff peaks and fold gently to maintain the air. Also, cover the surface directly with plastic wrap to prevent ice crystals from forming.
- → How long does this ice cream last?
- It's best within the first week, but you can store it for up to a month. The texture might get slightly icy over time, but it's still delicious.
- → Can I add other fruits?
- Absolutely! Try strawberries, peaches, or mangoes. Just puree them with the bananas, but you might need to adjust the sweetness depending on the fruit.
- → Do I need to let it soften before scooping?
- Yes, let it sit at room temperature for 5 minutes to soften slightly. This makes scooping much easier and gives you the perfect creamy texture.