 Save
Save
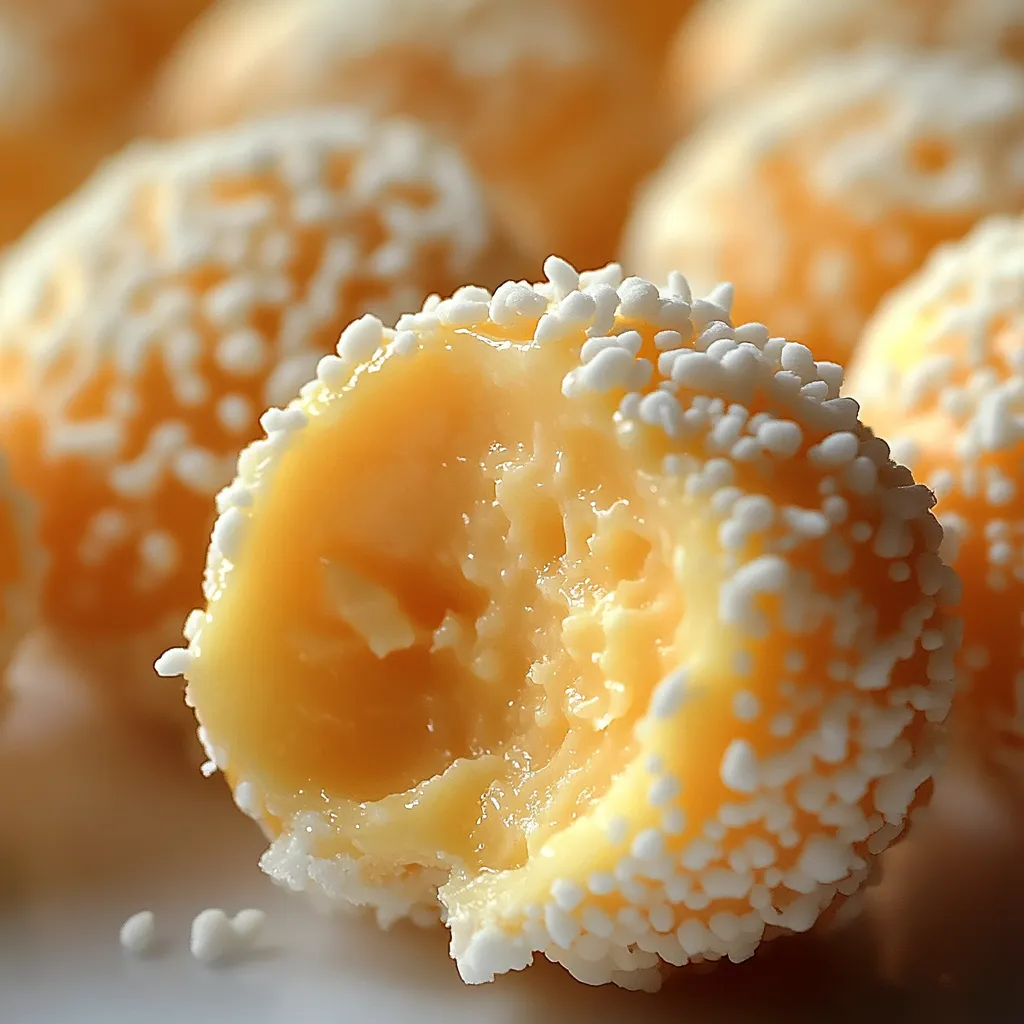
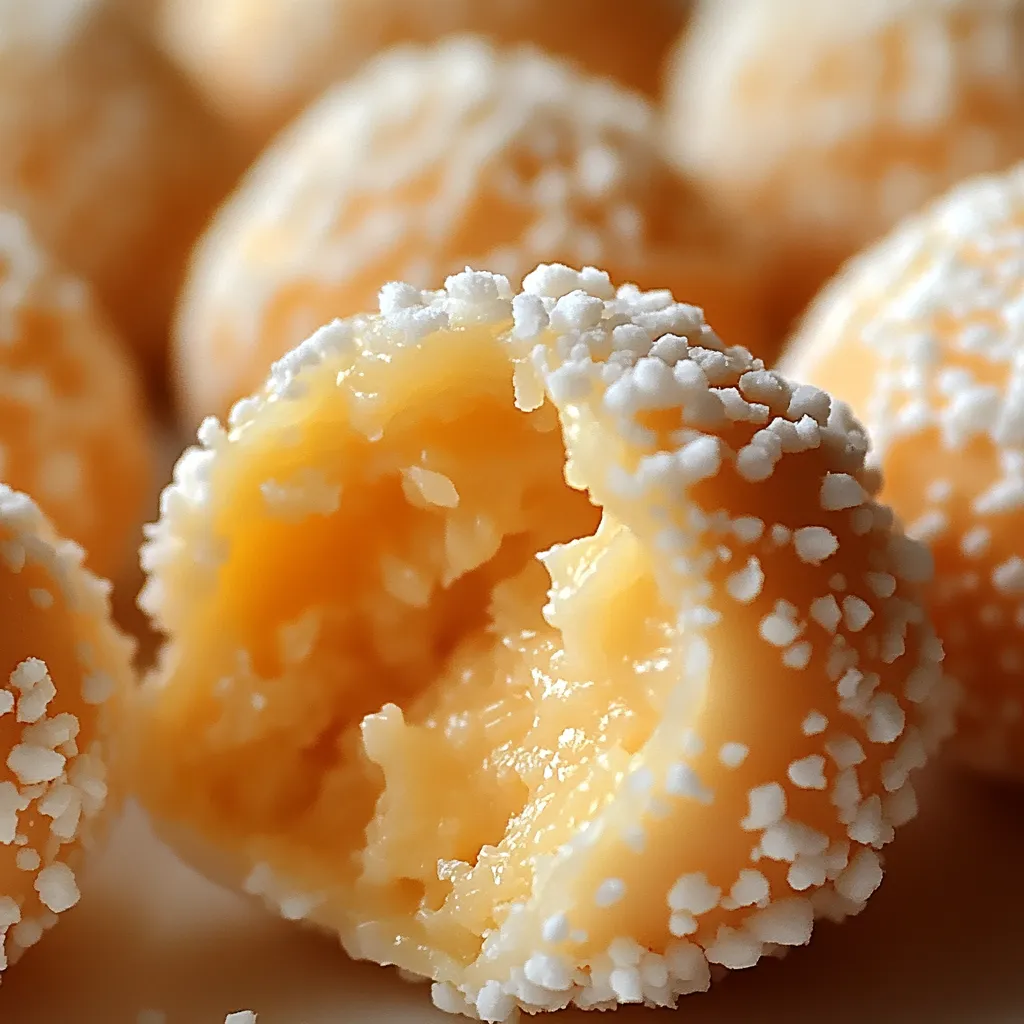
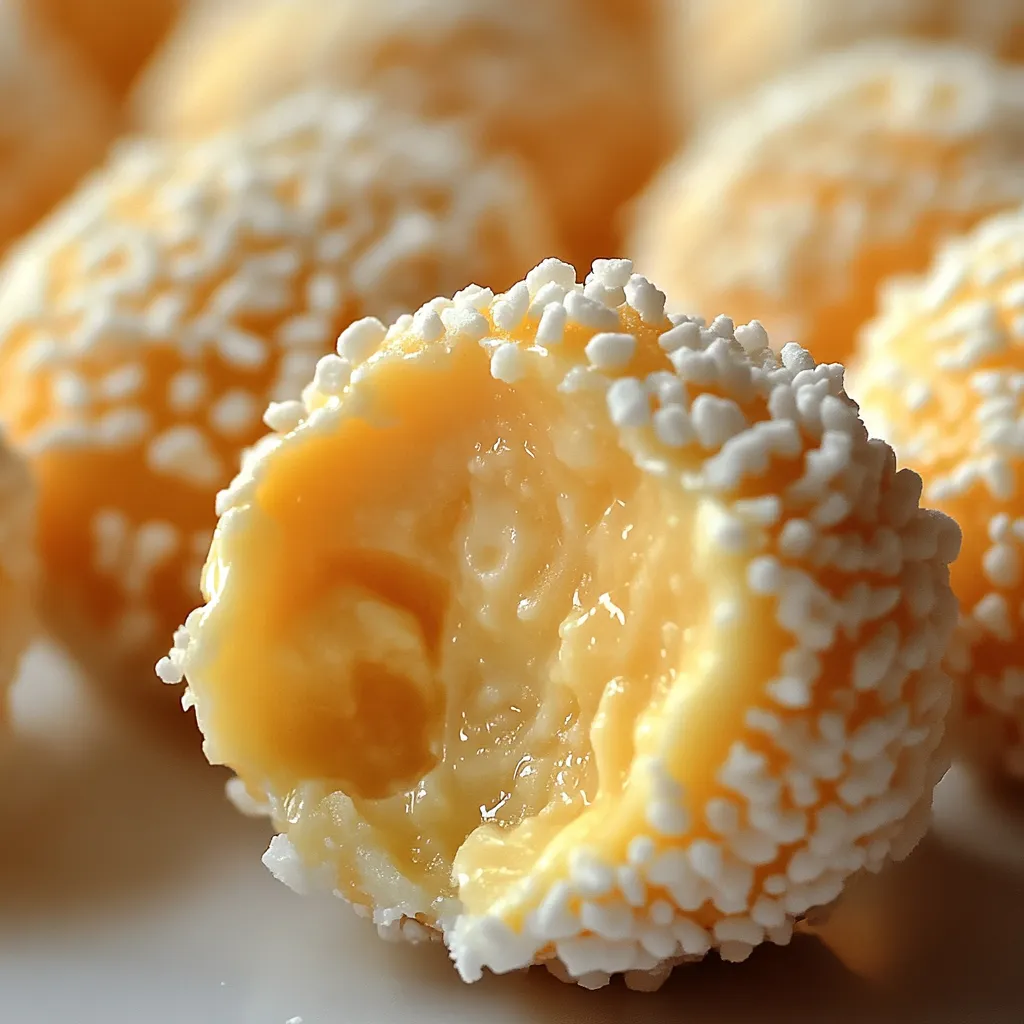
No-bake orange creamsicle truffles capture summery nostalgia in each decadent bite, transforming simple ingredients into irresistible sweet-tart confections. The vibrant citrus flavor combined with velvety cream cheese creates a refreshing treat that evokes childhood memories while satisfying grown-up dessert cravings. These eye-catching little delights require minimal effort yet deliver maximum flavor impact with their smooth centers and crisp chocolate coating.
I discovered these truffles when searching for a dessert that wouldn't heat up my kitchen during summer months. After making them for a neighborhood potluck, three different friends requested the recipe before the evening ended. The bright orange color and familiar creamsicle flavor transported everyone back to childhood ice cream truck moments while still feeling sophisticated enough for an adult gathering.
Sweet Citrus Components
- Cream cheese: Choose full-fat, brick-style for proper consistency and rich mouthfeel. Allow to fully soften at room temperature for smoothest results.
- Powdered sugar: Provides sweetness while maintaining creaminess. Sift before measuring to eliminate lumps for silkiest texture.
- Orange extract: Pure extract rather than imitation delivers authentic flavor without artificial aftertaste. Adjust amount to personal preference.
- Orange zest: Fresh zest contains essential oils that intensify citrus flavor dramatically. Use organic oranges whenever possible for best results.
- White chocolate: High-quality chocolate or candy melts create perfect coating. Look for cocoa butter as an ingredient rather than vegetable oils.
- Food coloring: Gel-based colors provide vibrant hue without thinning chocolate. Natural options like turmeric can substitute for traditional coloring.
- Decorative elements: Sprinkles, additional zest, or candied orange peel create attractive finishing touches that hint at the flavor inside.
Truffle Creation
Smooth Filling Formation
Beat cream cheese thoroughly until completely smooth before adding other ingredients. Use room temperature cream cheese to prevent lumps forming in the mixture. Gradually incorporate powdered sugar to achieve desired sweetness and proper consistency for rolling.
Flavor Infusion
Blend orange extract and freshly grated zest throughout the cream cheese mixture, ensuring even distribution. The aromatic oils from zest create depth of flavor beyond what extract alone provides. Adjust amounts to achieve perfect balance between creamy sweetness and citrus tang.
Chilling Period
Cover mixture tightly and refrigerate until firm enough to handle without sticking excessively to hands. This crucial step makes forming consistent spheres possible while creating proper texture foundation for finished truffles.
Truffle Shaping
Use small cookie scoop or measuring spoon for uniform portions. Roll quickly between palms to create smooth spheres without overwarming the mixture. Return shaped truffles to refrigerator immediately to maintain firmness before coating process.
Chocolate Preparation
Melt white chocolate slowly using short microwave intervals or double-boiler method to prevent scorching. Stir frequently for smooth consistency and add coloring only after chocolate has completely melted. Maintain proper temperature to ensure coating adheres properly without becoming too thick.
Coating Application
Work with small batches of truffles, keeping others refrigerated until ready to dip. Use fork or specialized dipping tool to fully submerge each ball, tapping gently to remove excess coating. Place dipped truffles on parchment paper with adequate spacing to prevent sticking together.
Decoration Addition
Apply sprinkles, zest, or other decorative elements while coating remains wet for proper adhesion. Work quickly to finish each truffle before chocolate sets, particularly in warmer environments. Consider contrasting colors for most visually appealing presentation.
 Save
Save
My first attempt at these truffles taught me the importance of properly chilling the mixture. Impatience led to sticky, misshapen balls that gradually flattened on the baking sheet. Now I know that allowing proper setting time between each step creates perfectly round, professional-looking confections that maintain their shape beautifully even at room temperature.
Working with white chocolate requires gentler handling than darker varieties since it burns more easily. I've found that microwaving at 50% power in very short bursts while stirring frequently prevents overheating and produces the smoothest coating. The extra patience pays off with a glossy finish that snaps satisfyingly when bitten into.
Achieving vibrant orange color without affecting flavor takes experimentation. Natural food coloring provides softer pastel shades that look spring-appropriate, while gel-based colors create bolder hues perfect for Halloween or sports-themed events. For completely natural coloring, a pinch of turmeric adds golden undertones without noticeable flavor change.
Presentation Perfection
These bright confections shine when arranged in miniature cupcake liners inside a gift box tied with coordinating ribbon. The individual wrappers prevent sticking while elevating the presentation from casual treat to special gift. For holiday giving, choose seasonal colors that complement the orange filling.
Create an impressive dessert platter by pairing these truffles with complementary flavors like chocolate-dipped strawberries and lemon shortbread. The variety of flavors and textures provides something for every preference while maintaining a cohesive citrus-themed offering that works beautifully for bridal showers or afternoon teas.
For summer entertaining, serve these chilled truffles alongside prosecco or mimosas for an elegant outdoor dessert option. The cool, creamy centers provide refreshing contrast to warm weather while the citrus notes complement champagne beautifully. Small dessert plates with decorative picks allow for easy enjoyment during standing receptions.
Flavor Variations
Transform these into tropical delights by substituting lime zest and extract for the orange components. The tangier citrus profile pairs wonderfully with white chocolate while creating a key lime pie reminiscent treat perfect for summer gatherings. Garnish with tiny lime zest curls for identification.
Create seasonal warmth by adding a quarter teaspoon of cinnamon to the cream cheese mixture along with the orange flavoring. This subtle spice addition creates complexity reminiscent of winter citrus desserts while maintaining the refreshing quality that makes these truffles special.
Develop sophisticated adult versions by incorporating two teaspoons of orange liqueur into the filling mixture. Grand Marnier or Cointreau adds depth while enhancing the natural orange flavor. Reduce extract slightly when using alcohol to maintain proper flavor balance without overwhelming.
Keeping Fresh
Store finished truffles in single layers separated by parchment paper to prevent sticking. The refrigerator provides optimal texture while extending freshness up to one week. Allow to sit at room temperature for 10-15 minutes before serving for best flavor experience.
For longer storage, place fully set truffles in freezer-safe containers with parchment between layers. They maintain quality wonderfully for up to two months when properly wrapped. Thaw overnight in refrigerator rather than at room temperature to prevent condensation from damaging the coating.
Transport these treats in insulated containers with ice packs when traveling to events during warmer months. The cream cheese filling softens quickly in heat, potentially compromising the perfect spherical shape that makes these truffles visually appealing. Refrigerate upon arrival until shortly before serving.
The simple pleasure of creating these bright, flavorful treats reminds me why I love sharing homemade confections. Their vibrant appearance instantly brightens any dessert table while the familiar creamsicle flavor creates immediate smiles of recognition. Though the process requires some patience between steps, the actual hands-on time remains minimal—making these impressive little bites accessible even to novice candy makers. I find myself returning to this recipe throughout the year, adapting colors and decorations to suit different occasions while maintaining the perfect balance of tangy orange and creamy sweetness that makes them irresistible.
 Save
Save
Common Questions About Cooking
- → Can I make these truffles ahead of time?
- Absolutely! These truffles store beautifully in the refrigerator for up to a week, or you can freeze them for up to 3 months. They're perfect for prepping before parties or holidays.
- → What if I can't find orange juice concentrate?
- If you can't find orange juice concentrate, you can substitute 2-3 tablespoons of orange juice plus 1/2 teaspoon orange extract. Reduce the amount of juice if the mixture becomes too wet.
- → Can I use graham crackers instead of vanilla wafers?
- Yes! Graham crackers make a great substitute with a slightly different flavor profile. You could also try golden Oreos with the filling removed for another variation.
- → Why did my white chocolate seize up?
- White chocolate can be tricky. Make sure your truffle balls are completely chilled before dipping, and be very careful not to get any water in your melted chocolate. Melting with a bit of shortening or coconut oil can help it stay smooth.
- → How do I get a stronger orange flavor?
- For more orange punch, add a few drops of orange extract along with the orange juice concentrate, or increase the amount of fresh orange zest. Starting with about 1/4 teaspoon of extract is good - you can always add more!
