
 Save
Save
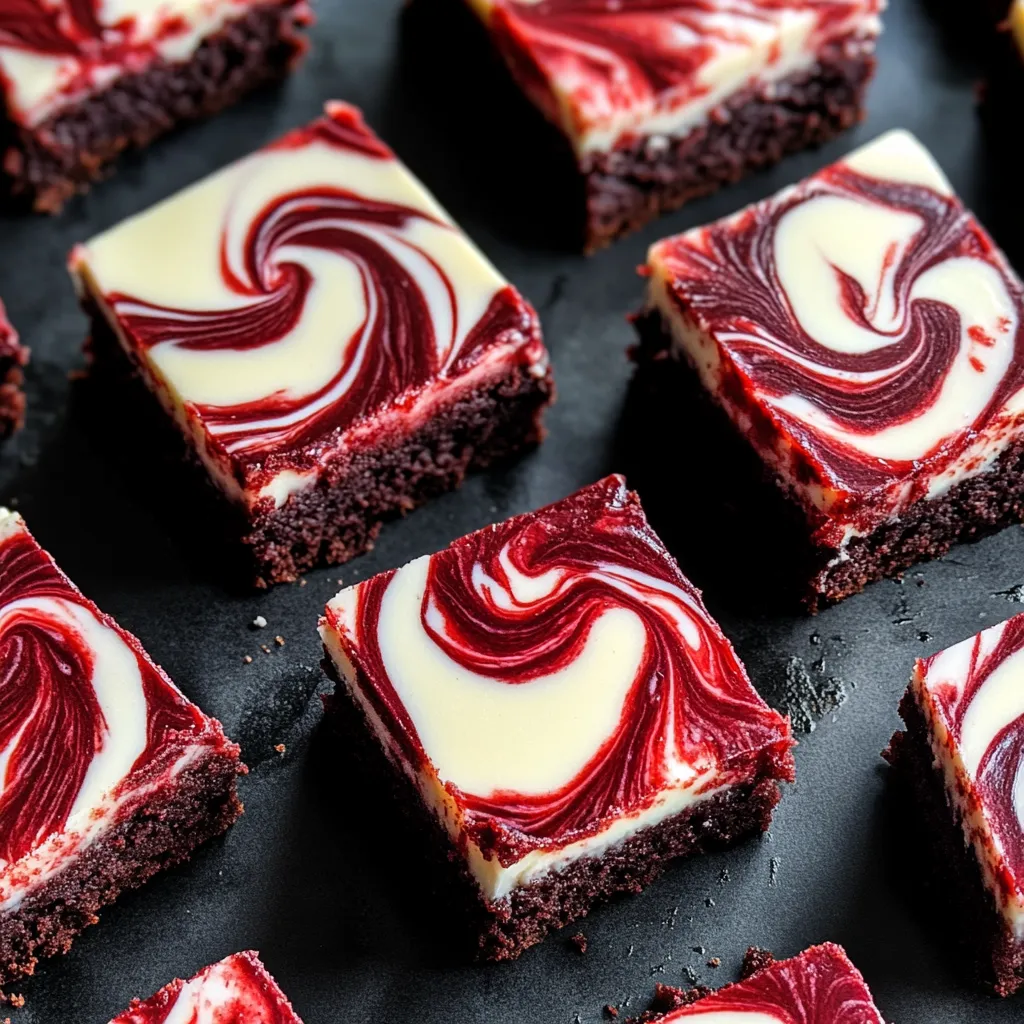
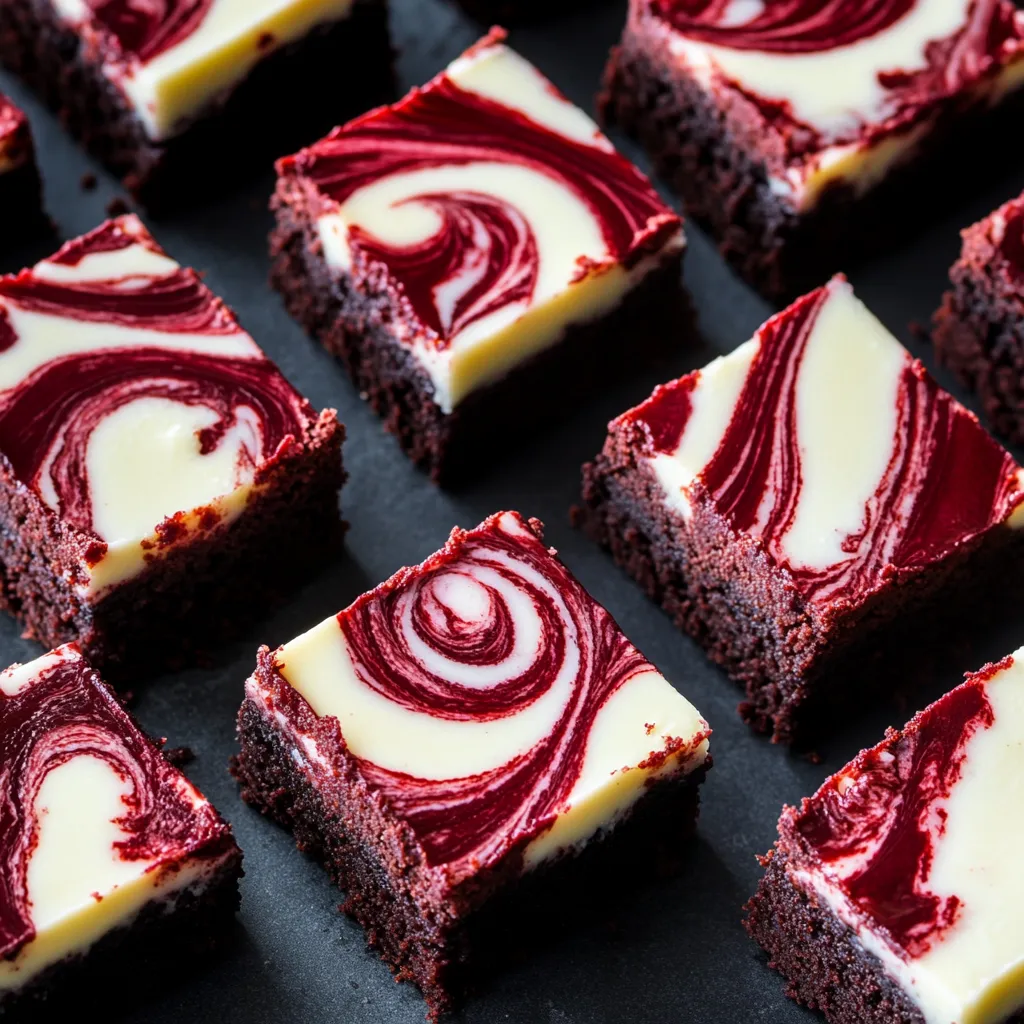
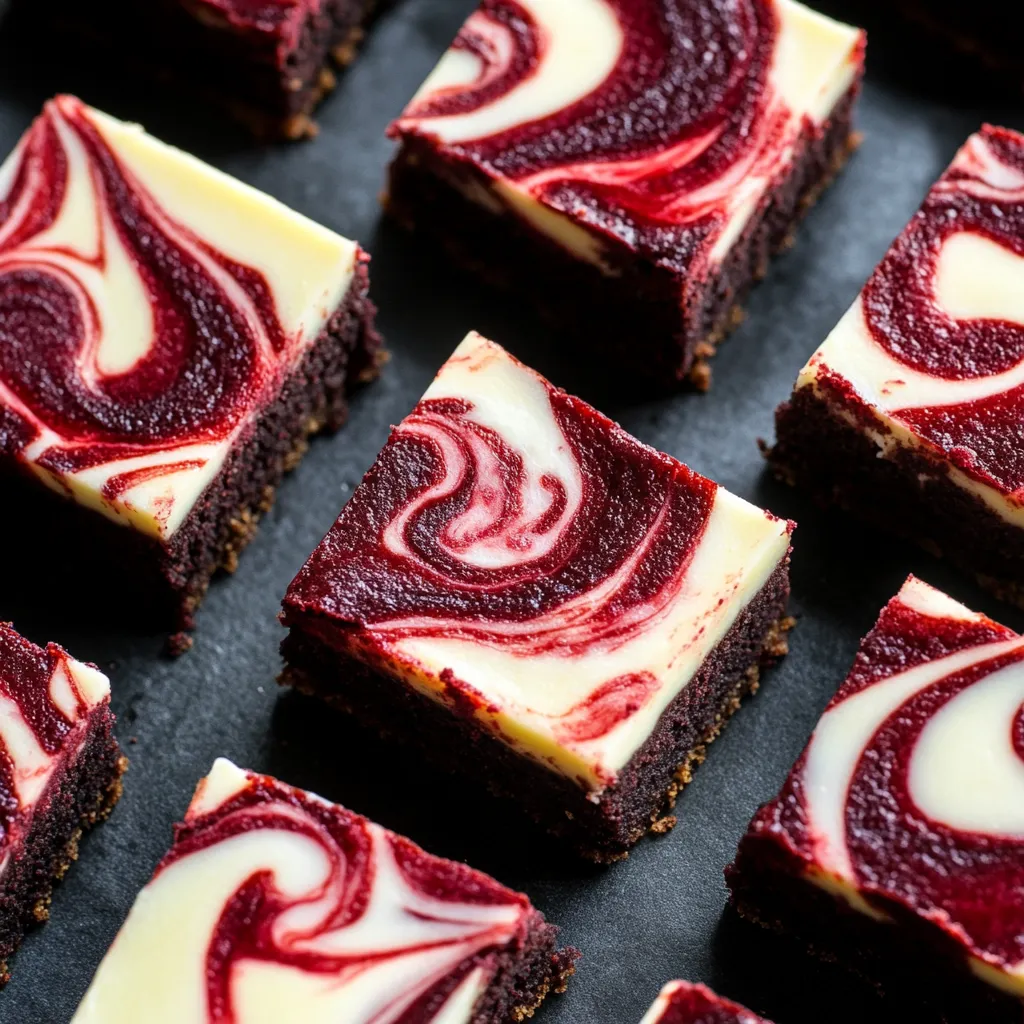
Decadent layers of velvety chocolate combine with swirls of creamy cheesecake to create an irresistible dessert experience unlike ordinary brownies. The striking visual contrast between deep ruby-red brownie batter and pristine white cheesecake creates a marbled masterpiece that tastes as impressive as it looks. These brownies deliver perfect harmony between rich cocoa flavor with tangy cream cheese in every luxurious bite.
I first created these brownies for a holiday gathering and they disappeared within minutes. The striking red and white swirls attracted everyone's attention, but it was the perfect texture contrast that kept hands reaching for more. My children now request these instead of birthday cake every year - the ultimate endorsement from my household's toughest food critics.
Essential Ingredients
- Unsalted Butter: Creates that rich, tender texture that forms the foundation of perfect brownies. European-style butter with higher fat content elevates the flavor significantly.
- Granulated Sugar: Provides essential sweetness while contributing to the crackly brownie top.
- Eggs: Add structure, richness and help bind everything together. Room temperature eggs incorporate more smoothly.
- Red Food Coloring: Creates the signature vibrant color that makes these brownies visually stunning. Gel coloring provides intense color with minimal liquid addition.
- Cocoa Powder: Delivers the characteristic chocolate flavor without weighing down the batter. Dutch-processed cocoa offers smoother, less acidic chocolate notes.
- All-Purpose Flour: Provides just enough structure while allowing brownies to maintain their fudgy texture. Measuring by weight rather than volume ensures consistency.
- Cream Cheese: The star of the cheesecake layer; full-fat version yields the creamiest results.
- Vanilla Extract: Enhances both layers with aromatic depth. Pure extract rather than imitation makes a noticeable difference.
Creation Process
- Oven Preparation:
- Preheat your oven to exactly 350°F ensuring proper temperature before baking begins. Line baking pan with parchment paper leaving overhang on sides for easy removal after cooling.
- Brownie Foundation:
- Melt butter completely in microwave or saucepan until just liquified but not hot. Whisk in granulated sugar until completely incorporated and slightly thickened. Add eggs one at a time, ensuring each is fully incorporated before adding the next. This creates proper emulsion and texture in both layers.
- Dry Ingredient Integration:
- Sift cocoa powder directly into the wet ingredients to prevent lumps, then add flour, salt, and baking powder. Fold in chocolate chips by hand using a rubber spatula, distributing them evenly throughout the dough.
- Base Layer Formation:
- Pour brownie batter into prepared pan, using spatula to spread evenly into corners and create a level surface. The relatively thin layer will form the fudgy foundation for your brownie-cheesecake hybrid.
- Cheesecake Layer Creation:
- In a separate large bowl, beat softened cream cheese with electric mixer until completely smooth and free of lumps, approximately 2 minutes. This incorporates air for proper cheesecake texture. Add finely granulated sugar and vanilla extract to cream cheese, beating on low speed until combined, then increasing to medium speed until smooth and fluffy. Add egg and beat until fully incorporated and mixture looks smooth and glossy.
- Layer Assembly:
- Drop spoonfuls of cheesecake mixture evenly across the brownie batter surface, then use an offset spatula to gently spread cheesecake mixture into an even layer, being careful not to disturb the brownie batter underneath. The dough doesn't need to be perfectly smooth—slight texture adds to the rustic appeal.
- Artistic Swirling:
- Warm red food coloring in the microwave for 15-20 seconds until just fluid enough to drizzle. Using a small spoon, drop coloring across the surface, then create artistic swirls with a knife or skewer, drawing it through all three layers without overmixing.
- Baking Transformation:
- Place the pan in the center rack of your preheated oven and bake for 25-30 minutes until cheesecake edges are set and golden while the center remains slightly soft. A toothpick inserted should come out with a few moist crumbs but no wet batter.
- Cooling Patience:
- Allow brownies to cool completely in the pan on a wire rack, which may take 1-2 hours. This patience is rewarded with perfectly set brownies that cut cleanly. For even cleaner cuts, refrigerate for 30 minutes after cooling to room temperature.
My grandmother taught me the value of patience when making layered desserts. I still remember how she would gently swat my hand away when I tried to cut into her famous brownies before they had properly cooled. 'Good things come to those who wait,' she'd say with a knowing smile. With these brownie cheesecake bars, that wisdom certainly applies—the texture improves dramatically with proper cooling time, transforming from a hot, gooey mess into perfect, sliceable squares with distinct layers.
Perfect Pairings
These versatile brownie cheesecake bars complement various accompaniments to create memorable dessert experiences. Serve warm squares topped with vanilla bean ice cream for a decadent contrast of warm and cold temperatures. Coffee enthusiasts appreciate these alongside a cappuccino made with thick Greek yogurt, shredded cinnamon, and a drizzle of honey. For special occasions, create an impressive dessert board by arranging squares alongside fresh raspberries, chocolate-dipped strawberries, and whipped cream for a colorful addition that complements the rich chocolate and tangy cheesecake layers.
Creative Variations
Adapt this flexible recipe to create exciting flavor combinations that suit your taste preferences or what you have available. Peanut butter lovers can swirl 1/4 cup of creamy peanut butter into the cheesecake layer before adding the powdered sugar, creating a nutty twist that pairs beautifully with the chocolate. White chocolate enthusiasts might substitute white chocolate chips for traditional semi-sweet in the brownie batter for a 'white chocolate' variation that's become my sister's favorite. Create a seasonal autumn version by adding 1 teaspoon of pumpkin spice to the brownie batter and swirling pumpkin butter into the cheesecake layer. For added texture and flavor dimension, sprinkle 1/2 cup of toasted chopped nuts like walnuts or pecans between the brownie and cheesecake layers.
Storage Solutions
Preserve the quality of these delicious bars with proper storage techniques. Keep brownie cheesecake bars at room temperature in an airtight container for up to 3 days, placing parchment paper between layers to prevent sticking. For extended freshness, refrigerate in a cake keeper or under a dome, bringing to room temperature before serving for best flavor and texture. These bars freeze exceptionally well—wrap individual portions in plastic wrap, then aluminum foil, and freeze for up to three months. Thaw overnight in the refrigerator before bringing to room temperature for about an hour, or warm slightly in a 300°F oven for 5-10 minutes for that fresh-baked taste.
These chocolate cheesecake brownies have become my signature potluck contribution, requested repeatedly by friends and family for gatherings of all kinds. What makes them truly special is how something so simple can transport you instantly to a sunnier state of mind. The combination of rich chocolate, creamy cheesecake, and vibrant chocolate chips creates an experience greater than the sum of its parts. Even friends who normally push cookies aside have been converted after trying this dish.
Common Questions About Cooking
- → Can I make these brownies without red food coloring?
- Yes, you can reduce or omit the food coloring. The brownies will taste the same but won't have the classic red velvet appearance.
- → How do I know when the brownies are done baking?
- Insert a toothpick into the center - it should come out with a few moist crumbs but not wet batter. The center should be set but still slightly soft.
- → Why do my brownies need to be refrigerated?
- Because of the cream cheese layer, these brownies should be stored in the refrigerator. Chilling also helps them set and makes cutting cleaner.
- → Can I freeze these brownies?
- Yes! Wrap them well and freeze for up to 3 months. Thaw overnight in the refrigerator before serving.
- → My cheesecake layer has cracks. What went wrong?
- Cracks usually happen from overbaking or cooling too quickly. Next time, try baking for a shorter time and letting them cool gradually at room temperature.