
 Save
Save
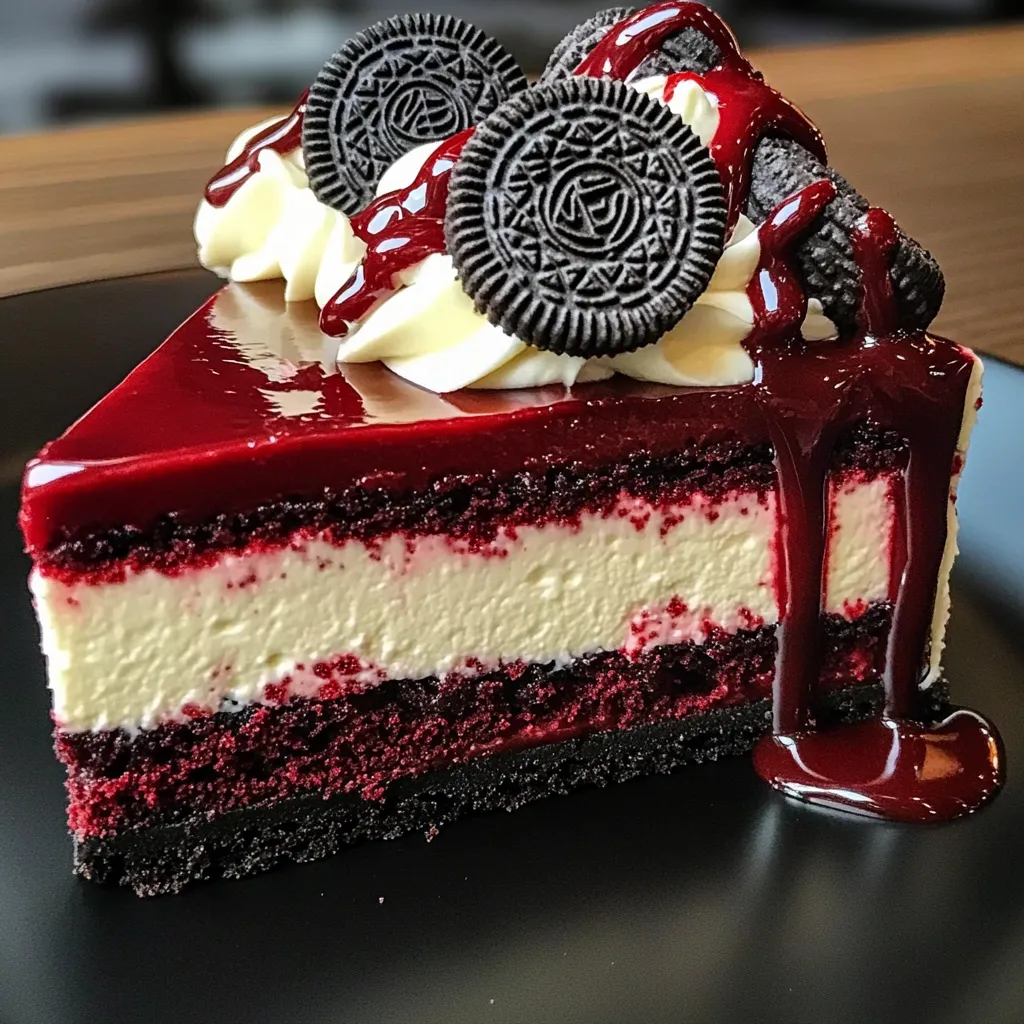
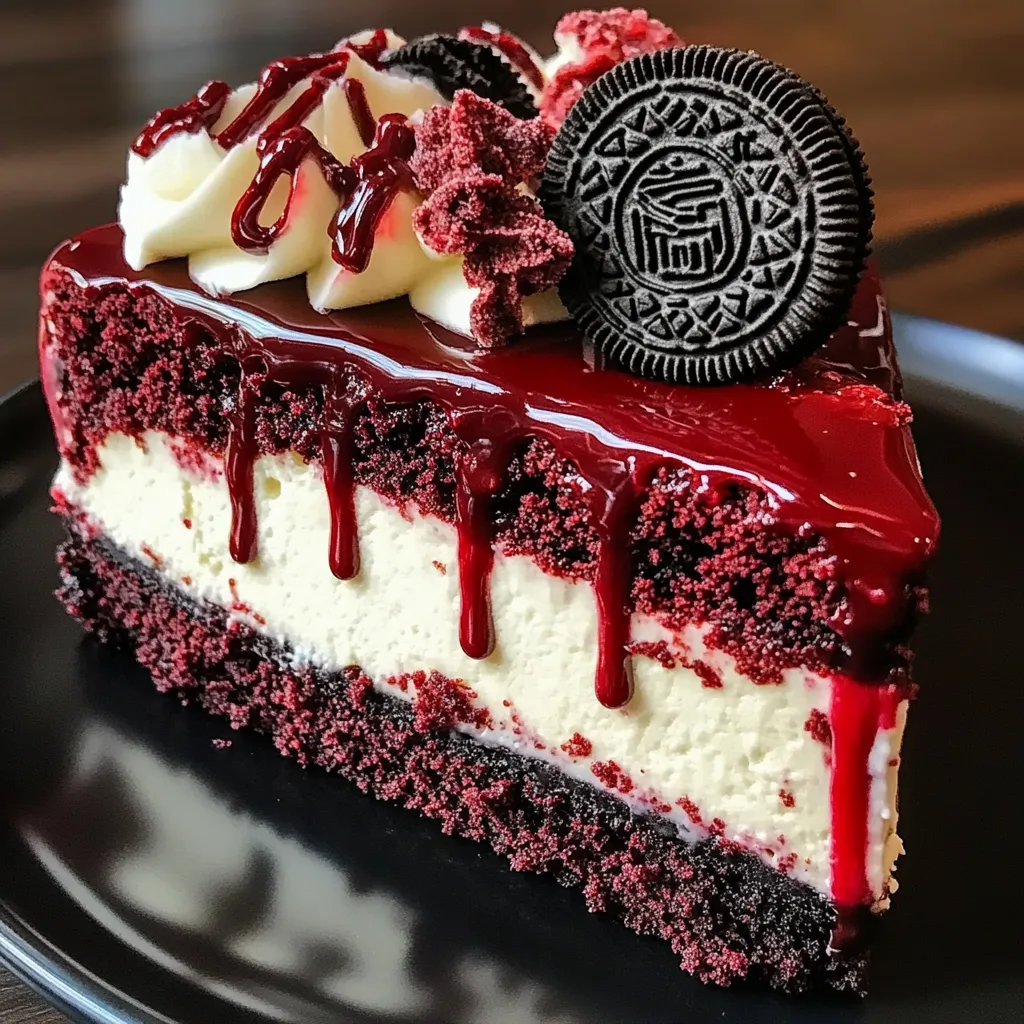
Layers of crimson velvet decadence meet creamy cheesecake perfection atop a foundation of chocolate cookie crunch in this show-stopping dessert. This Red Velvet Oreo Cheesecake combines three beloved treats into one magnificent creation that captivates both eyes and taste buds. The subtle cocoa notes of red velvet cake harmonize with the rich creaminess of cheesecake, while the distinctive Oreo crust provides the perfect chocolatey contrast. Crowned with vibrant berry compote and decorative touches, this dessert transforms any gathering into a celebration.
I first made this cheesecake for my sister's birthday dinner, where it upstaged even the birthday presents. Her eyes widened when I brought it to the table, and the conversation stopped mid-sentence as everyone reached for their phones to capture its beauty. Now it's requested by name for every family celebration, and I've lost count of how many friends have asked for the recipe after their first taste.
Gathering Your Ingredients
- Oreo cookies (24 cookies): Creates the chocolatey foundation and decorative topping
- Unsalted butter (5 tablespoons, melted): Binds the crust into a sturdy base
- Cream cheese (24 ounces, softened): The essential creamy heart of any cheesecake
- Granulated sugar (1 cup): Provides balanced sweetness throughout
- Vanilla extract (2 teaspoons): Enhances flavor depth and complexity
- Heavy whipping cream (1 cup): Creates light, airy texture in the filling
- Red velvet cake crumbs (1 cup): Contributes signature flavor and vibrant color
- Gelatin (1 tablespoon, optional): Ensures perfect slicing and serving texture
- Berry compote (1 cup): Adds bright, tangy contrast to the rich cheesecake
- Additional whipped cream: For decorative finishing touches
Creating Magic
Chocolate Cookie Foundation
Begin by preheating your oven to 350°F (175°C) and preparing a 9-inch springform pan with parchment paper lining the bottom. Transform the Oreo cookies into fine crumbs using a food processor, or place them in a sealed plastic bag and crush with a rolling pin for a more rustic texture. The entire cookie should be crushed—no need to remove the cream filling as it adds moisture and sweetness to the crust.
Mix the Oreo crumbs with melted butter until the mixture resembles wet sand and can hold its shape when pressed together. Transfer this mixture to your prepared pan and press firmly into the bottom, creating an even layer. Use the bottom of a measuring cup to compact the crumbs, which ensures a sturdy foundation that won't crumble when sliced. Bake for 8-10 minutes until set but not burnt, then remove from the oven and cool completely on a wire rack.
Velvety Filling Creation
In a large mixing bowl, beat the softened cream cheese until smooth and free of lumps—temperature is crucial here, as properly softened cream cheese creates the silkiest texture. Gradually add sugar while continuing to beat at medium speed until the mixture becomes light and fluffy. Incorporate vanilla extract for depth of flavor.
For a lighter, more mousse-like texture, whip the heavy cream separately until stiff peaks form, then gently fold it into the cream cheese mixture. If using gelatin for a firmer set, dissolve it in a small amount of warm water according to package instructions before carefully incorporating it into the filling. Finally, fold in the red velvet cake crumbs, distributing them evenly for consistent flavor and that stunning crimson color throughout the filling.
Assembly Artistry
Pour the prepared filling over the cooled crust, smoothing the top with an offset spatula for a professional finish. Cover the pan with plastic wrap and refrigerate for at least 6 hours, though overnight chilling produces the best texture and flavor development. This patient waiting period allows the cheesecake to set properly and the flavors to meld into perfect harmony.
Once fully set, spread a layer of berry compote—either raspberry or strawberry works beautifully—over the top of the cheesecake. The vibrant ruby color of the berries complements the red velvet while adding a tangy counterpoint to the creamy richness. For the finishing touch, pipe decorative swirls of whipped cream around the perimeter and garnish with whole Oreo cookies standing upright for dramatic presentation.
I discovered this recipe while experimenting for a Valentine's Day dessert that would offer something beyond the traditional chocolate-covered strawberries. The combination of the deep red velvet with classic cookies and cream flavors created such an impressive reaction from my family that it's now become my signature dessert for special occasions. The way the different textures and flavors come together creates something truly greater than the sum of its parts.
Serving Suggestions
This show-stopping dessert needs little accompaniment, but a few thoughtful pairings can enhance the experience. Serve slices with additional fresh berries on the side for a bright, fresh contrast to the rich cheesecake. A small pour of crème anglaise creates an elegant presentation for formal gatherings. For coffee lovers, a shot of espresso served alongside brings out the subtle chocolate notes in both the red velvet and Oreo components.
Creative Variations
Transform this basic recipe with seasonal and flavor adaptations. For a holiday version, incorporate peppermint extract into the filling and garnish with crushed candy canes. Summer celebrations call for a citrus twist—add orange or lemon zest to the filling and top with complementary citrus segments. For chocolate enthusiasts, fold mini chocolate chips into the filling or drizzle the finished cheesecake with ganache instead of berry compote. The versatility of the base recipe allows for endless personalization.
Storage Solutions
This cheesecake keeps beautifully in the refrigerator for up to five days when stored in an airtight container. For longer storage, individual slices can be wrapped tightly in plastic wrap and frozen for up to one month—a wonderful way to prepare for unexpected guests or to satisfy a sudden dessert craving. Thaw frozen slices overnight in the refrigerator for the best texture restoration. If freezing a whole cheesecake, wait to add the whipped cream garnishes until after thawing.
Throughout my baking journey, I've discovered that desserts with visual impact often become the most memorable parts of a gathering. This Red Velvet Oreo Cheesecake exemplifies that philosophy perfectly—it creates an immediate impression when presented and then follows through with a flavor experience that lives up to its appearance. When I bring this dessert to the table, conversations pause, phones emerge for photos, and there's a moment of collective appreciation before the first slice is cut. It's in these moments that I'm reminded of food's unique ability to create shared experiences and lasting memories around our tables.
Common Questions About Cooking
- → Can I make this cheesecake without gelatin?
- Yes! The gelatin is optional and only helps firm up the texture. Without it, your cheesecake will be a bit softer but still delicious. Just make sure to chill it thoroughly, preferably overnight.
- → Where do I get red velvet cake crumbs?
- You can make them from scratch by baking a small red velvet cake, or use store-bought red velvet cupcakes or cake. You can even crumble red velvet cookies if that's easier to find.
- → Can I freeze this cheesecake?
- Absolutely! Freeze the whole cheesecake or individual slices for up to a month. Wrap well in plastic wrap then foil. Thaw overnight in the refrigerator before serving.
- → What can I substitute for the berry compote?
- Try chocolate ganache, caramel sauce, or simply dust with cocoa powder. Fresh berries or fruit coulis also work beautifully as alternative toppings.
- → How far in advance can I make this cheesecake?
- You can make this cheesecake up to 3 days before serving. Keep it refrigerated and add the berry compote and decorations just before serving for the freshest presentation.