
 Save
Save
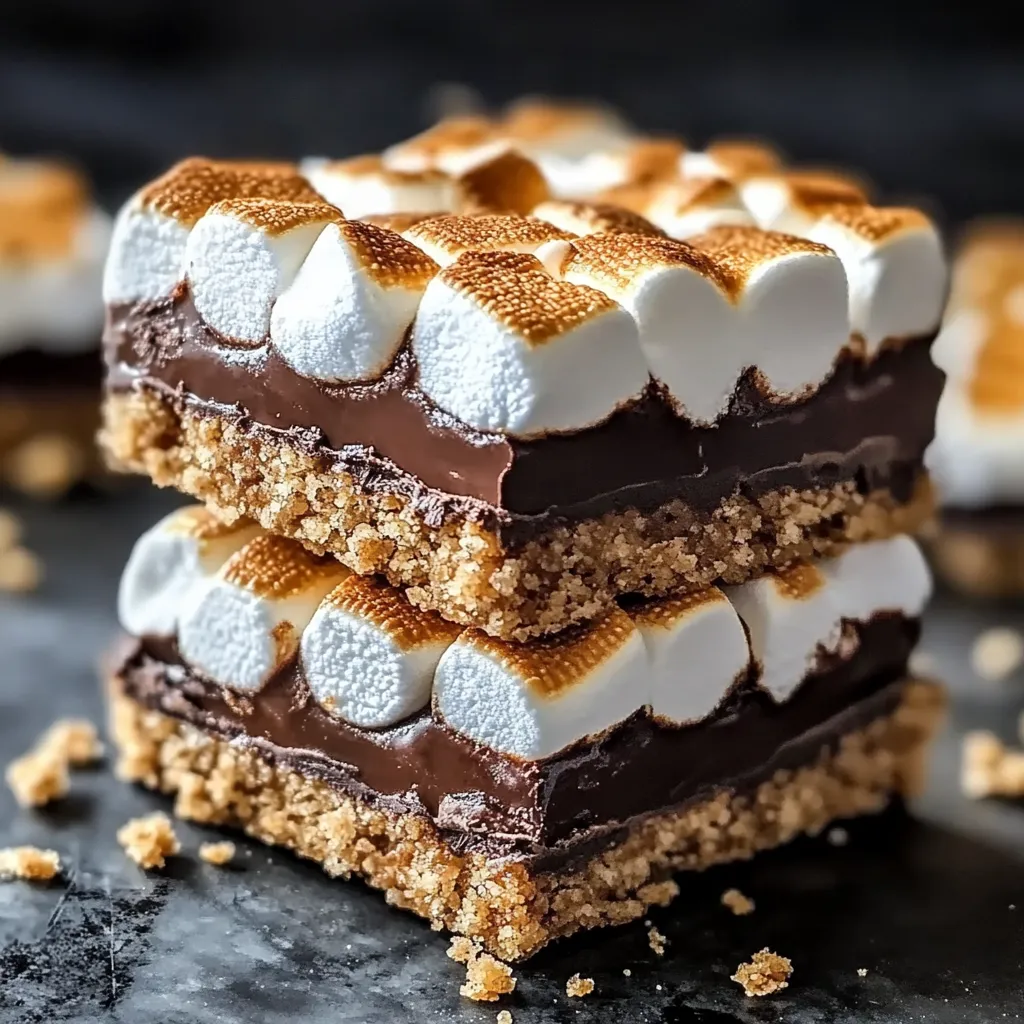
S'mores bars capture all the magic of campfire treats without requiring skewers, open flames, or the inevitable sticky fingers. The buttery graham cracker crust provides a toasty foundation for rich melted chocolate that melds perfectly with gooey marshmallows in a portable, sliceable format. This ingenious transformation maintains the essential flavor trinity of traditional s'mores while elevating the experience with consistent texture and perfect chocolate-to-marshmallow distribution in every blissful bite.
I first created these bars for my son's indoor birthday party when rain canceled our backyard campfire plans. The children's disappointed faces transformed to pure joy when these bars appeared—the golden toasted marshmallow tops and visible layers of melted chocolate immediately recognizable as their beloved campfire treat. Even the adults hovered near the dessert table, quietly sneaking second pieces when they thought no one was watching.
Essential Ingredients
- Graham Cracker Crumbs: Form the distinctive crust that defines s'mores flavor. Freshly crushed crackers provide better texture and flavor than pre-packaged crumbs.
- Butter: Creates the rich, cohesive base that holds everything together. Using unsalted allows better control of the overall sweetness balance.
- Milk Chocolate Chips: Deliver the classic smooth, creamy chocolate layer. Their higher cocoa butter content ensures perfect melting during baking.
- Mini Marshmallows: Provide that signature golden-toasted finish and gooey texture. Their smaller size allows more even distribution and better toasting than large marshmallows.
- Granulated Sugar: Enhances the graham cracker crust with subtle sweetness and helps bind it together. Just a small amount perfectly balances the sweet-salty elements.
- Vanilla Extract: Deepens the flavor profile with warm aromatic notes. Though optional, even a small amount significantly improves the overall taste.
Perfect Preparation
- Crust Creation:
- Begin by preheating your oven to 350°F to ensure proper baking temperature. Line an 8×8-inch baking pan with parchment paper, creating overhang on two sides for easy removal after cooling. This simple step prevents sticking and makes cutting neat bars much easier.
- Graham Cracker Base:
- Combine graham cracker crumbs, melted butter, and sugar in a bowl, stirring until completely incorporated. The mixture should resemble wet sand and hold together when pressed. Transfer to your prepared pan, pressing firmly and evenly across the bottom using the flat bottom of a measuring cup. This compression creates a solid foundation that won't crumble when sliced.
- Perfect Pre-Baking:
- Bake the crust for 8-10 minutes until lightly golden and fragrant. This initial baking sets the crust and develops toasty flavor notes that enhance the overall s'mores experience. Allow to cool slightly before proceeding to prevent the chocolate from melting too quickly in the next step.
- Chocolate Layer:
- Sprinkle chocolate chips evenly across the warm crust, ensuring complete coverage. The residual heat will begin softening the chocolate, creating a more even layer when returned to the oven. For best results, use quality chocolate chips that melt smoothly rather than inexpensive varieties that can become grainy.
- Marshmallow Topping:
- Distribute mini marshmallows across the chocolate layer, creating a complete but not overly crowded surface. Small gaps between marshmallows allow them to expand during baking without overflowing. Their tight arrangement ensures every bite contains the perfect amount of toasty marshmallow goodness.
- Final Baking:
- Return the pan to the oven for 5-7 minutes, watching carefully toward the end. The marshmallows should puff up and develop a golden-brown surface without burning. This brief baking melts the chocolate completely while transforming the marshmallows into that signature gooey texture.
- Crucial Cooling:
- Allow the bars to cool in the pan for at least 30 minutes before lifting out using the parchment paper handles. This patience allows the chocolate layer to set enough for clean cutting while maintaining its delightful melt-in-your-mouth quality.
- Perfect Cutting:
- For the cleanest cuts, use a sharp knife lightly coated with cooking spray or dipped in hot water and wiped dry between slices. Cut with firm, decisive motions rather than dragging the knife through the marshmallow layer, which can create pulling and tearing.
 Save
Save
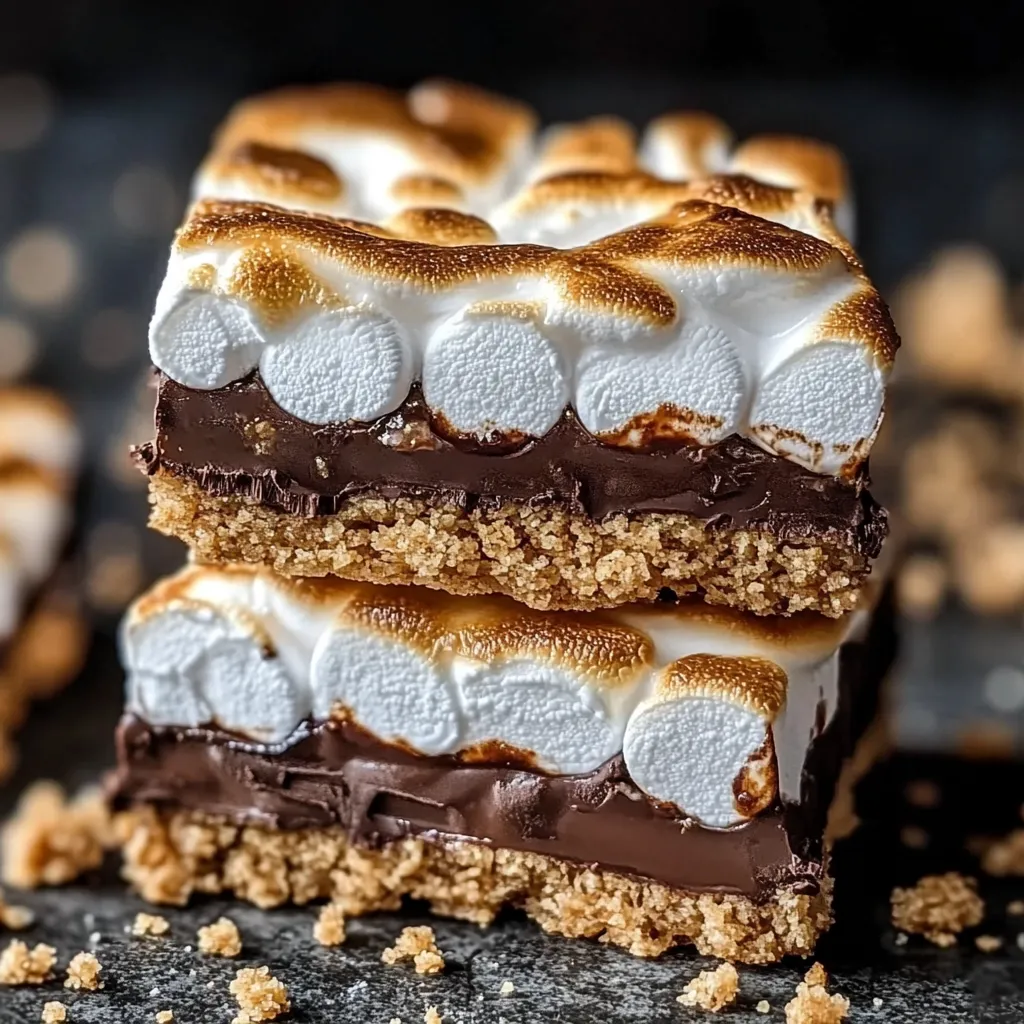
My grandmother always emphasized the importance of patience when making layered desserts. When I first attempted these bars, I rushed the cooling period and ended up with a delicious but messy creation. Now I follow her wisdom and allow complete cooling, resulting in beautiful, defined layers that showcase the three essential components of this beloved treat. This simple patience transforms good s'mores bars into great ones that look as impressive as they taste.
Serving Suggestions
These versatile bars adapt beautifully to various serving scenarios with minimal effort. For casual gatherings, arrange cut bars on a simple platter for easy self-service. Elevate the presentation for special occasions by drizzling additional melted chocolate across the top in decorative patterns. Create an indulgent dessert by serving slightly warmed with a scoop of vanilla ice cream. For children's parties, place each bar in a colorful cupcake liner for easy handling. During summer events, pair with fresh berries for a refreshing contrast to the rich sweetness.
Creative Variations
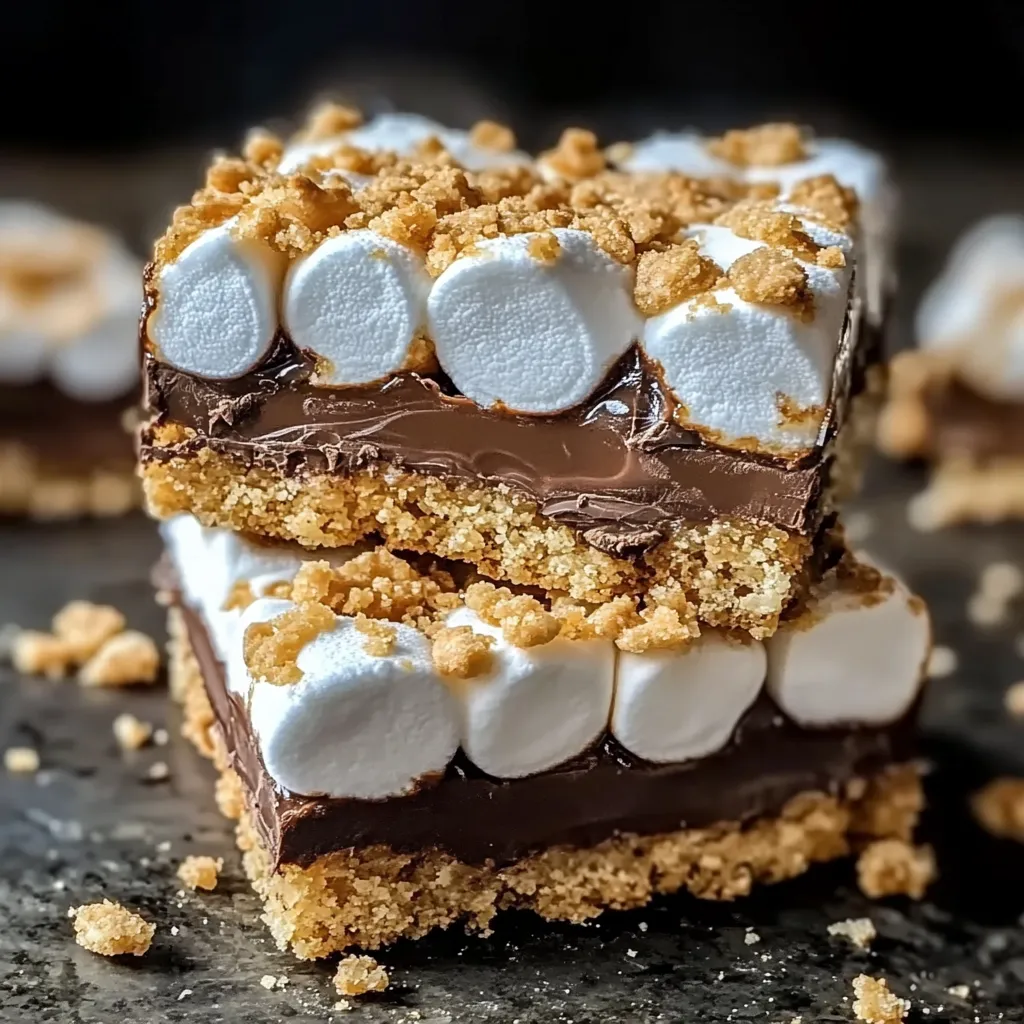
Transform this adaptable recipe by experimenting with different flavor combinations. Create a peanut butter lover's version by spreading a thin layer of peanut butter over the crust before adding chocolate chips. For chocolate enthusiasts, substitute half the graham crackers with chocolate graham crackers or add a tablespoon of cocoa powder to the crust mixture. Seasonal adaptations might include crushed peppermint candies sprinkled over the marshmallows during Christmas or caramel drizzle for fall gatherings. For texture contrast, consider adding chopped nuts to the crust or between the chocolate and marshmallow layers.
Storage Strategy
Maintain optimal texture and flavor by following proper storage techniques. Store completely cooled bars in an airtight container at room temperature, placing parchment paper between layers to prevent sticking. They remain fresh for 4-5 days, though the marshmallow layer gradually becomes less fluffy over time. For longer storage, refrigerate for up to a week, allowing them to return to room temperature before serving for the best texture and flavor. These bars do not freeze well as the marshmallow layer develops an unpleasant texture when thawed.
These s'mores bars exemplify how beloved flavors can be reimagined in more practical formats without losing their essential character. They honor the nostalgic campfire treat while elevating it through thoughtful preparation and presentation. Whether served at a children's birthday party, a summer barbecue, or as a simple family dessert, these bars deliver the perfect balance of familiar comfort and convenient innovation that makes them impossible to resist.
 Save
Save
Common Questions About Cooking
- → Can I use graham crackers instead of pre-made crumbs?
- Yes! You'll need about 12 full graham cracker sheets. Pulse them in a food processor until finely ground, or place them in a zip-top bag and crush with a rolling pin.
- → How do I know when the marshmallows are done baking?
- The marshmallows should be puffy and lightly golden on top. Watch them closely as they can go from perfectly toasted to burnt quickly. If needed, you can also briefly use the broiler for 30-60 seconds to get that toasted look.
- → Can I make these ahead of time for a party?
- Absolutely! These bars can be made 1-2 days in advance. Store them in an airtight container at room temperature, or in the refrigerator if your kitchen is warm.
- → Why are my bars too crumbly when I cut them?
- Make sure the bars are completely cooled and chilled before cutting. Use a sharp knife and wipe it clean between cuts. If they're still crumbly, try dipping your knife in hot water and drying it before each cut.
- → Can I add other mix-ins to these bars?
- Definitely! Try adding chopped nuts, toffee bits, or a swirl of peanut butter to the chocolate layer for a fun variation. You could also use flavored chocolate chips like mint or caramel.