
 Save
Save
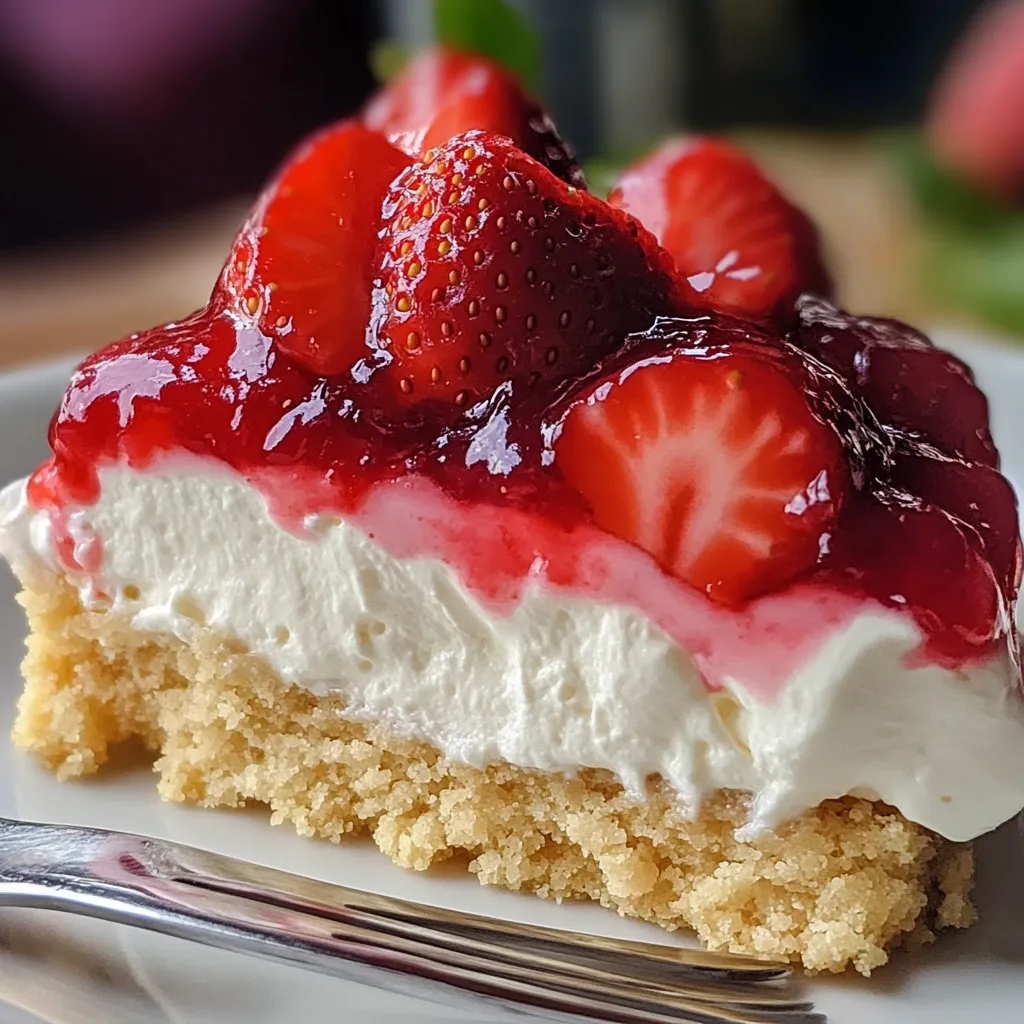
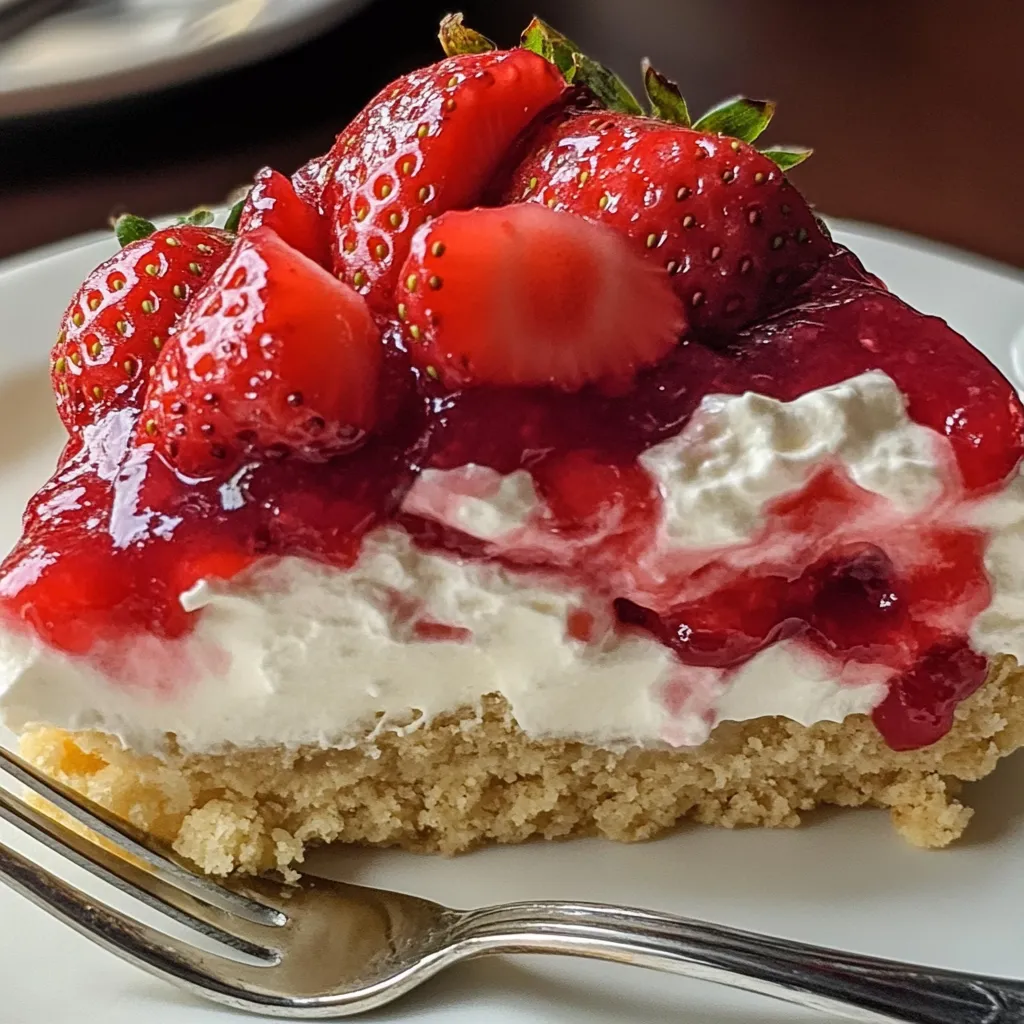
Strawberry cheesecake dump cake combines the bright sweetness of strawberries with smooth cream cheese and a buttery cake topping. This effortless dessert brings together three beloved treats – juicy strawberries, rich cheesecake, and moist cake – creating something truly special with minimal kitchen time. The layered approach gives you a fruity base, creamy middle, and golden buttery crust that satisfies every dessert craving.
I first made this for a neighborhood potluck when I was short on time but wanted something impressive. The look on everyone's face when they tasted that first bite – the way the creamy cheesecake layer melted into the sweet strawberries – convinced me this recipe needed to be in my permanent collection.
Perfect Ingredient Selection
- Two 15-ounce cans strawberry pie filling: Creates the sweet, fruity foundation that bubbles and thickens during baking
- Eight ounces cream cheese (softened): Provides that signature tangy creaminess that makes this more than just a dump cake
- One large egg: Binds the cheesecake layer and helps it set to the perfect consistency
- Quarter cup granulated sugar: Balances the tanginess of the cream cheese without overwhelming the natural strawberry flavor
- One package vanilla cake mix: Forms a golden, buttery crust with minimal effort
- Half cup cold salted butter: Creates those irresistible crispy pockets throughout the top layer
- Fresh strawberries (optional): Adds brightness and visual appeal when serving
The Baking Process
- Oven Preparation:
- Heat your oven to 350°F ensuring proper temperature before your dessert goes in.
- Layer Creation:
- Spread strawberry pie filling across the bottom of a 9×13-inch baking dish, creating an even fruity base.
- Cheesecake Mixture:
- Beat softened cream cheese with sugar and egg until smooth and silky, taking care to eliminate any lumps for the creamiest result.
- Middle Layer Addition:
- Drop spoonfuls of cream cheese mixture over strawberry layer, gently spreading without fully mixing the layers together.
- Cake Mix Topping:
- Sprinkle dry cake mix evenly across the entire surface, covering both strawberry and cheesecake layers completely.
- Butter Placement:
- Slice cold butter into thin pats and distribute across the cake mix surface, ensuring maximum coverage for proper browning.
- Baking Magic:
- Place in preheated oven for 40-45 minutes until topping turns golden brown and fruit filling bubbles at the edges.
- Cooling Period:
- Allow to cool for 10-15 minutes before serving, giving layers time to set slightly while still warm.
I'm particularly fond of using high-quality strawberry pie filling with whole berries. My grandmother always insisted on brands that contained actual fruit pieces rather than just flavored gel, and that small detail makes all the difference in the final taste and texture.
Serving Ideas
Present this dessert warm from the oven with a scoop of vanilla ice cream that slowly melts into the layers. The temperature contrast between cold ice cream and warm cake creates a magical dining experience that elevates the already delicious combination of flavors. For special occasions, consider adding fresh mint leaves as garnish.
Tasty Variations
Transform this recipe by swapping strawberry filling with other fruits for endless possibilities. Try cherry filling with almond extract in the cheesecake layer, or blueberry filling with lemon zest mixed in. For those who prefer less sweetness, reduce sugar in the cheesecake layer and add a teaspoon of lemon juice to brighten the flavors.
Keeping It Fresh
Store leftovers covered at room temperature for 1-2 days without losing quality. For longer storage, refrigerate up to a week by covering tightly with plastic wrap or foil. When reheating, microwave individual portions for 10-15 seconds to restore that fresh-baked warmth without overcooking the cheesecake layer. The texture changes slightly when refrigerated – the cheesecake layer firms up more, creating an interesting contrast between the layers that some of my family members actually prefer to the freshly baked version.
Balanced Presentation
Serve your strawberry cheesecake dump cake with something light and refreshing to balance its richness. A simple fresh fruit salad makes the perfect accompaniment, or try a small scoop of lemon sorbet on the side. The bright acidity cuts through the sweetness and cleanses the palate between bites, making each spoonful taste as amazing as the first.
I developed this recipe through countless trials, and I've found that the ratio of ingredients creates the perfect balance. While it might seem tempting to add more cream cheese, the current amount provides just enough creaminess without overpowering the strawberry flavor or preventing the cake mix from properly cooking through. It's truly one of those recipes where simplicity creates something greater than the sum of its parts.
Common Questions About Cooking
- → Can I use fresh strawberries instead of canned pie filling?
- Fresh strawberries won't work as a direct substitute since they contain too much moisture. If you want to use fresh berries, cook them down with sugar and cornstarch first to create a thick filling similar to canned pie filling.
- → What's the best way to slice the cold butter for the topping?
- Use a sharp knife to cut the cold butter into thin slices, about 1/8-inch thick. Try to distribute the slices evenly over the cake mix to ensure it all gets moistened during baking.
- → Can I use other flavors of pie filling?
- Absolutely! Cherry, blueberry, peach or apple pie filling all work great in this recipe. You can customize it based on your preferences or what's in your pantry.
- → Why is my cake mix still powdery after baking?
- This usually happens when the butter slices don't cover enough of the cake mix. Make sure to slice the butter thinly and spread it evenly. You can also use more butter (up to 3/4 cup) if needed.
- → Is this dessert better served warm or cold?
- It's delicious both ways! Serve warm for a gooey, more cake-like texture or refrigerate and serve chilled for a firmer, more cheesecake-like dessert. Try it both ways to see which you prefer.