 Save
Save
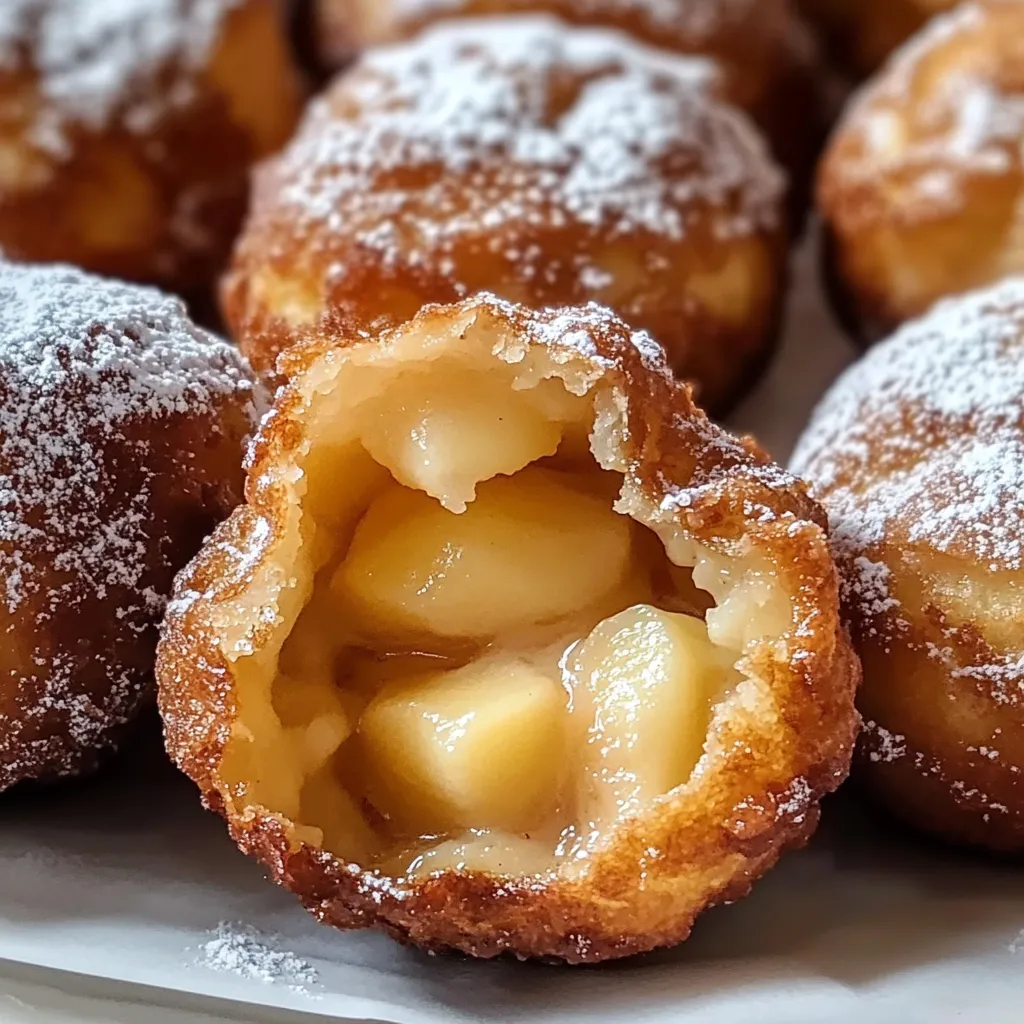
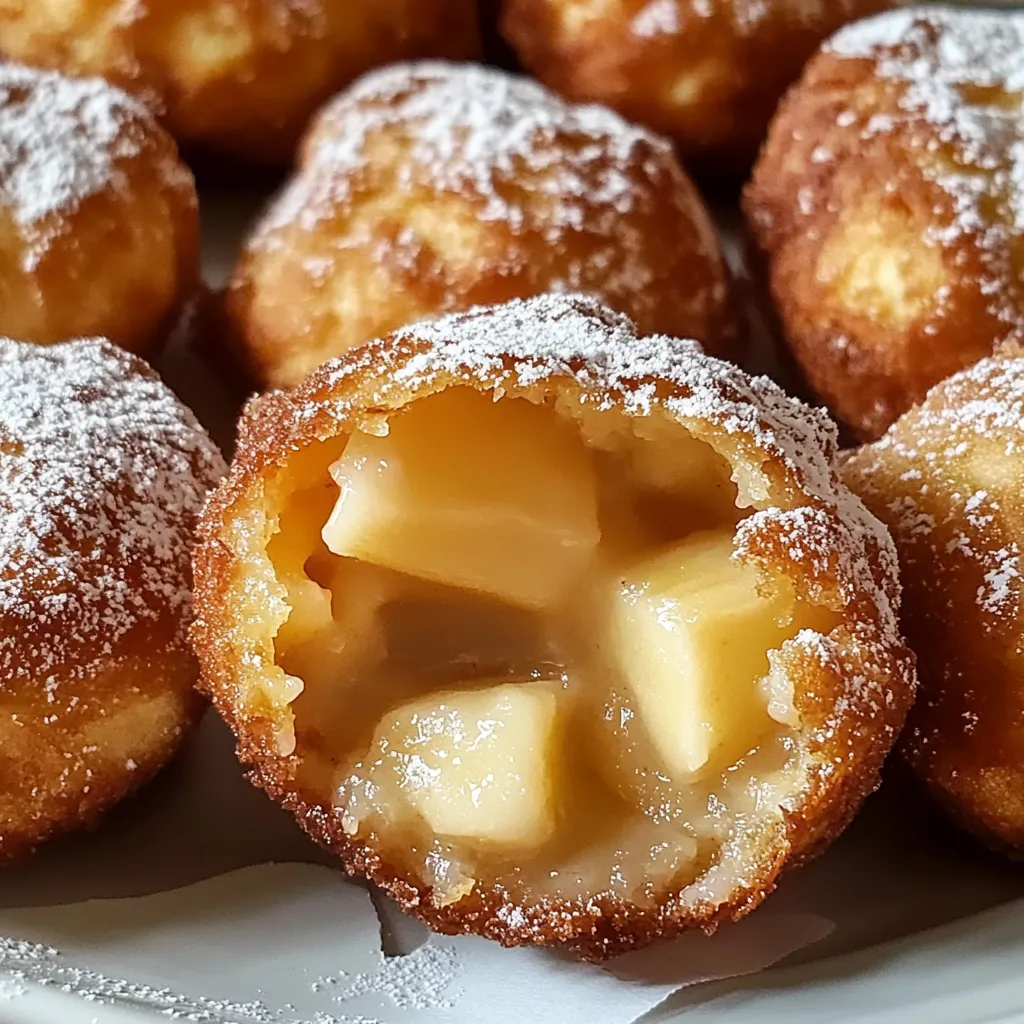
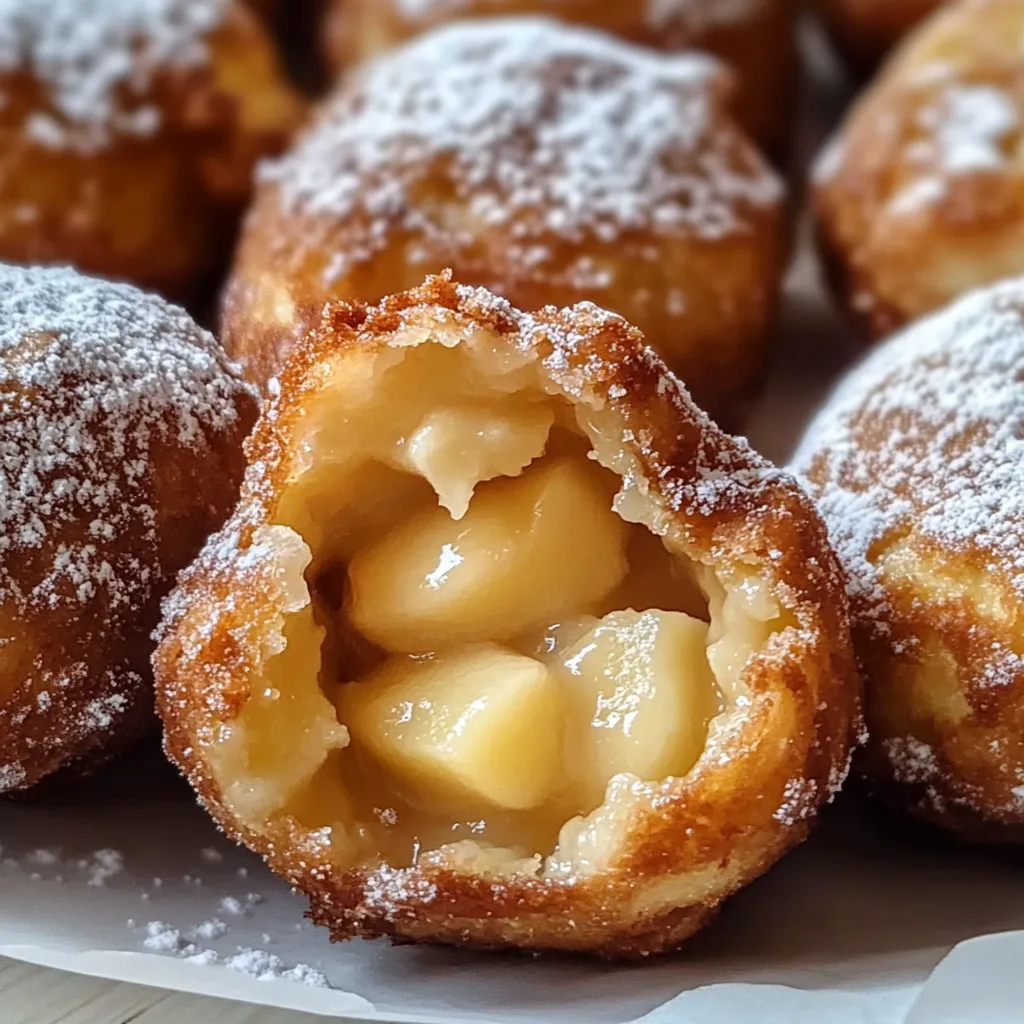
Apple pie bombs transform the classic American dessert into convenient, bite-sized morsels packed with warm spiced apple filling and wrapped in flaky, buttery pastry. These portable treats deliver all the comforting flavors of traditional apple pie while requiring less preparation time and fewer ingredients. Their compact size makes them perfect for gatherings, quick snacks, or whenever you crave that distinctive apple pie taste without committing to baking an entire pie.
I first made these apple pie bombs for a family picnic when traditional pie seemed too cumbersome to transport and serve. The delighted reactions when everyone bit into these warm, spiced pockets convinced me they would become a staple in my baking repertoire. My nephew, typically hesitant with new foods, devoured three in succession and declared them 'even better than regular pie' – high praise from a discerning seven-year-old!
Apple Selection Guide
- Granny Smith Apples: These tart, firm apples maintain their structure during baking and provide the perfect counterbalance to the sweet pastry. Their crisp texture prevents the filling from becoming mushy, creating distinct apple pieces in every bite.
- Honeycrisp Apples: With their perfect sweet-tart balance and exceptional juiciness, Honeycrisps create a naturally sweet filling without requiring excessive added sugar. Their cells remain intact during baking, resulting in distinct apple pieces rather than applesauce.
- Puff Pastry: The multiple butter-layered sheets create that irresistible flaky texture that shatters delicately with each bite. Look for all-butter varieties for the richest flavor, and always keep chilled until ready to use for maximum rise during baking.
- Cinnamon: This warming spice is the quintessential partner to apples, bringing depth and complexity to the filling. Ceylon cinnamon offers a more delicate, complex flavor than the more common Cassia variety if you can source it.
- Nutmeg: Just a pinch adds another dimension of warmth without overwhelming the apples. Freshly grated nutmeg delivers significantly more aroma and flavor than pre-ground versions.
- Brown Sugar: The molasses content in brown sugar adds caramel notes that complement the apples beautifully. Dark brown sugar contains more molasses and thus more depth of flavor than light brown varieties.
- Butter: Beyond adding richness to the filling, butter creates that irresistible golden-brown exterior when brushed on the pastry before baking. European-style butter with higher butterfat content produces an even richer result.
- Lemon Juice: A small amount brightens the filling, preventing it from becoming too sweet and helping maintain the apples' color during preparation. The acid also balances the sweetness, creating a more complex flavor profile.
Baking Instructions
- Apple Preparation:
- Peel and core your apples before chopping them into small, uniform pieces approximately ¼-inch in size. This consistent sizing ensures even cooking and prevents large chunks from tearing through the pastry during baking. Toss the chopped apples immediately with a tablespoon of fresh lemon juice to prevent browning and add brightness to the filling. In a medium saucepan, combine the apples with brown sugar, cinnamon, nutmeg, and a pinch of salt. Cook over medium heat for about 5 minutes, stirring frequently until the apples just begin to soften but still maintain their shape. Remove from heat and stir in a tablespoon of flour or cornstarch to absorb excess moisture, which prevents soggy pastry. Allow this mixture to cool completely before assembling your pie bombs.
- Dough Handling:
- Unwrap your chilled puff pastry on a lightly floured surface, taking care not to let it warm too much as you work. Roll it gently to even out any creases and create a slightly thinner sheet that will bake more evenly. Using a sharp knife or pizza cutter, divide the pastry into equal squares approximately 3 inches across. Keep unused pastry refrigerated while working with individual pieces to maintain its texture. For each pie bomb, place a tablespoon of cooled apple filling in the center of a pastry square. Avoid the temptation to overfill, as this almost always leads to leakage during baking. Gently fold all four corners of the pastry toward the center, then pinch and seal all edges thoroughly. Roll between your palms to create a smooth, sealed ball with no visible seams that might open during baking.
- Baking Excellence:
- Preheat your oven to 375°F and line a baking sheet with parchment paper to prevent sticking. Place the assembled pie bombs seam-side down on the prepared sheet, spacing them at least 2 inches apart to allow for expansion. Brush each bomb generously with melted butter to promote browning and create that irresistible golden exterior. For extra indulgence, sprinkle the tops with a mixture of cinnamon and sugar before baking. Bake in the preheated oven for 15-20 minutes, rotating the pan halfway through for even browning. Watch closely during the final minutes, as the high butter content can cause them to go from perfectly golden to over-browned quickly. The finished bombs should be puffed, deeply golden, and firm to the touch.
- Finishing Touches:
- Remove the baked pie bombs from the oven and allow them to cool for 5 minutes before handling. While still warm but not hot, roll each bomb in a mixture of cinnamon and sugar for a sweet, aromatic coating that adds both flavor and texture. For special occasions, drizzle cooled bombs with a simple glaze made from powdered sugar and milk, or with warm caramel sauce for an indulgent finish. Serve while still slightly warm to experience the perfect contrast between the crisp exterior and warm, spiced filling. Each bite should deliver that distinctive apple pie experience in a convenient, hand-held package.
 Save
Save
My grandmother always insisted that a dash of apple cider vinegar in the filling was her secret weapon for the perfect apple pie. While initially skeptical, I've found this small addition does indeed brighten the flavors remarkably. The barely perceptible tanginess cuts through the sweetness and enhances the natural apple flavor. My family particularly enjoys these served warm with a scoop of vanilla ice cream for Sunday dessert - the contrast between the warm, spiced filling and cold, creamy ice cream creates that classic comfort food experience that brings everyone together around the table.
Perfect Pairings
Transform these humble apple treats into an elegant dessert experience with thoughtful accompaniments. Create an apple pie bomb sundae by placing a warm bomb at the bottom of a bowl, topping with premium vanilla ice cream, and drizzling with warm caramel sauce and crushed walnuts. For brunch gatherings, serve alongside warm maple syrup and crispy bacon for a sweet-savory combination that plays on classic breakfast flavors. Coffee drinks particularly complement these treats—try serving with cinnamon-dusted cappuccinos or spiced chai lattes that echo the warm spices in the filling. For casual family movie nights, arrange on a large platter surrounded by different dipping sauces like salted caramel, vanilla custard, or chocolate ganache.
Delicious Twists
The basic apple pie bomb provides a perfect canvas for creative variations that suit any taste preference or dietary need. Substitute the traditional filling with a mixture of apples and fresh cranberries for a tangy twist that shines during holiday gatherings. The vibrant red berries provide beautiful color contrast and their tartness balances the sweet pastry. For an autumnal flavor profile, incorporate pumpkin puree and pumpkin pie spice into the apple mixture, creating a hybrid dessert that captures the essence of fall. Add textural interest by incorporating chopped toasted nuts like pecans or walnuts into the filling. Their slight crunch provides delightful contrast to the soft apples and flaky pastry. Those avoiding refined sugar can experiment with maple syrup or honey as natural sweeteners that add distinctive flavor profiles beyond mere sweetness.
Leftover Magic
Properly stored apple pie bombs maintain their quality remarkably well, allowing for advance preparation without sacrificing taste. Store completely cooled bombs in a single layer in an airtight container lined with paper towels to absorb any excess moisture. At room temperature, they maintain optimal texture for approximately 24 hours before the pastry begins to soften from the moisture in the filling. For longer storage, refrigerate for up to three days, though the pastry will gradually become less crisp. When ready to enjoy refrigerated bombs, reheat them in a 300°F oven for 5-7 minutes to restore some crispness to the exterior. The microwave works in a pinch but sacrifices the textural contrast that makes these treats special. For freezing, wrap individual bombs tightly in plastic wrap then aluminum foil before placing in freezer bags with the air pressed out. They maintain quality for up to two months when properly frozen.
The journey to perfecting apple pie bombs taught me the importance of restraint with filling—what seems like too little in the raw state expands perfectly during baking. I've shared these at countless gatherings and am always asked for the recipe, particularly after guests discover how something so impressive can be relatively simple to prepare. While they certainly satisfy my sweet tooth, what I treasure most is watching people's expressions at first bite—that moment of surprise and delight when they discover warm, spiced apples inside the crisp, buttery exterior. These little bombs deliver all the comfort and nostalgia of traditional apple pie in a modern, convenient format that fits our busy lives while still creating those important moments of joy around the table.
 Save
Save
Common Questions About Cooking
- → What kind of apples work best for this recipe?
- Firm apples like Granny Smith or Honeycrisp work best as they hold their shape during baking and provide a nice tart contrast to the sweet filling.
- → Can I use puff pastry instead of biscuit dough?
- Yes! Puff pastry will give you a lighter, flakier texture compared to the softer biscuit dough. Both options work well depending on your preference.
- → How do I prevent the filling from leaking out?
- Don't overfill the dough (stick to about 1 tablespoon per bomb), and make sure to pinch the edges tightly. Place them seam-side down on the baking sheet for extra protection against leaks.
- → Can I make these ahead of time?
- Yes, you can assemble them ahead of time and refrigerate for up to 2 days or freeze for up to 3 months. If frozen, let them thaw slightly before baking.
- → What can I add to make these extra special?
- Try adding caramel, cream cheese, or chopped nuts to the apple filling. After baking, you can drizzle with caramel sauce or icing for an extra touch of sweetness.
