
 Save
Save
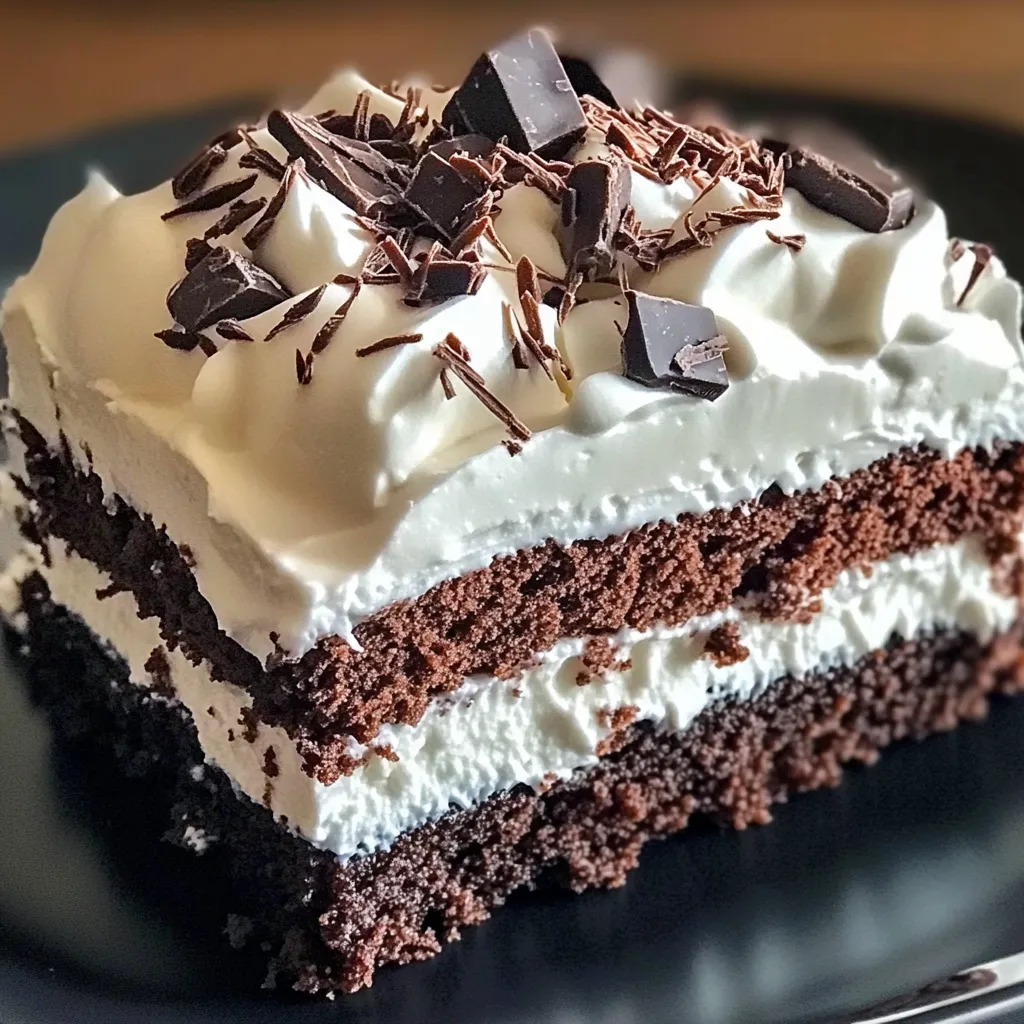
Luscious layers of fudgy brownie, velvety cream cheese, and cloud-like whipped topping create a dessert that's effortlessly elegant and irresistibly delicious. This no-bake wonder transforms simple ingredients into a showstopping treat that tastes like you spent hours in the kitchen, yet requires minimal effort and delivers maximum satisfaction with every cool, creamy bite.
I first discovered this recipe in my grandmother's faded recipe box, tucked among her most treasured culinary secrets. She explained how this dessert was her go-to for impressing guests during post-war times when ingredients could be scarce but expectations remained high. The first time I served it at a family gathering, conversation momentarily stopped as everyone savored their first bite. My usually critical aunt asked for the recipe, and my chocolate-ambivalent brother went back for seconds. What began as a nostalgic attempt to connect with my grandmother's cooking legacy has become my most-requested dessert, proving that sometimes the most memorable dishes are the ones with the simplest preparation.
Perfect Ingredient Selection
- Boxed Brownie Mix: Creates a consistently delicious and fudgy base without the fuss of measuring multiple ingredients
- Extra-Large Egg: Provides the perfect structure to the brownie base while maintaining richness
- Cream Cheese: Offers tangy creaminess that balances the sweetness of other components
- Powdered Sugar: Dissolves completely into the cream cheese for silky smoothness without graininess
- Whipped Topping: Creates an airy, cloud-like layer that lightens the rich dessert
- Instant Chocolate Pudding: Adds depth of chocolate flavor with minimal effort
- Instant Vanilla Pudding: Provides a complementary flavor that enhances the chocolate elements
- Whole Milk: Creates the perfect consistency for pudding layers while adding creaminess
- Chocolate Bar or Syrup: Finishes the dessert with an elegant touch of additional chocolate flavor
- Pure Vanilla Extract: Enhances and deepens all the other flavors in the dessert
Creating Dessert Magic
- Prepare The Brownie Foundation:
- Preheat your oven to 350°F while preparing your brownie mix according to package directions. Pour the batter into a greased 9x13 baking dish, spreading evenly to create a consistent base. Bake until just set—a toothpick should come out with a few moist crumbs but no wet batter. This slight underbaking ensures the brownies remain fudgy and don't become too dry or crumbly when chilled.
- Create Velvety Cream Cheese Layer:
- While the brownies cool completely, beat softened cream cheese until light and fluffy. Gradually add powdered sugar and a splash of vanilla extract, continuing to beat until completely smooth with no lumps remaining. This luxurious mixture will become the middle layer that bridges the dense brownie and airy topping.
- Craft Perfect Pudding:
- In a separate bowl, whisk together instant chocolate and vanilla pudding mixes with cold milk until smooth. Allow the mixture to set for about five minutes until it reaches a soft pudding consistency. The combination of chocolate and vanilla creates depth of flavor while maintaining a lighter chocolate note than using chocolate alone.
- Fold In Lightness:
- Gently fold whipped topping into the pudding mixture, creating a mousse-like consistency that will top the dessert. This careful folding incorporates air for a light texture while maintaining the structure needed for clean slices.
- Layer With Precision:
- Spread the cream cheese mixture evenly over the completely cooled brownie base, reaching all the way to the edges. Follow with the pudding and whipped topping mixture, smoothing the top for an elegant finished appearance.
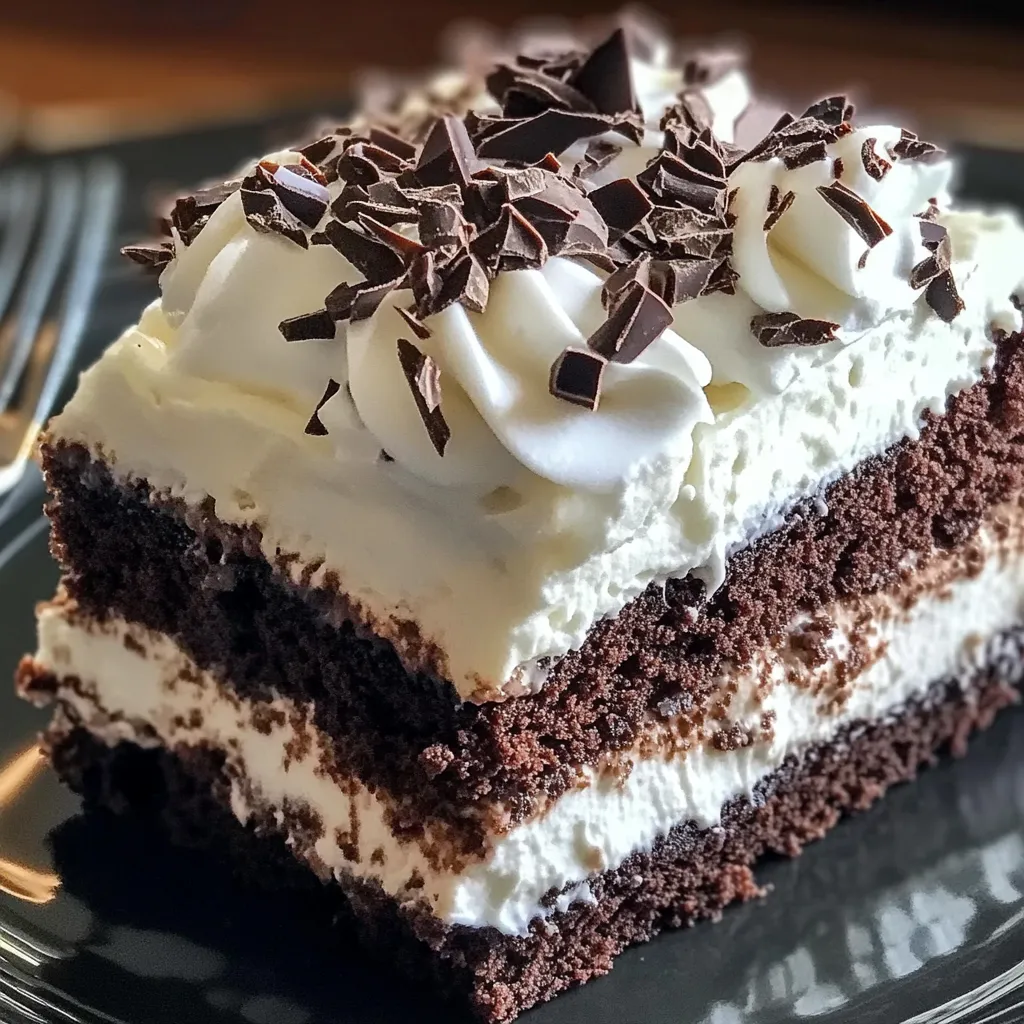
- Finish With Flair:
- Garnish the top with chocolate shavings, a light dusting of cocoa powder, or a drizzle of chocolate syrup. This final touch adds visual appeal and an extra hint of chocolate flavor that enhances the overall dessert experience.
- Chill To Perfection:
- Cover carefully with plastic wrap and refrigerate for at least four hours or preferably overnight. This extended chilling time allows the flavors to meld beautifully while ensuring all layers set properly for clean slicing.
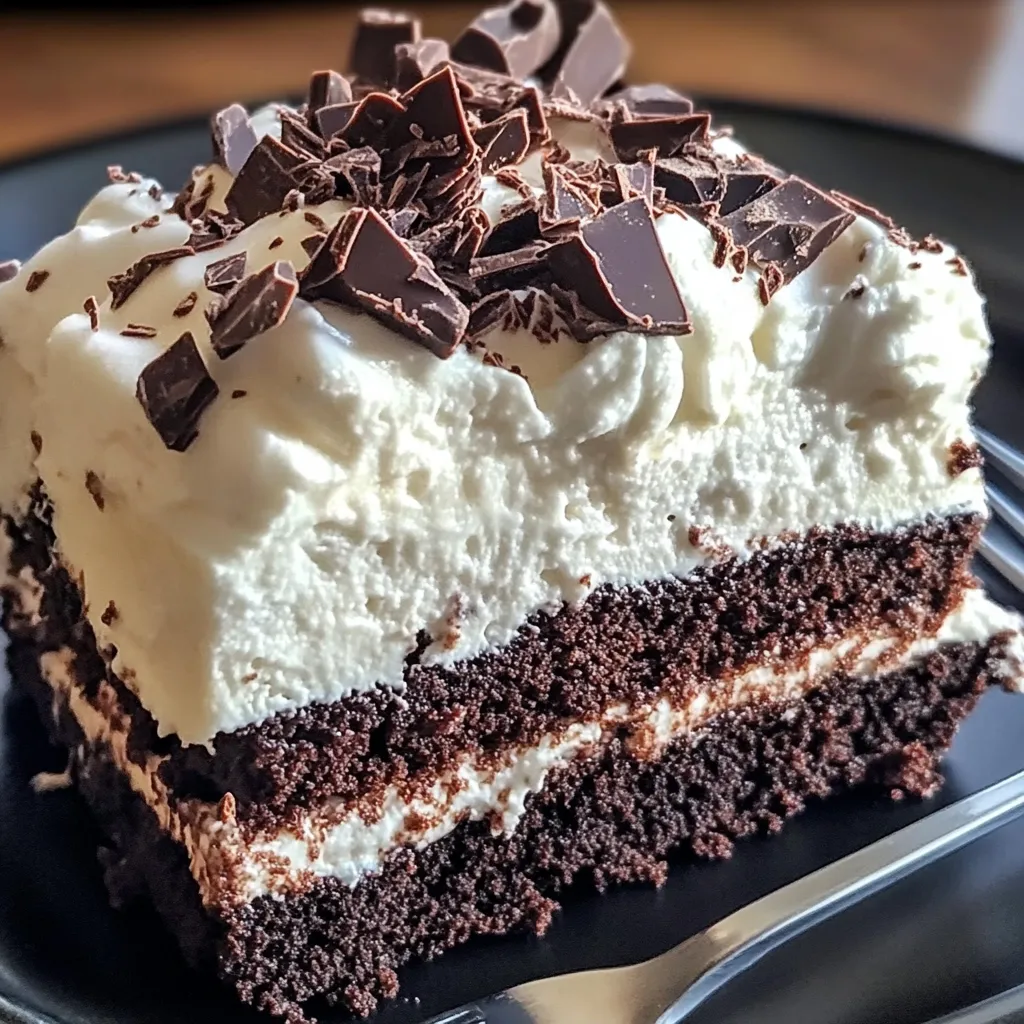
- Serve With Style:
- Cut into squares with a knife dipped in hot water and wiped clean between cuts for the most precise, beautiful servings. The contrast between the dark brownie base and creamy layers creates a visually stunning dessert on the plate.
My family particularly loves this dessert during summer gatherings when a cool, make-ahead treat is especially welcome. My husband enjoys his with additional chocolate syrup drizzled on top, while my children prefer theirs with fresh raspberries that add a tart contrast to the sweet layers. I've found that using a high-quality box brownie mix with chocolate chunks creates the perfect dense base that holds up well to the creamy layers.
The recipe originated from my grandmother's collection, though she called it "Company Cake" because it was her reliable solution whenever unexpected guests arrived. I've maintained her tradition of keeping the ingredients on hand at all times, prepared for any dessert emergency that might arise.
Perfect Pairings
This indulgent dessert shines brightest when served alongside complementary elements that balance its richness. Offer small glasses of cold milk that cleanse the palate between bites of the chocolaty treat. For adults, pair with robust coffee or espresso whose bitter notes contrast beautifully with the cake's sweetness. During berry season, serve with a side of fresh raspberries or sliced strawberries that provide bright acidity against the creamy layers. For special occasions, add a scoop of high-quality vanilla ice cream alongside each slice, creating a delightful temperature contrast between the cold cake and even colder ice cream. A light sprinkle of flaky sea salt just before serving enhances all the flavors for a sophisticated flavor experience.
Creative Variations
Transform this versatile dessert by exploring different flavor combinations while maintaining its signature texture contrast. Create a mint chocolate version by adding a few drops of peppermint extract to the cream cheese layer and garnishing with crushed peppermint candies. For coffee lovers, dissolve 1-2 teaspoons of instant espresso powder into the pudding mixture for a mocha variation. During fall months, incorporate a teaspoon of ground cinnamon into the brownie batter and top with caramel sauce instead of chocolate. For a fruit-forward option, add a layer of sliced strawberries between the cream cheese and pudding layers. Create an elegant dinner party version by substituting the boxed brownie mix with your favorite homemade recipe enhanced with a tablespoon of espresso powder for depth.
Storage Solutions
Maximize the enjoyment of this make-ahead dessert with proper storage techniques that maintain its delightful textures. Store the cake covered in the refrigerator for up to five days—the flavors continue to develop beautifully during this time. For individual portions, cut into squares and store in airtight containers, making it easy to grab a single serving without disturbing the entire dessert. For longer storage, freeze individual slices wrapped tightly in plastic wrap then aluminum foil for up to one month. Thaw frozen pieces in the refrigerator overnight for the best texture restoration. If serving a previously refrigerated cake, allow it to sit at room temperature for 10-15 minutes before serving for the optimal creamy texture and most pronounced flavors.
I discovered the true magic of this refrigerator cake when hosting my first dinner party in a tiny apartment with unreliable air conditioning. The make-ahead nature and cool, refreshing quality made it the perfect solution for both my limited cooking space and the summer heat. The way guests' expressions transformed with the first bite—that moment of surprised delight—convinced me that sometimes the most impressive desserts aren't the most complicated ones. This humble layered creation has traveled with me through various life stages, from casual potlucks to elegant celebrations, always receiving the same appreciative response. There's something deeply satisfying about a dessert that connects generations through its simplicity and deliciousness—a reminder that sometimes our grandmothers' solutions remain the best ones.
Common Questions About Cooking
- → Can I make this dessert ahead of time?
- Absolutely! This dessert is actually best when made ahead. Prepare it 1-2 days before serving and keep refrigerated. The extra time allows the flavors to meld together and the layers to set perfectly.
- → Can I use homemade brownies instead of a mix?
- Yes, you can definitely use your favorite homemade brownie recipe instead of a box mix. Just make sure to bake them in a 9×13-inch pan and let them cool completely before adding the other layers.
- → What can I substitute for the whipped topping?
- You can make your own whipped cream by beating 3 cups of heavy whipping cream with 1/3 cup powdered sugar until stiff peaks form. This will replace the two containers of whipped topping called for in the recipe.
- → Will this dessert freeze well?
- While you can freeze this dessert, the texture of the pudding and whipped topping layers may change slightly upon thawing. If you do freeze it, cover tightly and thaw overnight in the refrigerator before serving.
- → Can I add other flavors or mix-ins to this recipe?
- Definitely! Try adding a layer of sliced strawberries between the cream cheese and pudding layers, mixing in some mini chocolate chips with the cream cheese mixture, or using different pudding flavors like butterscotch or white chocolate.