
 Save
Save
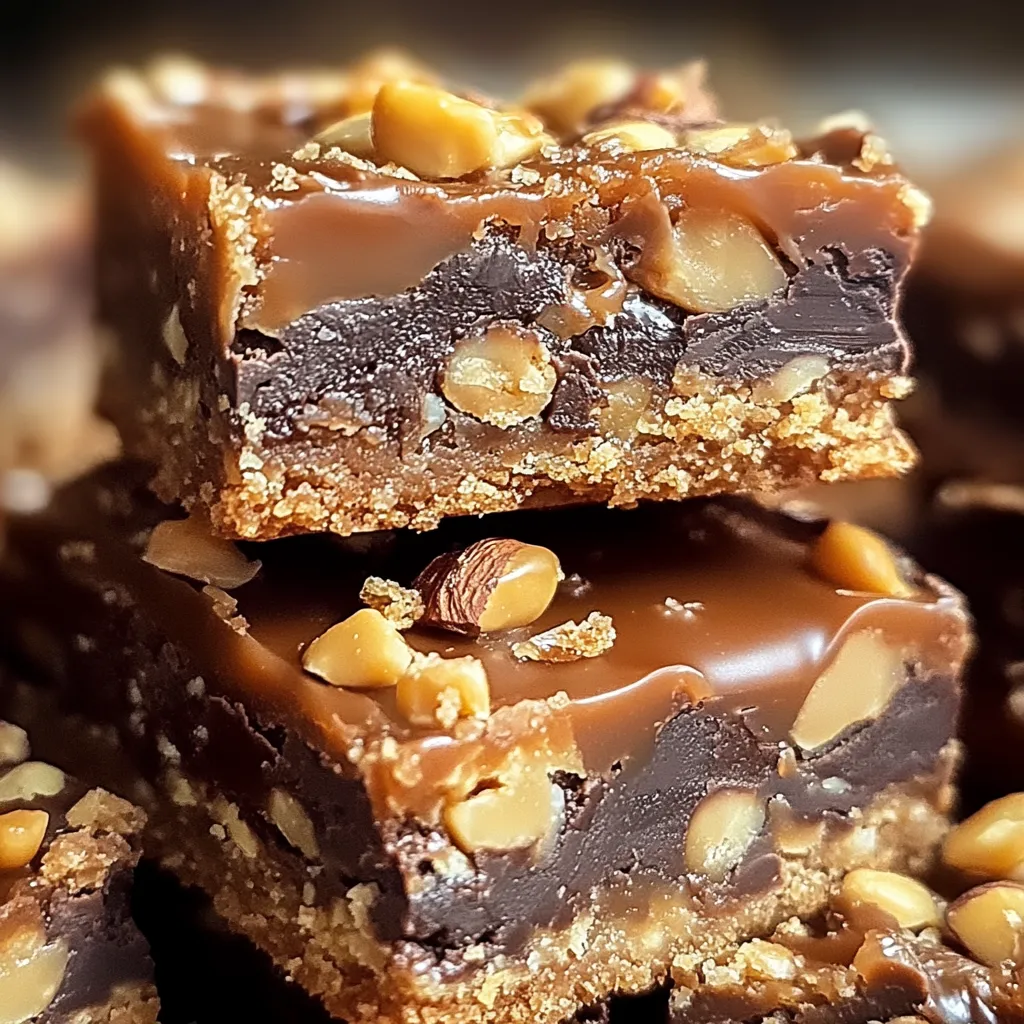
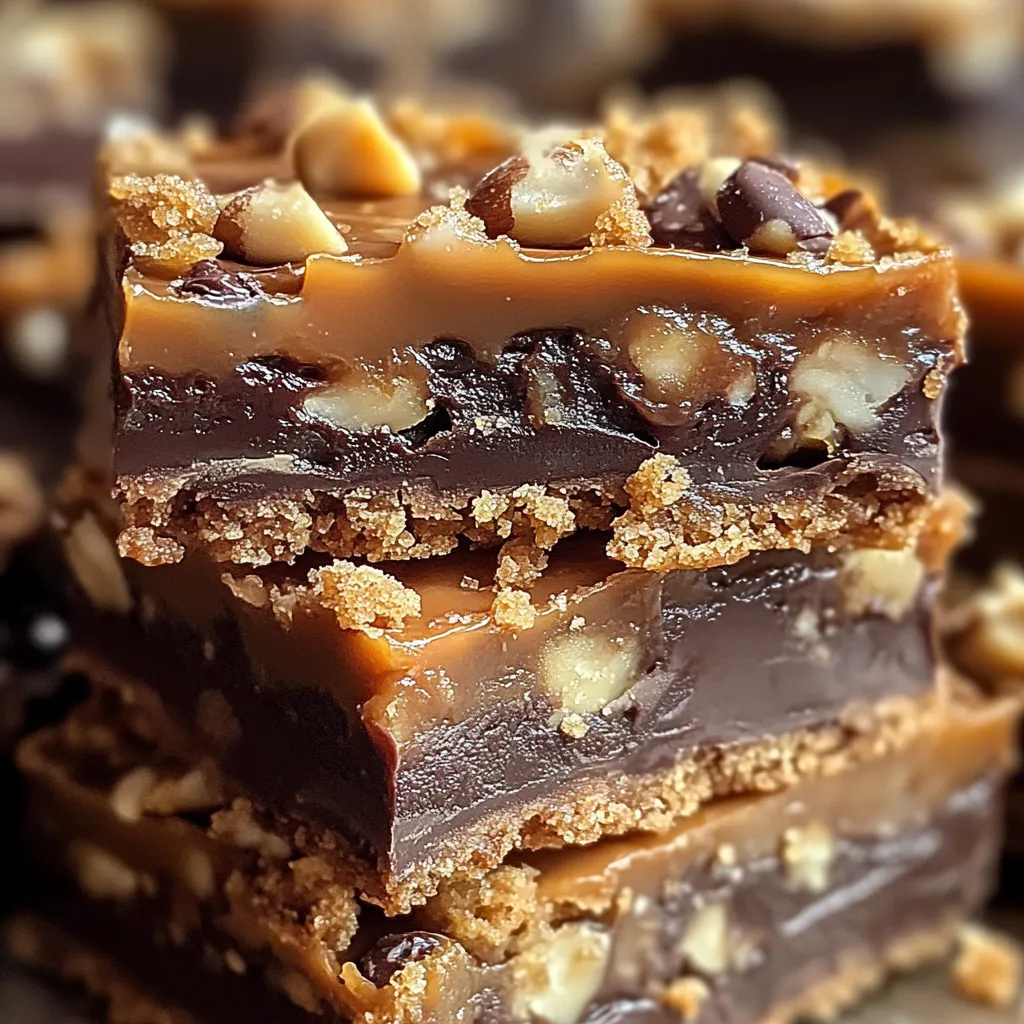
Cake mix toffee bars transform ordinary cake mix into an extraordinary dessert that requires minimal effort yet delivers maximum flavor impact. These chewy, buttery bars combine the convenience of boxed mix with rich melted butter and sweet toffee bits, creating a treat that tastes completely homemade despite starting with a shortcut ingredient. The dense, cookie-like base provides the perfect foundation for the crisp toffee pieces and melty chocolate chips that create irresistible texture and flavor in every bite.
I first discovered this recipe during a particularly hectic holiday season when I needed homemade treats but had precious little time. After watching how quickly these bars disappeared—faster than the elaborate cookies that had taken hours to prepare—I realized sometimes the simplest recipes truly do yield the most impressive results. My neighbor now specifically requests these for every block party, claiming they're better than any bakery dessert she's ever purchased.
Essential Ingredients
- Yellow Cake Mix: Forms the perfect buttery, dense base with built-in structure and sweetness. The dry mix combines with minimal wet ingredients to create a cookie-like texture rather than a fluffy cake
- Butter: Provides rich flavor and perfect chewy texture. Using unsalted allows you to control the overall sweetness and saltiness of the finished bars
- Egg: Acts as the binding agent that holds everything together. Just one egg creates the ideal texture—enough structure without making the bars too cakey
- Chocolate Chips: Add pockets of melty goodness throughout each bar. Semisweet varieties offer the perfect balance against the sweet toffee bits
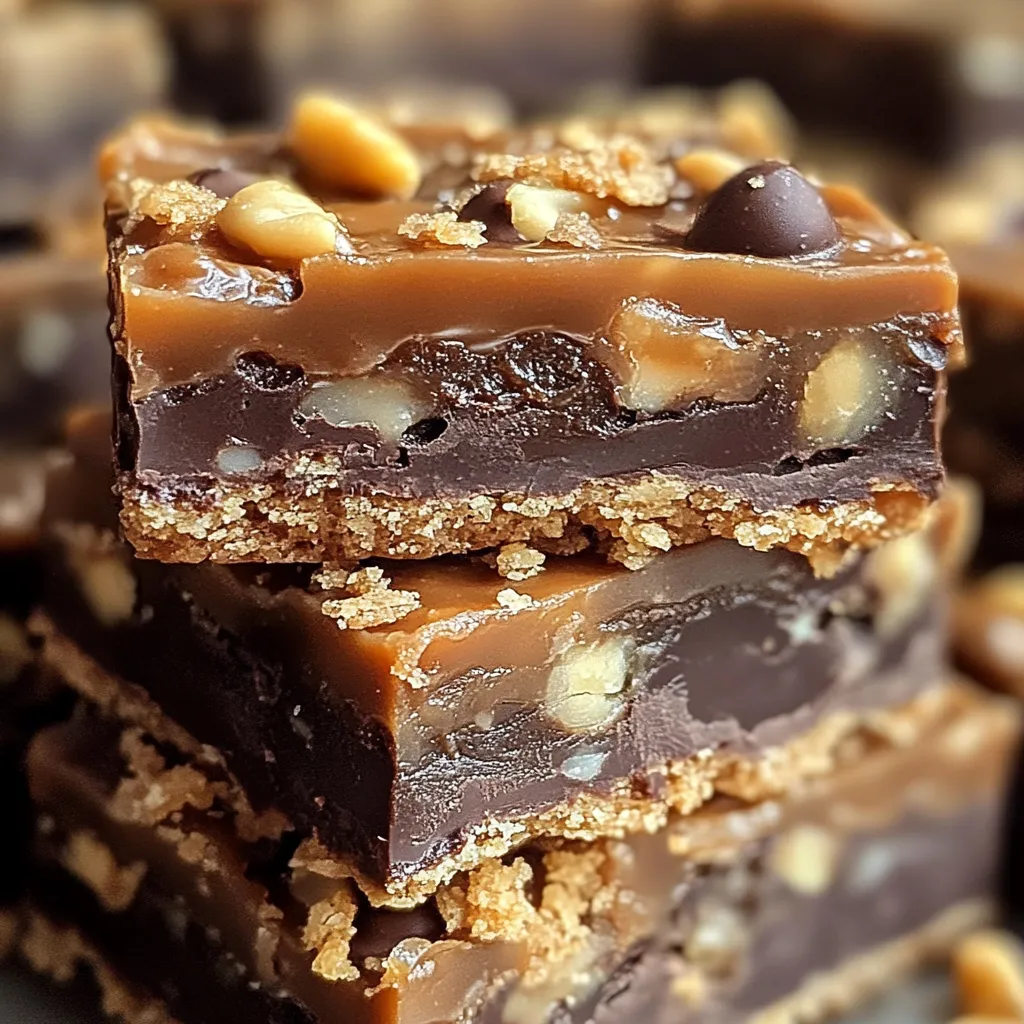
- Toffee Bits: Deliver the signature buttery, caramelized flavor and delightful crunch. They partially melt during baking, creating wonderful toffee pockets throughout the bars
- Vanilla Extract: Enhances all other flavors with its warm aromatic notes. Though optional, even a small amount significantly improves the overall taste profile
Baking Brilliance
- Simple Preparation:
- Begin by preheating your oven to 350°F to ensure proper baking temperature. Line a 9×13-inch baking pan with parchment paper, leaving overhang on two sides to create handles for easy removal after cooling. This simple step prevents sticking and makes cutting neat bars much easier.
- Perfect Mixing:
- Combine the dry cake mix with melted butter and egg in a large bowl, stirring until completely incorporated. The mixture will be thick and somewhat dough-like rather than pourable like regular cake batter. If adding vanilla extract, incorporate it at this stage for even distribution of flavor.
- Proper Spreading:
- Transfer the thick batter to your prepared pan, using a spatula or your fingertips to press it evenly across the bottom. Take extra care to spread it into the corners and create a uniform layer of consistent thickness throughout for even baking.
- Topping Distribution:
- Sprinkle chocolate chips and toffee bits evenly across the surface of the batter. For best results, gently press the toppings slightly into the batter to ensure they adhere during baking rather than falling off when the bars are cut.
- Careful Baking:
- Bake in the preheated oven for 20-25 minutes until the edges turn golden brown and begin to pull away slightly from the sides of the pan. The center may still appear slightly soft but will continue setting as the bars cool. Avoid overbaking, which would make them dry rather than delightfully chewy.
- Complete Cooling:
- Allow the bars to cool in the pan for 10-15 minutes before using the parchment paper handles to lift them out onto a cooling rack. Let them cool completely before cutting to prevent the chocolate from smearing and to allow the texture to set properly.
- Perfect Cutting:
- For the cleanest cuts, use a sharp knife and wipe the blade clean between slices. Cutting while the bars are completely cool (or even slightly chilled) yields the neatest results. For precise portions, score the top lightly before cutting all the way through.
My grandmother always said that simple recipes rely on quality ingredients and proper technique rather than complicated steps. These bars exemplify her wisdom perfectly—while they start with a convenience product, the addition of real butter and careful baking transforms them into something that tastes completely homemade. When friends ask for the recipe, they're often surprised by how few ingredients create such delicious results.
Serving Suggestions
This versatile dessert suits numerous serving scenarios with minimal adaptation required. For casual gatherings, arrange cut bars on a simple platter for easy self-service. Elevate the presentation for special occasions by dusting with powdered sugar or drizzling with additional melted chocolate. Create an indulgent dessert by serving slightly warmed with a scoop of vanilla ice cream and caramel sauce. For holiday cookie exchanges, cut into smaller squares and arrange in decorative tins with parchment between layers.
Creative Variations
Transform this adaptable recipe by experimenting with different flavor combinations and add-ins. Substitute chocolate cake mix for a double-chocolate experience that intensifies the chocolate flavor. Create a turtle-inspired version by adding chopped pecans along with the toffee bits. For peanut butter enthusiasts, try peanut butter chips alongside or instead of chocolate chips. During holidays, incorporate seasonal candies like chopped peppermint bark for Christmas or pastel M&Ms for Easter. White chocolate chips and macadamia nuts create a delightful tropical variation.
Storage Strategy
Maintain optimal texture and flavor by following proper storage techniques. Store completely cooled bars in an airtight container at room temperature, placing parchment paper between layers to prevent sticking. They remain fresh for 5-7 days, though their irresistible taste means they rarely last that long. For extended storage, refrigerate for up to 10 days, allowing them to return to room temperature before serving for the best texture. These bars freeze beautifully for up to 3 months when wrapped individually and stored in a freezer-safe container, making them perfect for advance preparation.
These cake mix toffee bars exemplify how simple ingredients and straightforward techniques can create truly memorable desserts. Starting with cake mix doesn't diminish their homemade quality; rather, it allows you to create something delicious even when time is limited. Whether prepared for a last-minute gathering or planned as a family treat, these bars deliver consistent, crowd-pleasing results that prove impressive desserts don't always require complicated recipes or specialty ingredients.
Common Questions About Cooking
- → Can I use a different flavor of cake mix?
- Absolutely! While yellow cake mix creates a buttery, cookie-like base, chocolate, white, or spice cake mixes work wonderfully too. Each will give a slightly different flavor profile to complement the toffee and chocolate.
- → What are toffee bits and where can I find them?
- Toffee bits are small pieces of crunchy toffee candy, often found in the baking aisle near chocolate chips. Heath or Skor bits are common brands. If you can't find them, you can roughly chop toffee candy bars as a substitute.
- → Can I freeze these bars?
- Yes! These bars freeze very well. Cut into squares after cooling, then wrap individually in plastic wrap and store in a freezer bag for up to 3 months. Thaw at room temperature before serving.
- → Why is my cake mix mixture too dry or too wet?
- Cake mix brands can vary slightly in volume. If your mixture seems too dry, add a tablespoon of butter at a time until it reaches a crumbly but press-able consistency. If too wet, add a tablespoon of flour until it reaches the right texture.
- → How do I know when the bars are done baking?
- The edges should be golden brown and slightly crisp, while the center may still look a bit soft but not liquid. They will continue to set as they cool. If the top is browning too quickly, loosely cover with foil for the remaining bake time.