 Save
Save
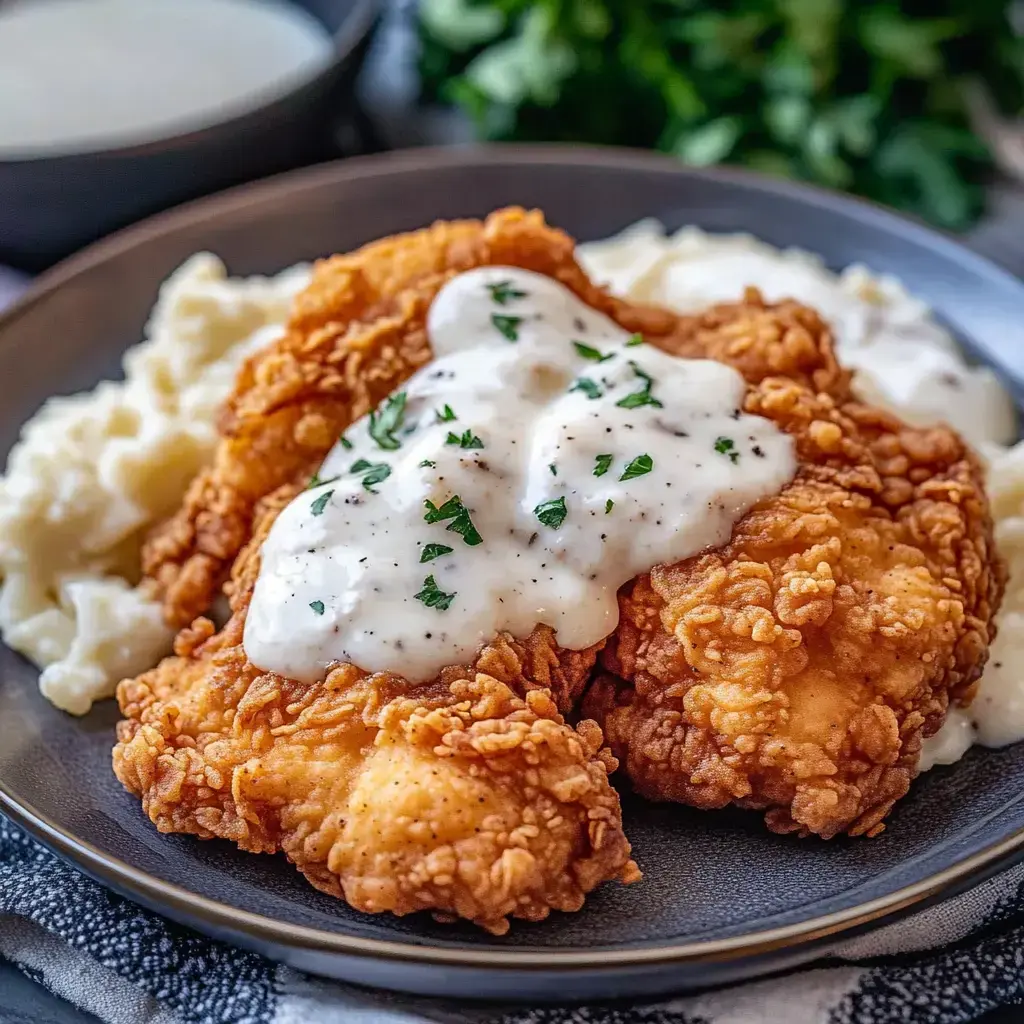
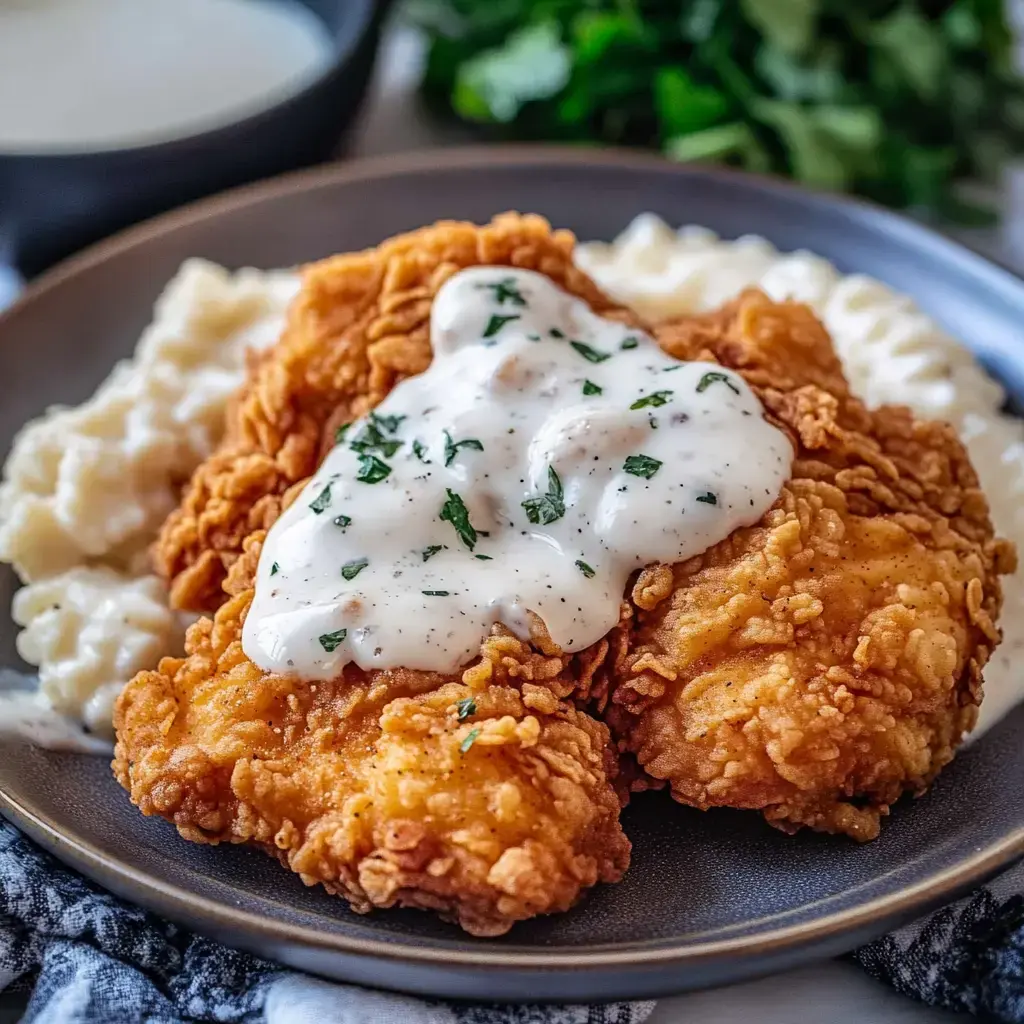
Whenever I make this Chicken Fried Chicken my kitchen fills with memories of Sunday suppers at my grandmother's house. That golden crispy coating and creamy gravy never fail to bring smiles around my table. I've simplified her recipe over the years to make it doable for busy weeknights while keeping all that cozy homestyle flavor we crave.
The Secret to Perfect Chicken Fried Chicken
Through years of cooking for my family, I've learned the beauty of this recipe lies in its simplicity. Slicing the chicken thin helps it cook up perfectly crisp every time. The ingredients are straight from my pantry—nothing fancy needed—and that gravy, oh my goodness. It soaks up all those wonderful flavors from the pan making every bite absolutely delicious.
From My Kitchen to Yours
- Chicken: I grab chicken breasts from my local butcher and slice them thin myself. You can also butterfly larger pieces—they'll cook up beautifully either way.
- Flour Mixture: My seasoned flour is a blend of basics: all-purpose flour, baking powder and soda, plus my special combo of salt, pepper, and garlic powder. Play with the seasonings until you find your perfect mix.
- Buttermilk Bath: Real buttermilk makes such a difference here. I add a splash of hot sauce and an egg to help that coating stick like magic.
- Oil for Frying: Pour enough oil in your skillet to get good coverage. I keep my thermometer handy to maintain that sweet spot at 325°F.
- That Dreamy Gravy: Save some of that flavored oil to start your gravy—add flour, milk, and seasonings. Keep whisking until it's silky smooth.
Let's Get Cooking
- Setting Up Your Station
- First thing I do is mix up my seasoned flour in one dish. In another, whisk together that buttermilk mixture until it's nice and smooth.
- Coating Your Chicken
- Give each piece of chicken a good coating of flour, then dip in buttermilk, and back in flour again. Press that coating on well—you want it to stick.
- Time to Fry
- Get your oil nice and hot in a heavy skillet. I use my grandma's old cast iron. Watch for that gorgeous golden color, about 4 minutes per side. Always check the temperature hits 165°F inside.
- Making Magic Gravy
- Pour off most of the oil but keep a quarter cup in the pan. Whisk in some flour, then slowly stream in your milk. Keep stirring until it's thick and creamy—season it just right.
 Save
Save
What to Serve on the Side
Nothing makes me happier than serving this with a big scoop of creamy mashed potatoes. Sometimes I make my cheesy mac and cheese or warm buttermilk biscuits too. Green beans cooked with a little bacon round out the plate perfectly.
My Kitchen Secrets
After countless family dinners, I've learned thin chicken is key to perfect results every time. My deep fryer comes in handy when cooking for a crowd, but that cast iron skillet works beautifully too. Sometimes I add different seasonings to switch things up, and bacon grease makes an amazing gravy if you're feeling indulgent.
A Recipe for Every Season
This chicken has become my go-to comfort food all year round. It warms us up on chilly winter evenings and somehow still feels perfect for summer suppers on the porch. Every time I serve it, someone asks for the recipe—and that's the best feeling in the world.
Main Points
This Southern comfort dish features breaded chicken cutlets fried until golden and topped with homemade milk gravy. Ready in 30 minutes with basic ingredients.Common Questions About Cooking
- → Why use thin-sliced chicken breasts?
- Thin-sliced breasts cook more quickly and evenly, ensuring crispy coating and tender meat without burning.
- → Can I make the gravy differently?
- Yes, you can use butter or bacon grease instead of frying oil for a different flavor in your gravy.
- → What's the purpose of baking powder in the coating?
- Baking powder helps create a lighter, crispier crust by adding air bubbles during frying.
- → Can I make this in a deep fryer?
- Yes, a deep fryer works well as an alternative to pan frying. Maintain oil at 325°F for best results.
- → How do I know when the chicken is done?
- The coating should be golden brown after 3-5 minutes per side, and internal temperature should reach 165°F.
