 Save
Save
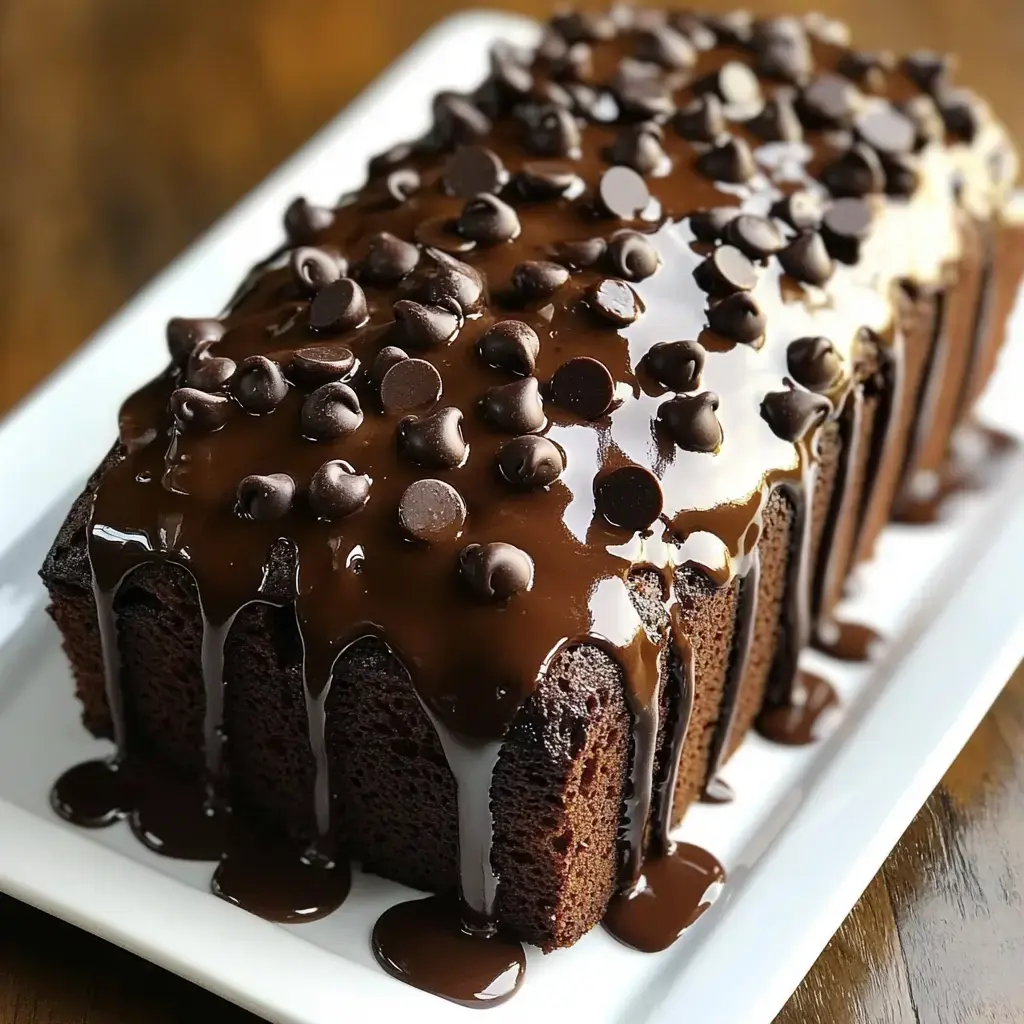
Nothing beats the smell of chocolate wafting through my kitchen on a Sunday afternoon. This Hot Fudge Brownie Bread came to life during one of my recipe testing sessions when I couldn't decide between making brownies or chocolate bread. The result? A heavenly chocolate creation that brings together everything we love about both treats.
The Story Behind This Recipe
I stumbled upon this idea last winter while testing recipes for my cookbook. The magic happens when rich hot fudge sauce meets a tender chocolate bread batter creating something uniquely delicious. My family couldn't stop reaching for another slice and I knew I had to share it.
What You'll Need
In my years of baking I've learned quality ingredients make all the difference. For this recipe grab your favorite all purpose flour, the best cocoa powder you can find, premium hot fudge sauce, farm fresh buttermilk and if you're feeling extra indulgent some chocolate chips or toasted nuts. Trust me these little details matter.
My Secret Baking Tips
After countless test batches in my kitchen I've discovered a few game changers. Using room temperature ingredients makes all the difference in texture. I always reach for Dutch process cocoa powder its deep flavor is unmatched. Watch your mixing time too much and you'll lose that tender crumb we're after.
Getting Started
Start with a hot oven at 350°F. I found my grandmother's old loaf pan works perfectly for this recipe. A quick coat of butter and a light dusting of cocoa powder instead of flour keeps that rich color intact. The smell of preheating always brings my kids running to the kitchen.
 Save
Save
The Basics
Whisking dry ingredients might seem simple but it's crucial for even chocolate distribution. I like using my red ceramic bowl passed down from my mom it's become my lucky charm for perfect bread. The cocoa and flour need to be friends before joining the party.
The Creaming Process
Here's where we build the foundation of our bread. My stand mixer named Betty has been my faithful companion through countless recipes. The butter and sugar transform into this gorgeous light mixture that looks like fluffy clouds. When I see those soft peaks I know we're on track.
Adding Life to the Batter
Your eggs should feel like holding a warm stone. Drop them in one at a time watching the batter turn silky. The vanilla goes last I splurge on Madagascar bourbon vanilla it makes everything taste like pure comfort.
The Dance of Wet and Dry
This is my favorite part watching the transformation happen. The buttermilk and dry ingredients take turns joining the bowl. I learned this technique from my aunt Sarah who always said patience makes perfect bread. Three additions of each is the sweet spot.
The Fudgy Swirl Magic
The moment that warm fudge sauce hits the batter is pure kitchen poetry. I love creating gentle swirls watching the chocolate rivers form. Sometimes I catch myself getting lost in the mesmerizing patterns each one unique like a delicious piece of art.
 Save
Save
Making It Your Own
My kitchen experiments taught me that mix ins are personal choice. Dark chocolate chunks from my secret stash or toasted pecans from last fall's harvest both work beautifully. Sometimes I throw in both because life is too short to choose.
Into the Pan
The batter flows like silk into the prepared pan. I learned from my mother in law to tap the pan gently on the counter a few times. It settles everything into place and brings any hidden air bubbles to the surface. A quick smoothing with my favorite spatula and we're ready.
The Waiting Game
Every oven has its personality. Mine runs slightly cool so I give it the full hour. The toothpick test never lies but I also trust my nose. When the kitchen smells like a chocolate dream and the top springs back to a gentle touch it's time.
Cooling Time
Ten minutes feels like forever when the aroma fills your kitchen. I usually brew a cup of coffee while I wait. The bread needs this rest to set its structure. My cooling rack has witnessed many successful bakes and a few fails too.
The Grand Finale
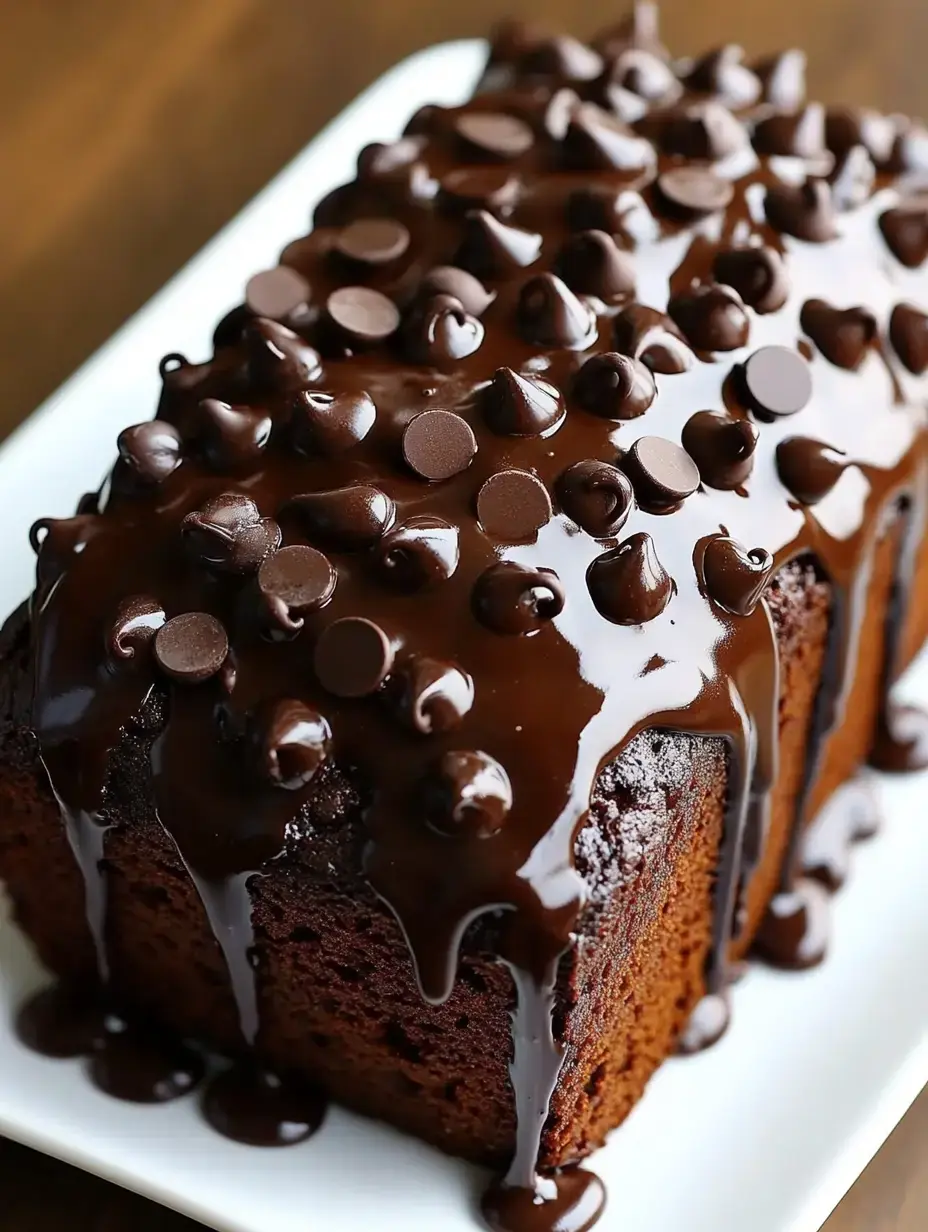
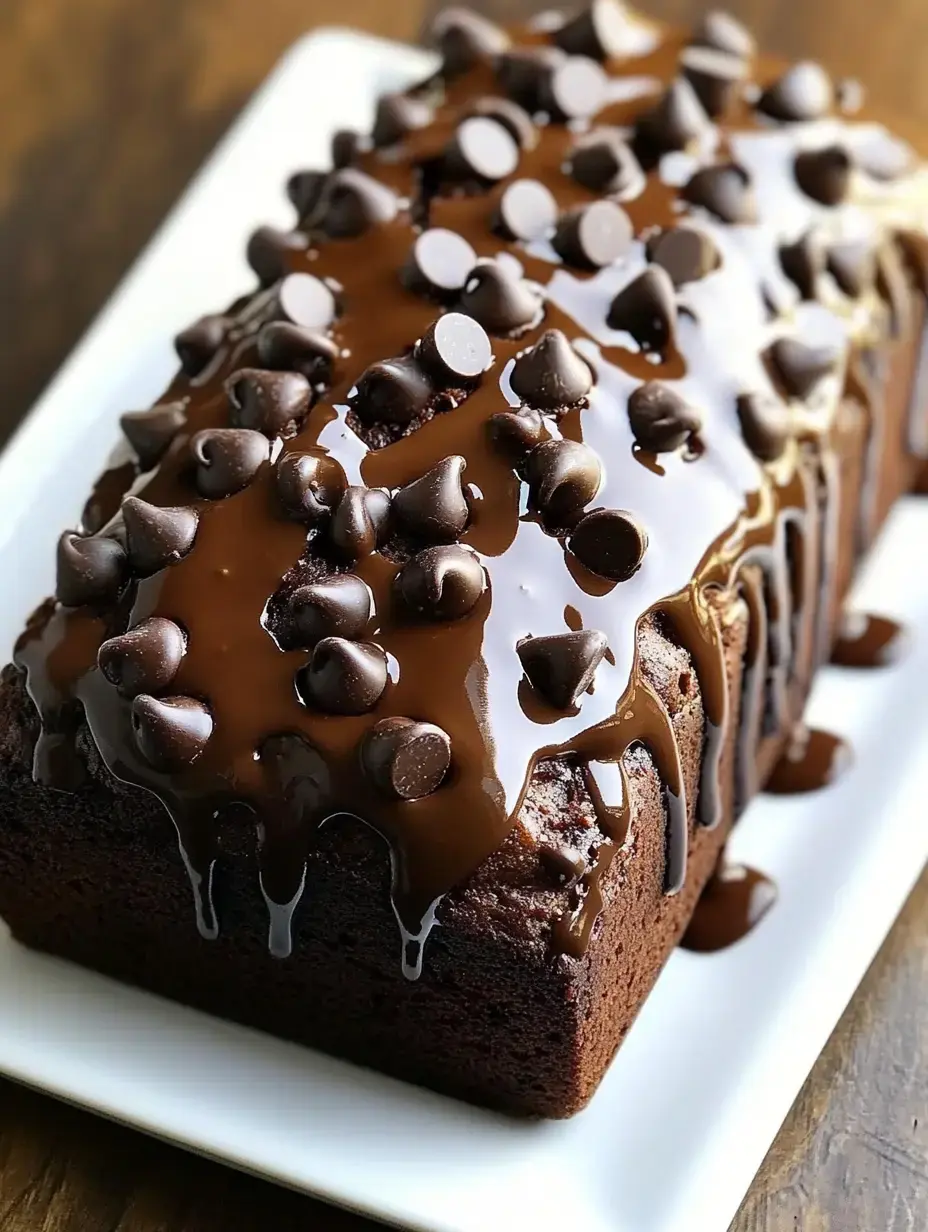
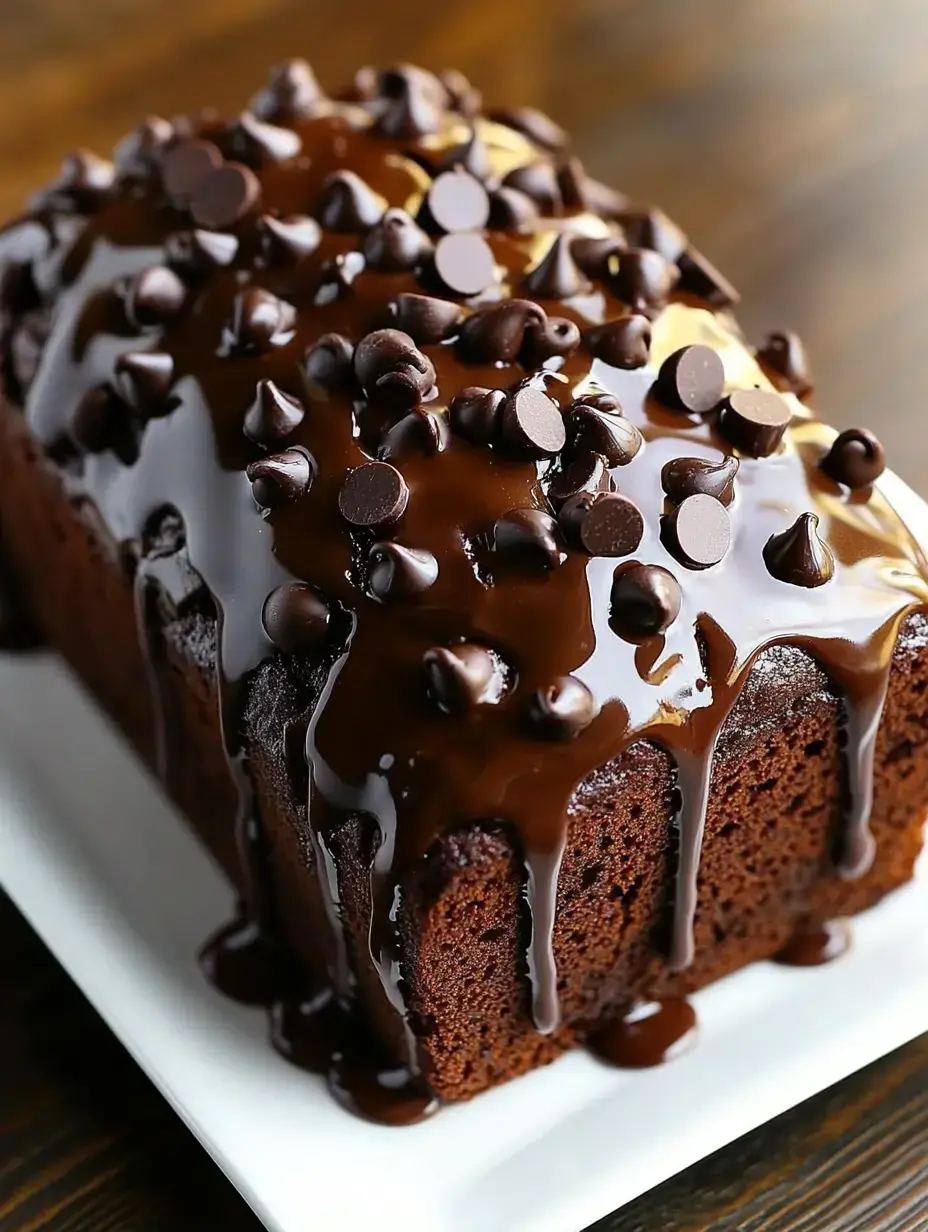
That final drizzle of warm fudge sauce is pure indulgence. I warm it just enough so it cascades down the sides creating these gorgeous drips. My daughter always volunteers to lick the spoon a tradition I happily continue from my own childhood.
 Save
Save
Time to Indulge
First slice is always the hardest to resist. On cozy evenings we love it with vanilla bean ice cream. Sunday brunch calls for a simple dusting of powdered sugar. There's no wrong way to enjoy this bread trust me I've tried them all.
Keeping It Fresh
If your family is like mine this bread won't last long. But when it does I keep it on my vintage cake stand with a dome. The fridge works too but bring it to room temperature before serving to wake up all those beautiful chocolate flavors.
Saving Some for Later
Living alone taught me the art of freezing baked goods. Individual slices wrapped in my favorite parchment paper then tucked into freezer bags last beautifully. A quick zap in the microwave brings them back to life perfect for those chocolate emergency moments.
Creative Twists
My kitchen adventures led to some delicious discoveries. A swirl of natural peanut butter creates magic. Fresh mint from my garden inspired a chocolate mint version. And during my late night baking sessions I discovered that a shot of espresso deepens the chocolate notes beautifully.
A Special Note
This bread represents everything I love about baking creating something that brings joy to others. Every time I make it I think about the happy faces around my kitchen table. It's more than just chocolate and flour it's memories in the making.
Common Questions About Cooking
- → Can I make this bread without buttermilk?
You can make a buttermilk substitute by adding 1 tablespoon of lemon juice or vinegar to regular milk. Let it sit for 5 minutes before using in the recipe.
- → How should I store this chocolate fudge bread?
Store the bread in an airtight container at room temperature for up to 4 days. You can also wrap it well and freeze it for up to 3 months.
- → Why did my chocolate bread come out dry?
Overbaking is usually the main cause of dry bread. Make sure to check the bread a few minutes before the suggested baking time. Also, measuring flour correctly by spooning it into measuring cups rather than scooping can prevent using too much flour.
- → Can I add different mix-ins to this bread?
This recipe works well with various mix-ins like different types of chocolate chips, chopped nuts, or even dried fruit. Just keep the total amount of add-ins to about 1/2 cup to maintain the bread's texture.
- → Why do I need to alternate adding wet and dry ingredients?
Alternating wet and dry ingredients helps achieve a smooth batter without overmixing. This method ensures even distribution of ingredients and prevents the batter from curdling. It also helps create a tender crumb in the finished bread.
