 Save
Save
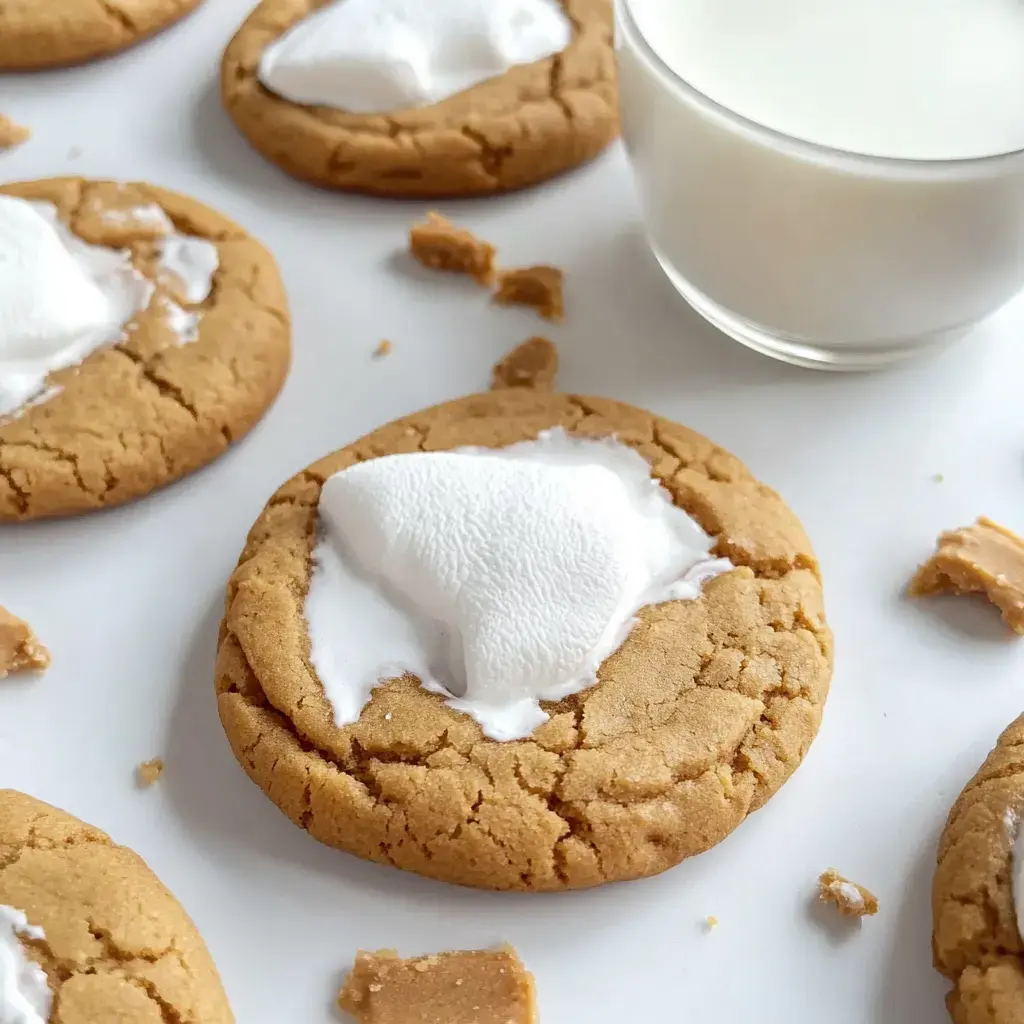
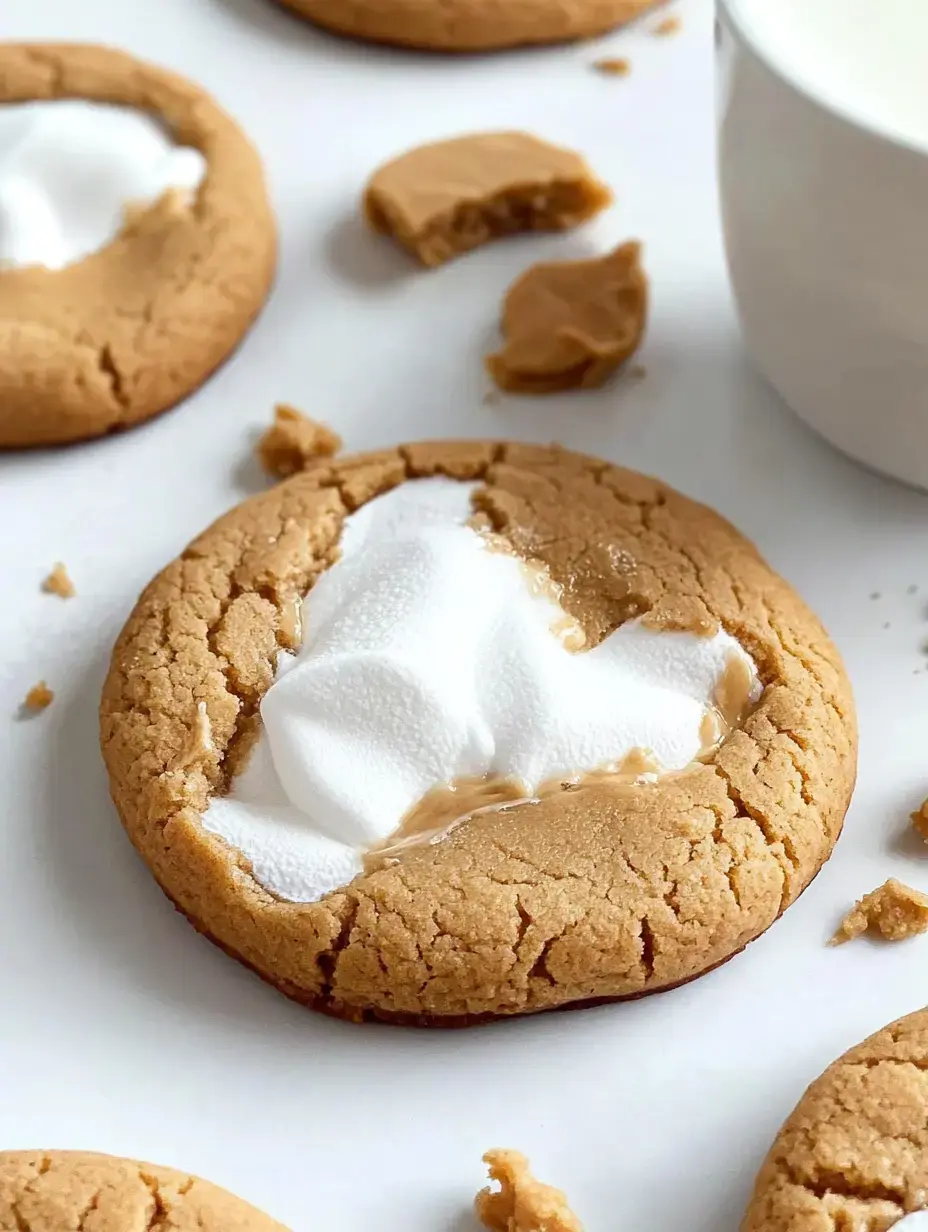
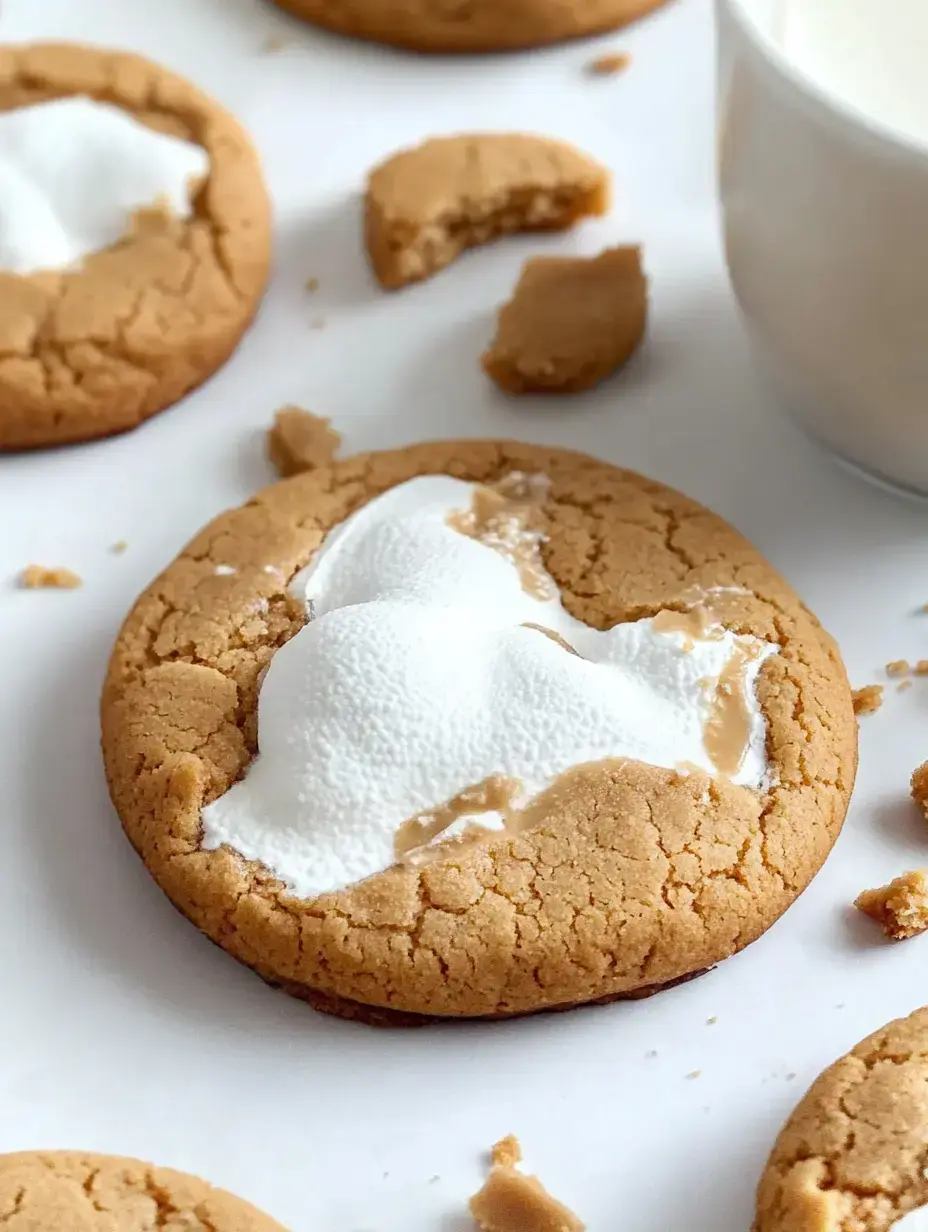
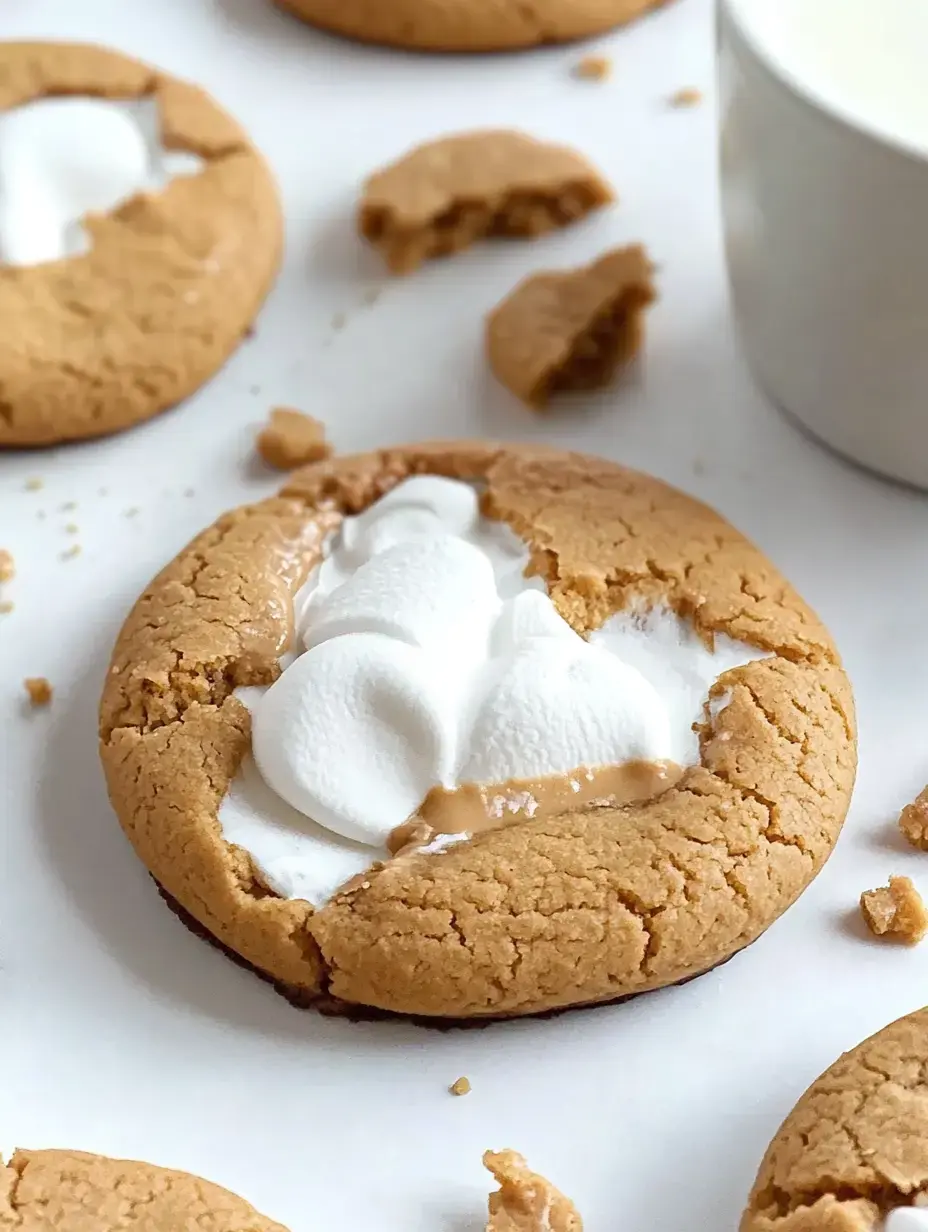
My obsession with peanut butter and marshmallow cream led me to create these incredible Fluffernutter Cookies. Trust me when I say these are the softest, most addictive cookies you'll ever make. The peanut butter cookie base stays perfectly chewy while hiding a gooey marshmallow surprise inside. I've been baking these for years and they never fail to disappear within hours at family gatherings.
The Story Behind Fluffernutter
Growing up in New England, fluffernutter sandwiches were my absolute favorite lunch. Nothing beat that magical combo of creamy peanut butter and marshmallow fluff on fresh bread. One day while making sandwiches for my kids, inspiration struck. Why not turn these beloved flavors into cookies? Hundreds of test batches later, I finally perfected this recipe.
What You'll Need for These Cookies
- Unsalted Butter: Room temperature butter works best. I learned this the hard way after countless failed attempts.
- Creamy Peanut Butter: Skip natural peanut butter for this one. The regular creamy kind gives the best texture.
- Granulated Sugar & Brown Sugar: This combo creates the perfect chew.
- Egg: Just one does the trick to hold everything together.
- Vanilla: Pure vanilla extract makes such a difference.
- Baking Powder & Baking Soda: The secret to perfectly risen cookies.
- Cornstarch: My secret weapon for extra softness.
- Marshmallow Cream: The star of the show.
Let's Start With the Dry Mix
Grab your medium bowl and mix the flour, salt, cornstarch, baking powder and baking soda. I used to skip this step but trust me mixing these ingredients separately makes such a difference in how evenly your cookies bake. The cornstarch is my special touch that keeps these cookies incredibly soft.
The Butter Peanut Butter Magic
Now comes my favorite part. Take your softened butter and peanut butter and beat them together until they're super smooth. Sometimes I catch myself sneaking tastes of this mixture it smells so good. The key is getting it really creamy so your cookies turn out perfect every time.
 Save
Save
Time for Sugar and Wet Ingredients
Pour in both sugars and keep mixing until everything looks light and fluffy. The mixture should almost look whipped. Then crack in your egg and add the vanilla. I love watching it all come together into this gorgeous golden batter that smells absolutely incredible.
Bringing It All Together
Slowly add your dry ingredients into the wet mixture. I usually do this in three parts mixing just until everything comes together. The dough will look thick and beautiful. Stop as soon as you don't see any more flour streaks. Overmixing is the enemy of soft cookies I've discovered.
The Important Chill Time
Pop your dough in the fridge for at least 30 minutes. I know waiting is hard but this step is crucial. Cold dough gives you the most perfect cookie shape and keeps them from spreading too much. Sometimes I make the dough the night before when I'm planning to bake these for special occasions.
Creating Cookie Magic
This is where the fun begins. Scoop out some dough flatten it a bit and add a spoonful of marshmallow cream right in the middle. Then carefully wrap the dough around it sealing well. The first few might be a bit messy but you'll get the hang of it. I've made these so many times I could probably do it with my eyes closed now.
Time to Bake
Set your oven to 350°F and line your baking sheet. Space out your cookie balls giving them room to spread. They'll need about 10 minutes in the oven. Watch for slightly golden edges but still soft centers. The hardest part is resisting the urge to eat them straight from the oven.
 Save
Save
The Cooling Process
Let the cookies rest on the baking sheet for 5 minutes before moving them. This is crucial for keeping their shape and that perfect gooey center. I've ruined many batches by being impatient. The wait is worth it I promise.
Working With Marshmallow Cream
Marshmallow cream can be super sticky but I've got a trick. Keep a small bowl of water nearby and wet your fingers before handling it. Makes the whole process so much easier. Also make sure you seal the dough around it completely or it'll leak during baking. Learn from my messy mistakes.
Getting That Perfect Shape
Sometimes cookies come out a bit wonky shaped. No worries. While they're still warm take a spatula and gently push the edges into a perfect circle. This is my favorite bakery trick that makes cookies look professionally made. Works like magic every time.
Storing Your Cookies
Keep these beauties in an airtight container and they'll stay fresh for 3 days. Layer them in a single layer though. The marshmallow center makes them stick together if you stack them. Not that they usually last that long in my house anyway.
Freezing for Later
You can totally freeze these cookies for up to 2 months. Just let them thaw naturally at room temperature when you're ready to enjoy them. Perfect for when unexpected guests drop by or when you need a sweet treat emergency stash.
 Save
Save
Fun Ways to Mix It Up
- Try Crunchy PB: Sometimes I use crunchy peanut butter when I want extra texture. My kids go crazy for this version.
- Add Chocolate: Drizzle some melted chocolate on top. Because chocolate makes everything better right?
- Make Them Allergy Safe: You can use sunflower butter instead of peanut butter. Works surprisingly well.
Baking With Little Ones
My kids love helping make these cookies. Let the little ones shape the dough balls or add the marshmallow cream. Yes it gets messy but seeing their proud faces when the cookies come out of the oven makes it all worth it.
About That Chilling Step
The chilling time firms up all those buttery ingredients which helps your cookies keep their shape. I've tried skipping this step when I'm in a hurry and while the cookies still taste good they spread way too much. Patience makes perfect cookies.
Common Questions From My Readers
Q: Can I use regular marshmallows instead?
A: While marshmallow cream works best regular marshmallows will do in a pinch. They won't give you quite the same gooey center though.
Q: Is chilling really necessary?
A: Yes Yes Yes. Trust me on this one. Chilling makes all the difference between okay cookies and amazing cookies.
Final Thoughts
These Fluffernutter Cookies have become my signature recipe. The combination of peanut butter and marshmallow cream brings back such wonderful memories and creates new ones every time I bake them. Give them a try and I bet they'll become a family favorite in your house too. Nothing makes me happier than sharing recipes that bring joy to others.
Common Questions About Cooking
- → Why do I need to chill the dough?
- Chilling the dough helps prevent the cookies from spreading too much during baking and makes the dough easier to handle when stuffing with marshmallow cream.
- → Can I use crunchy peanut butter?
- While creamy peanut butter works best for this recipe, you can use crunchy peanut butter if you want some extra texture in your cookies.
- → How do I store these cookies?
- Store in an airtight container at room temperature for up to 3 days. The marshmallow center will stay soft and gooey.
- → Can I freeze these cookies?
- You can freeze the dough balls before stuffing them, but freezing the finished cookies isn't recommended as it affects the marshmallow texture.
- → Why add cornstarch to the dough?
- Cornstarch helps create a softer, more tender cookie texture and prevents them from spreading too much while baking.
