 Save
Save
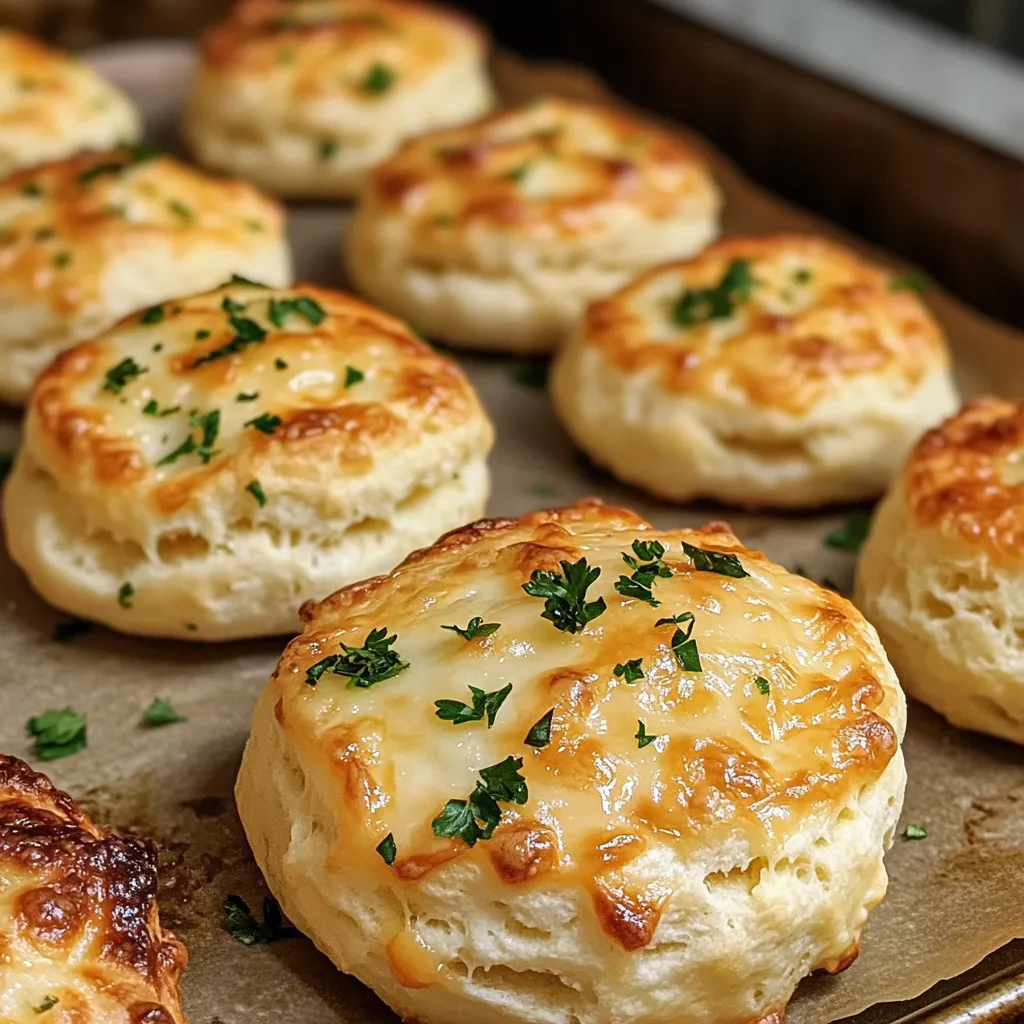
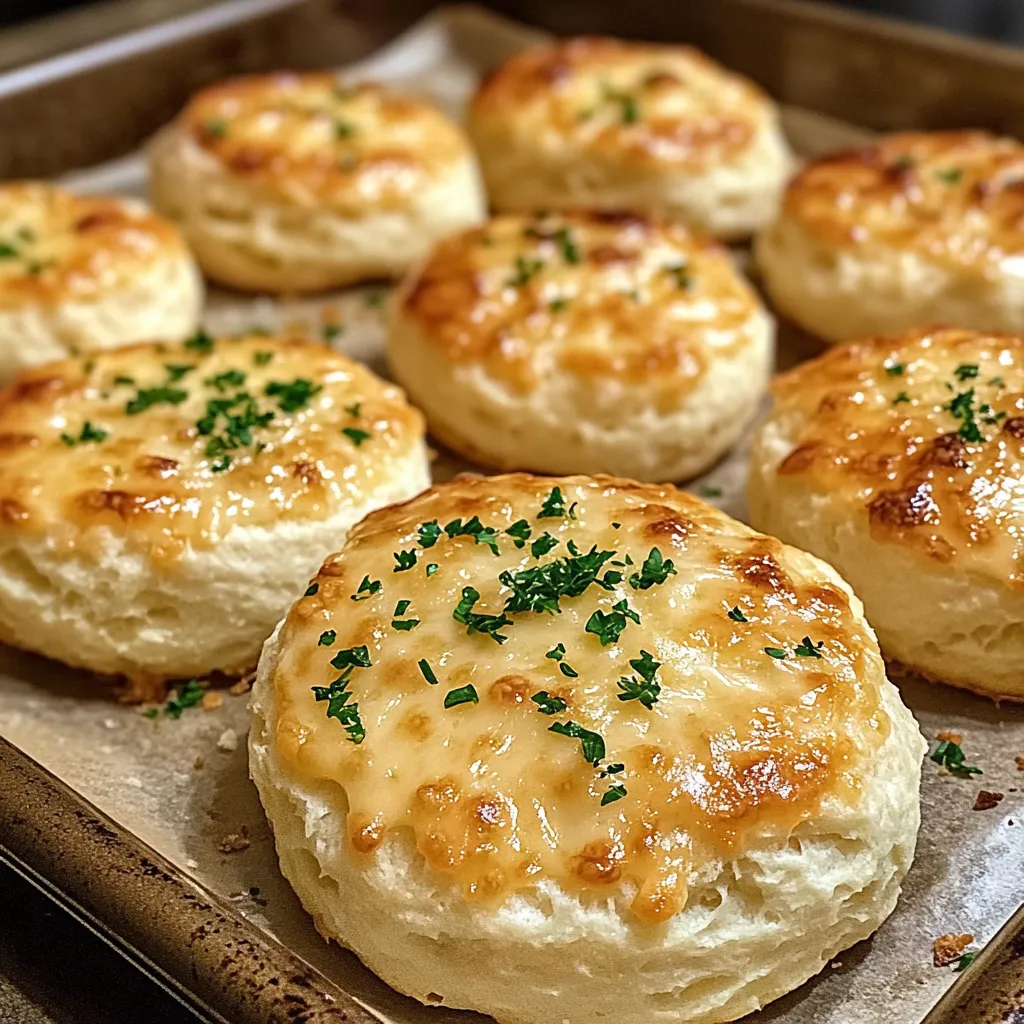
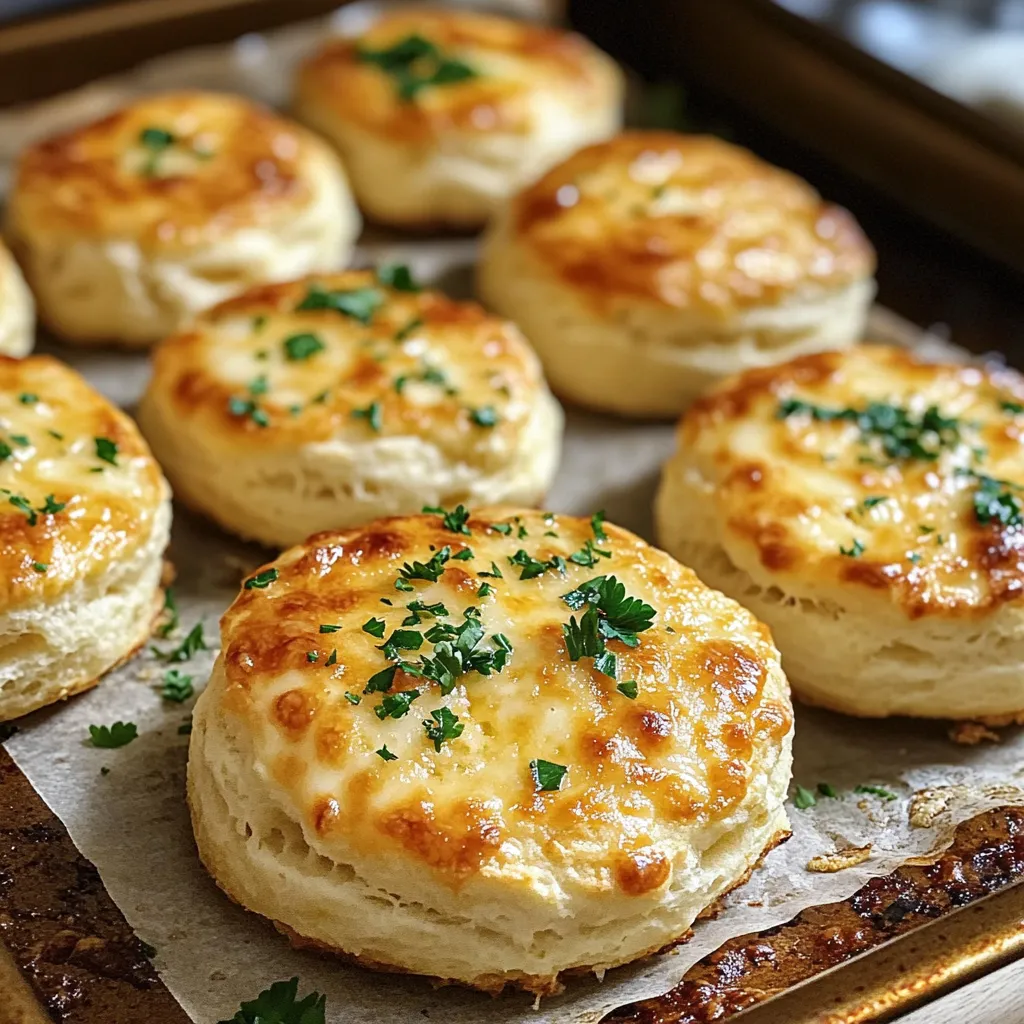
Transform ordinary biscuits into irresistible, cheese-filled delights with these Cheesy Garlic Biscuit Bombs. Each golden-brown morsel bursts with melted cheese and aromatic garlic, creating a perfect handheld treat that brings comfort food to a whole new level. The magic lies in wrapping soft, flaky biscuit dough around a generous helping of cheese, then coating it with rich garlic butter before baking to perfection.
I first made these for a game night with friends, and they disappeared faster than any other snack on the table. My nephew, who's usually picky about trying new foods, ended up asking for seconds and thirds!
Essential Ingredients
- Pillsbury Grands! Buttermilk Biscuits: Their flaky layers create the perfect wrapper for our cheesy filling
- Mozzarella and Cheddar Cheese: Mozzarella brings the stretch while cheddar adds sharp flavor
- Unsalted Butter: Gives you control over saltiness and creates that gorgeous golden crust
- Fresh Garlic: Adds unmistakable aroma and flavor that makes these bombs truly special
- Dried Oregano: Brings an Italian touch that complements the cheese perfectly
- Fresh Parsley: Adds color and a fresh finish to each bite
- Salt and Pepper: Essential for bringing all the flavors together
Detailed Instructions
- Start Right
- Preheat your oven to 375°F
- Line a baking sheet with parchment paper to prevent sticking
- Let biscuits sit at room temperature for 5 minutes to make them easier to work with
- Prepare the Filling
- Mix 1 cup each of shredded mozzarella and cheddar
- Add 4 minced garlic cloves and 1 teaspoon dried oregano
- Season with 1/2 teaspoon each salt and pepper
- Gently toss everything together until well combined
- Shape the Bombs
- Flatten each biscuit into a 4-inch circle
- Place 2 tablespoons of cheese mixture in the center
- Carefully fold edges up and over filling
- Pinch seams firmly to seal completely
- Roll between your palms to form a perfect ball
- Add the Garlic Butter Magic
- Melt 1/2 cup butter with 2 minced garlic cloves
- Brush each bomb generously with garlic butter
- Sprinkle with extra oregano if desired
- Bake to Perfection
- Space bombs 2 inches apart on prepared baking sheet
- Bake for 15-20 minutes until golden brown
- Let cool for 3-5 minutes before serving
- Warning: Cheese will be very hot!
 Save
Save
Growing up, my grandmother always said garlic and cheese were meant for each other. After years of cooking these biscuit bombs, I couldn't agree more. The way the garlic infuses into the butter and seeps into the biscuit dough creates layers of flavor that make these absolutely unforgettable.
Make-Ahead Magic
Want to get a head start on party prep? These bombs can be assembled up to 4 hours before baking. Simply prepare them as directed, place on a baking sheet, cover with plastic wrap, and refrigerate. When ready to bake, brush with garlic butter and pop them in the oven. They might need an extra minute or two of baking time when coming straight from the fridge.
Perfect Pairings
While these cheesy bombs are delicious on their own, they truly shine when served alongside marinara sauce for dipping. The acidity of the tomatoes cuts through the richness of the cheese perfectly. For a complete meal, serve them with a fresh green salad dressed in light vinaigrette to balance out the richness.
Storage Solutions
On the rare occasion you have leftovers, store them in an airtight container in the fridge for up to 3 days. To reheat, place them in a 350°F oven for 5-7 minutes until warmed through. Avoid using the microwave as it can make the biscuits tough and chewy.
Creative Variations
Don't be afraid to experiment with different fillings. Try adding diced pepperoni, crushed red pepper flakes, or even a spoonful of pesto to the cheese mixture. Each variation brings its own personality to the table while keeping that irresistible cheesy core that makes these bombs so special.
 Save
Save
After making these countless times for family gatherings, potlucks, and quiet nights at home, I can honestly say these Cheesy Garlic Biscuit Bombs never fail to bring smiles to faces. There's something magical about breaking open a warm, golden bomb to reveal that perfect cheese pull. Whether you're an experienced cook or just starting your culinary journey, this recipe is sure to become a favorite in your repertoire.
Common Questions About Cooking
- → Can I make these cheese bombs ahead of time?
- You can prepare them up to 24 hours ahead and store unbaked in the fridge. Bake right before serving for the best melty cheese result.
- → What dipping sauces go well with these?
- Marinara sauce, ranch dressing, or warm pizza sauce all pair great with these cheese bombs.
- → Can I use different types of cheese?
- Yes! Try pepper jack for spice, or use just mozzarella or cheddar. Any melting cheese works well.
- → Why are my cheese bombs leaking?
- Make sure to pinch and seal the edges of the dough completely. Any gaps will let the cheese leak during baking.
- → How do I store leftover cheese bombs?
- Keep them in an airtight container in the fridge for up to 3 days. Reheat in the oven or microwave until warm.
