 Save
Save
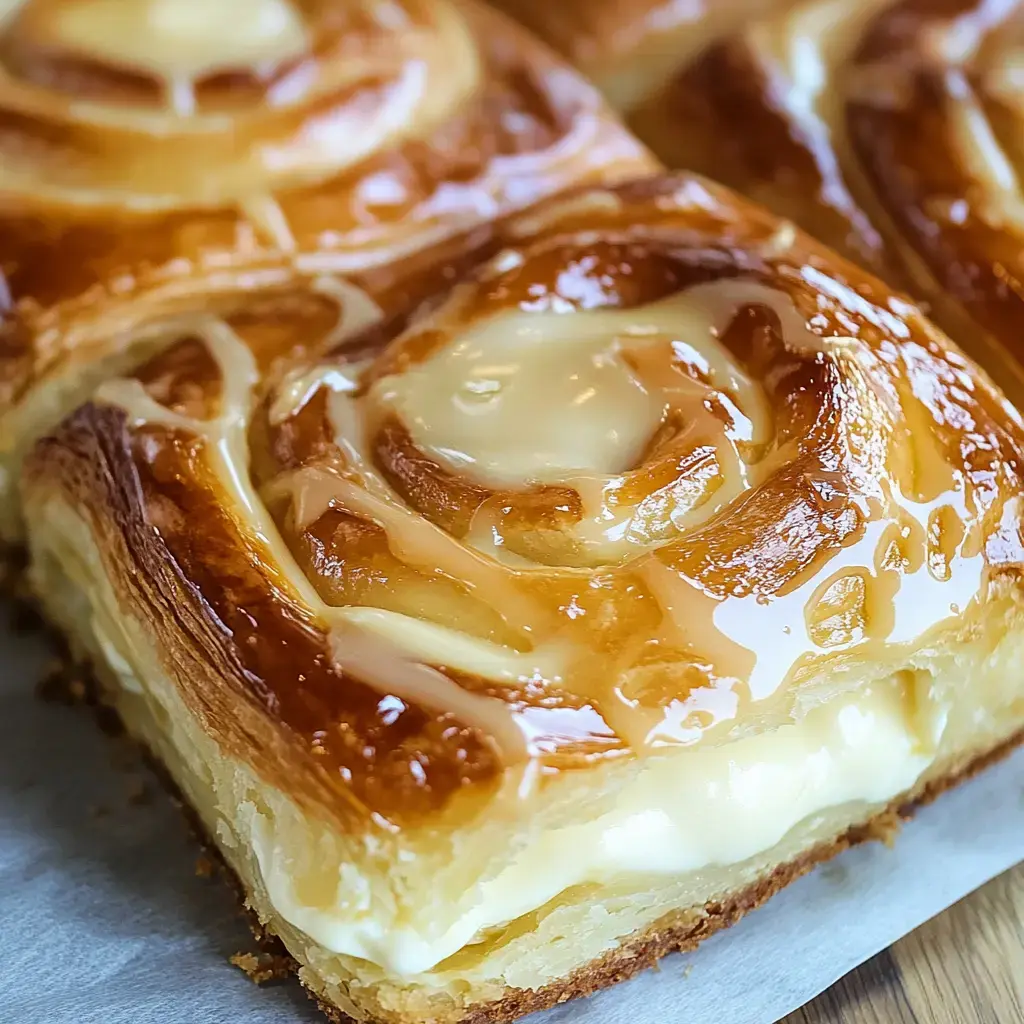
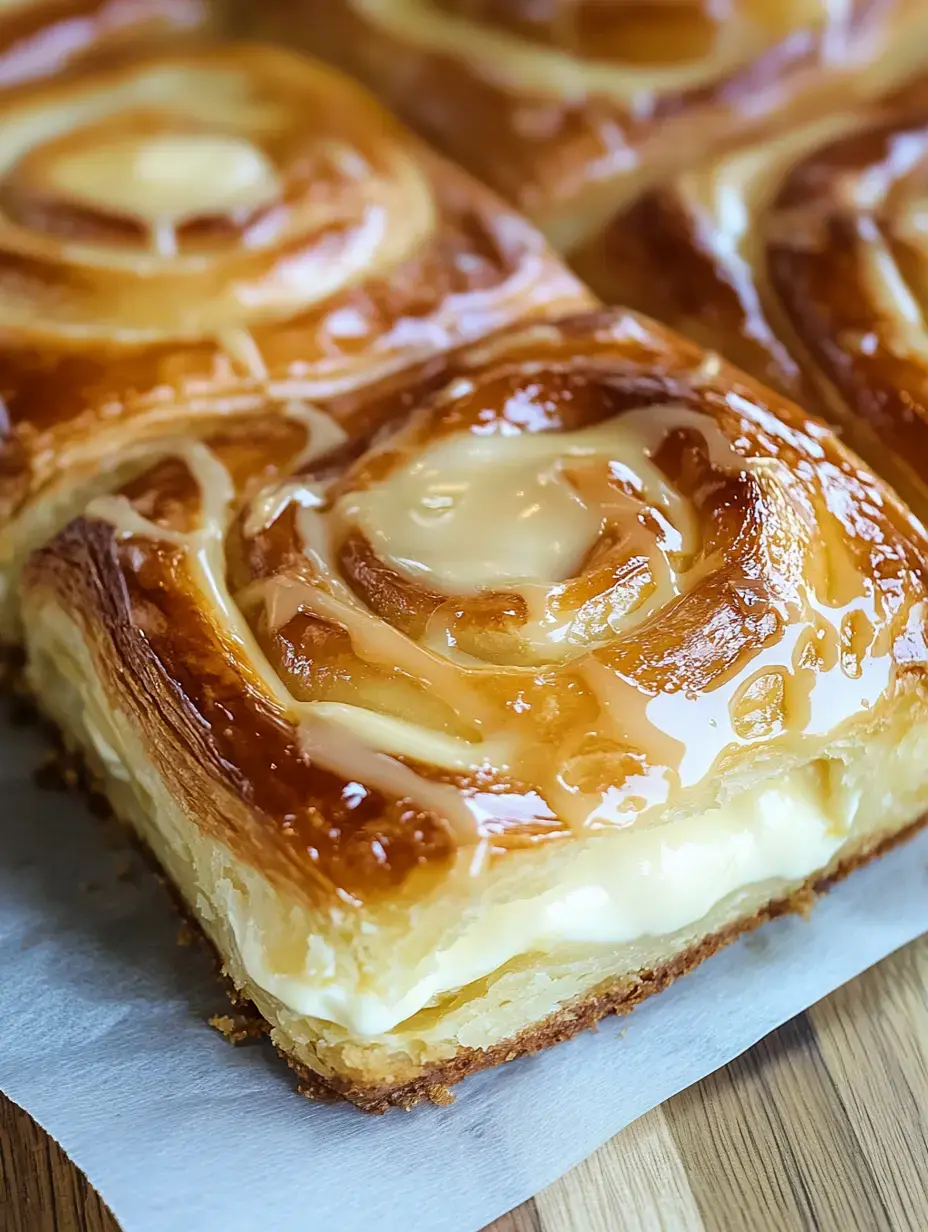
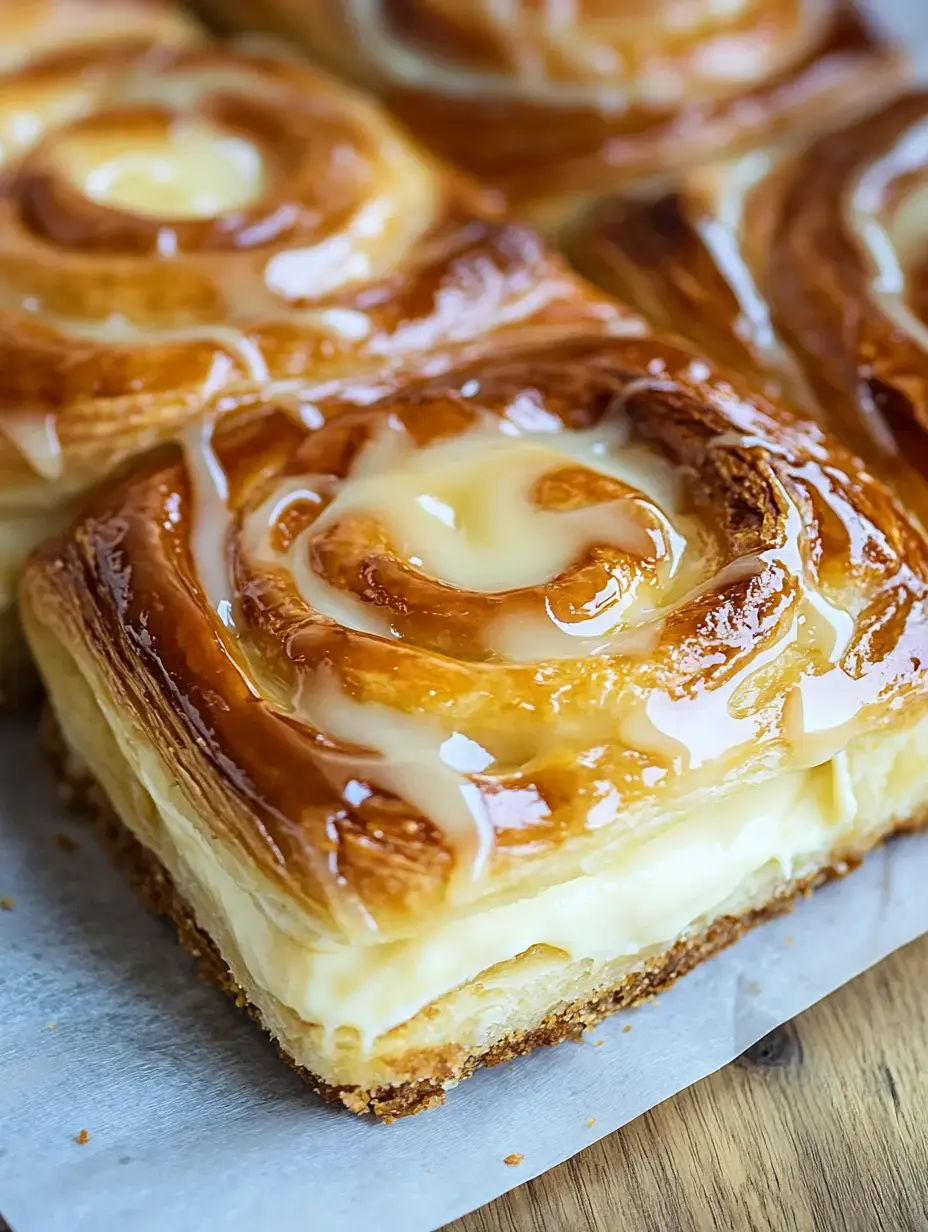
Quick Hawaiian Roll Cheesecake Danishes have become my latest obsession in the kitchen. Picture this sweet and creamy treat made with pillowy King's Hawaiian rolls stuffed with velvety cheesecake filling. A sprinkle of brown sugar and nutmeg transforms these simple ingredients into pure magic. The best part? They only take 22 minutes to make. My friends always beg for the recipe after their first bite.
The Story Behind These Danishes
I stumbled upon this recipe during a cozy weekend experiment in my kitchen. My house smelled like heaven that morning as my husband and kids came back from their usual Saturday jog. The moment they walked in they couldn't resist stealing bites before these danishes even had a chance to cool. Now they ask for them every weekend and honestly I can't blame them.
The Secret to Their Amazing Taste
The combination of soft King's Hawaiian rolls and rich cheesecake filling creates something truly special in your mouth. Each bite starts with that tender bread texture then melts into creamy sweetness. A tiny pinch of nutmeg adds such wonderful warmth you'll wonder why you never thought of it before. These danishes prove that simple ingredients can create pure magic in the kitchen.
Perfect for Any Time
These danishes work for so many occasions. Grab one with your morning coffee serve them at brunch or enjoy them as an afternoon treat. The blend of cream cheese cinnamon and nutmeg creates this incredible comfort food feeling. I love making a batch when friends drop by unexpectedly they always think I spent hours in the kitchen.
What You'll Need
- Real butter: Trust me it makes everything better.
- King's Hawaiian sweet rolls: These rolls make all the difference.
- Brown sugar: It adds such a lovely caramel sweetness.
- Ground cinnamon: The smell alone will make you happy.
- Fresh nutmeg: Just a tiny bit works wonders.
- Cream cheese: Full fat makes the filling extra dreamy.
- One fresh egg: Helps create that perfect texture.
- Regular sugar: Balances the cream cheese perfectly.
 Save
Save
Getting Started
Turn your oven on to 375°F and grab your favorite baking dish. I like to brush melted butter all over the bottom and sides. This step might seem small but it makes such a difference when you're serving these beauties later.
Working with the Rolls
Take your Hawaiian rolls and arrange them in the dish. Now comes the fun part grab a sharp knife and cut an X into each roll. Don't go all the way through just deep enough to create a pocket for all that creamy filling. Think of it as making little homes for the cheesecake mixture.
Creating the Sweet Butter Mix
Mix up your melted butter brown sugar cinnamon and nutmeg in a bowl. I love watching these ingredients come together. The butter gets all speckled with cinnamon and the smell is absolutely wonderful. Sometimes I catch myself just standing there taking in that amazing aroma.
Adding the Butter Magic
Pour that gorgeous butter mixture over your rolls. Make sure you get it everywhere in all the nooks and crannies. This is what gives your danishes that incredible caramelized taste that everyone loves so much.
Making the Filling
Time for the star of the show. Beat your cream cheese until it looks smooth and fluffy add your sugar and keep mixing. Then stir in your egg. The filling should look silky and creamy without any lumps. Sometimes I catch myself sneaking a little taste it's that good.
Filling Time
Now comes my favorite part filling those rolls. I use a piping bag because it makes the job so much easier but a spoon works just fine too. Fill each roll carefully. You want them full but not overflowing. Think of it like tucking little clouds of cheesecake into each roll.
 Save
Save
Into the Oven
Pop your dish in the oven and let it work its magic for about 12 to 15 minutes. You'll know they're done when they turn this beautiful golden brown color on top. I always check that they're warm all the way through about 145°F if you're using a thermometer.
The Waiting Game
Let them sit for just a few minutes before diving in. The filling gets super hot so this little break gives it time to settle. Plus it gives you time to brew some coffee or grab plates while enjoying that amazing smell filling your kitchen.
Saving Some for Later
If your family doesn't finish them all right away pop them in an airtight container and into the fridge. They'll stay good for 3 or 4 days. A quick zap in the microwave brings back that fresh-baked taste. Though honestly they rarely last that long in my house.
My Kitchen Secrets
Always let your cream cheese soften up first it makes such a difference in the filling. Using a piping bag might seem fancy but it makes filling the rolls so much easier. Sometimes I add a splash of vanilla or top them with caramel sauce when I'm feeling extra indulgent.
Fun Ways to Switch It Up
My kids love helping me make these. Sometimes we add mini chocolate chips on top or sneak in some marshmallows. During fall I swap in some pumpkin spice and around Christmas a bit of ginger gives them a holiday twist. The possibilities are endless.
Prep Ahead Tips
Want to make your morning easier? Set everything up the night before cover the dish and pop it in the fridge. Next morning just bake and enjoy. This trick has saved me so many times when hosting breakfast gatherings.
When to Serve These
I've served these at everything from lazy Sunday breakfasts to fancy brunch parties. They're perfect when you need something special but don't have hours to spend in the kitchen. Everyone always thinks you worked so much harder than you actually did.
Make It Your Own
While I love using King's Hawaiian rolls you can try other breads too. Sometimes I add a spoonful of strawberry preserves to the filling or sprinkle some nuts on top. The recipe is really forgiving so feel free to play around with it.
Quick Answers to Common Questions
Can you use different rolls? Absolutely brioche works great too. Make ahead? Yes just keep them covered in the fridge. Kid friendly? Totally especially if you let them help with the filling or adding toppings. Trust me they'll love being your little kitchen helpers.
Common Questions About Cooking
- → Can I make these danishes ahead of time?
- You can prepare these danishes up to a day ahead. Store them in the fridge and warm them slightly before serving for the best taste and texture.
- → What if I don't have a piping bag?
- A plastic zip-top bag with a corner snipped off works great as a piping bag alternative. You can also carefully spoon the filling into the cuts if needed.
- → Can I freeze these danishes?
- These danishes can be frozen for up to 2 months. Wrap them individually in plastic wrap and place in a freezer bag. Thaw overnight in the fridge before reheating.
- → How do I know when they're done baking?
- The danishes are ready when the tops are golden brown and the cream cheese filling is set. The edges of the rolls should be slightly crispy while the centers remain soft.
- → What's the best way to store leftover danishes?
- Store leftover danishes in an airtight container in the fridge for 3-4 days. Heat them briefly in the microwave or oven before serving to restore their fresh-baked texture.
