 Save
Save
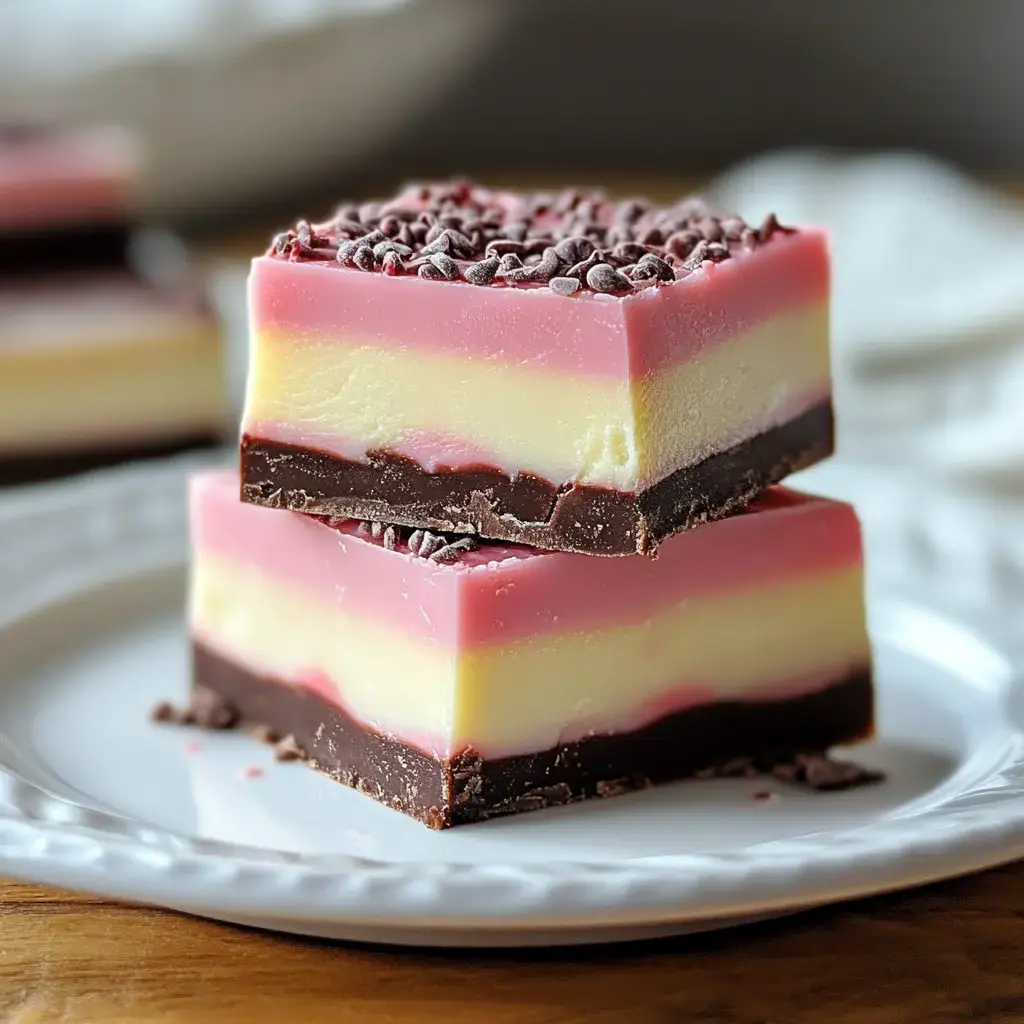
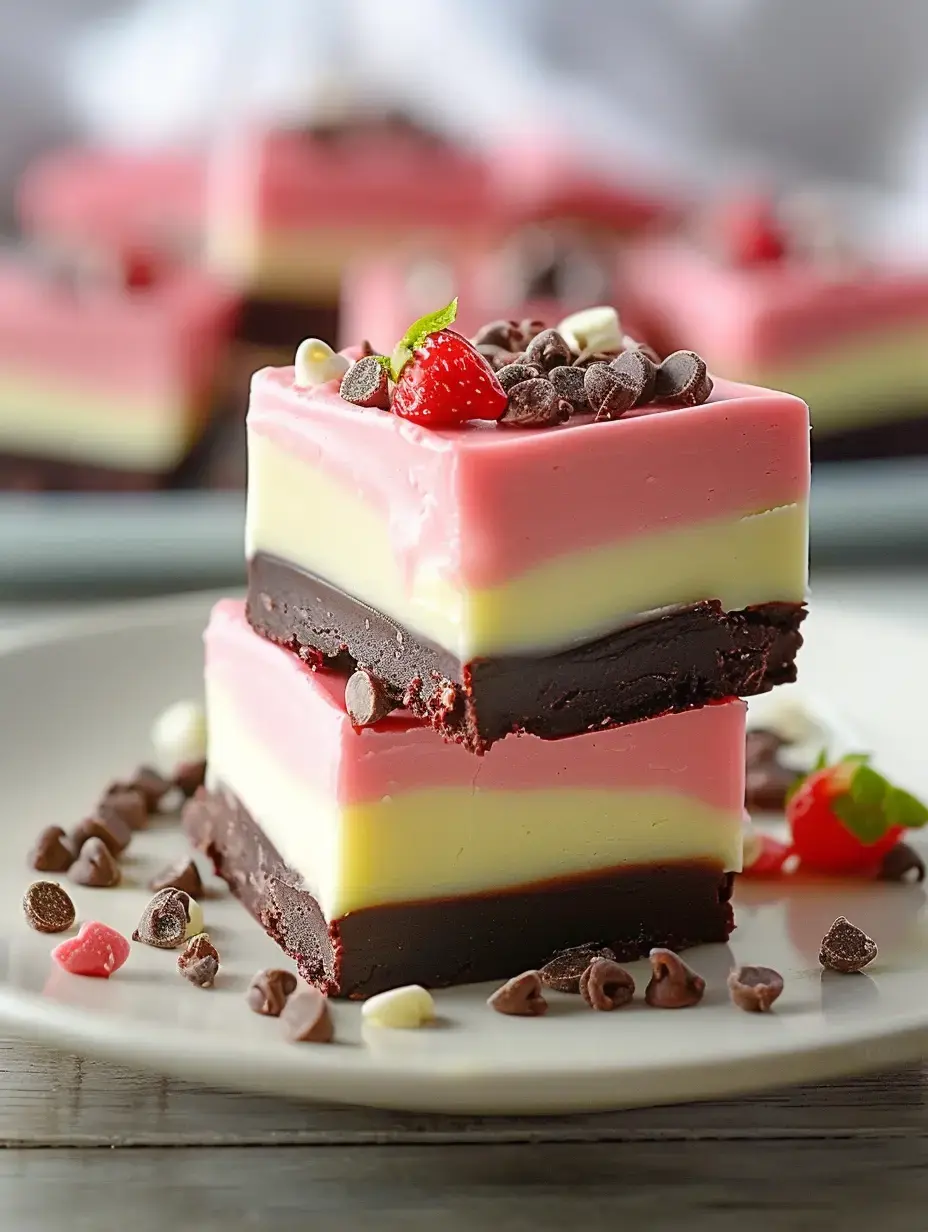
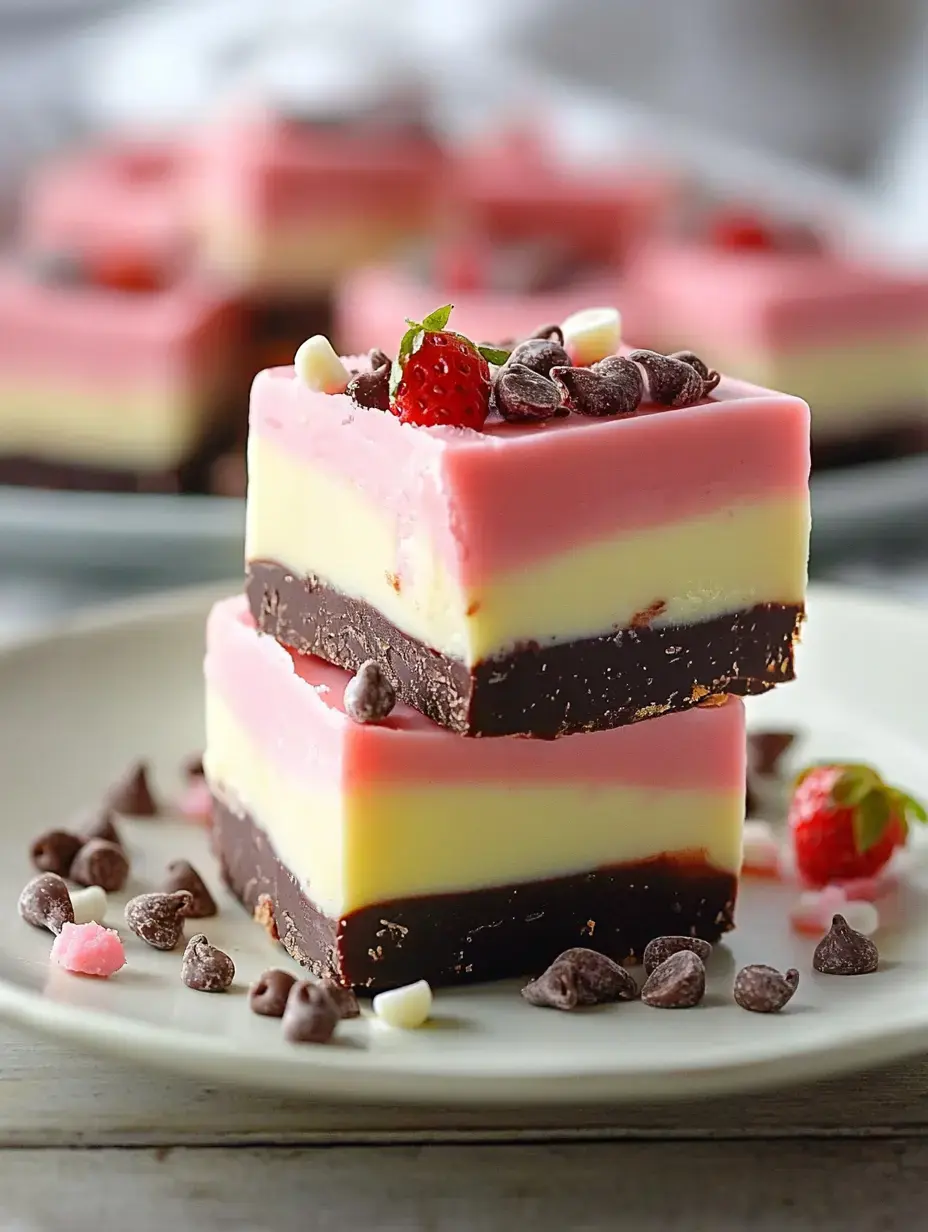
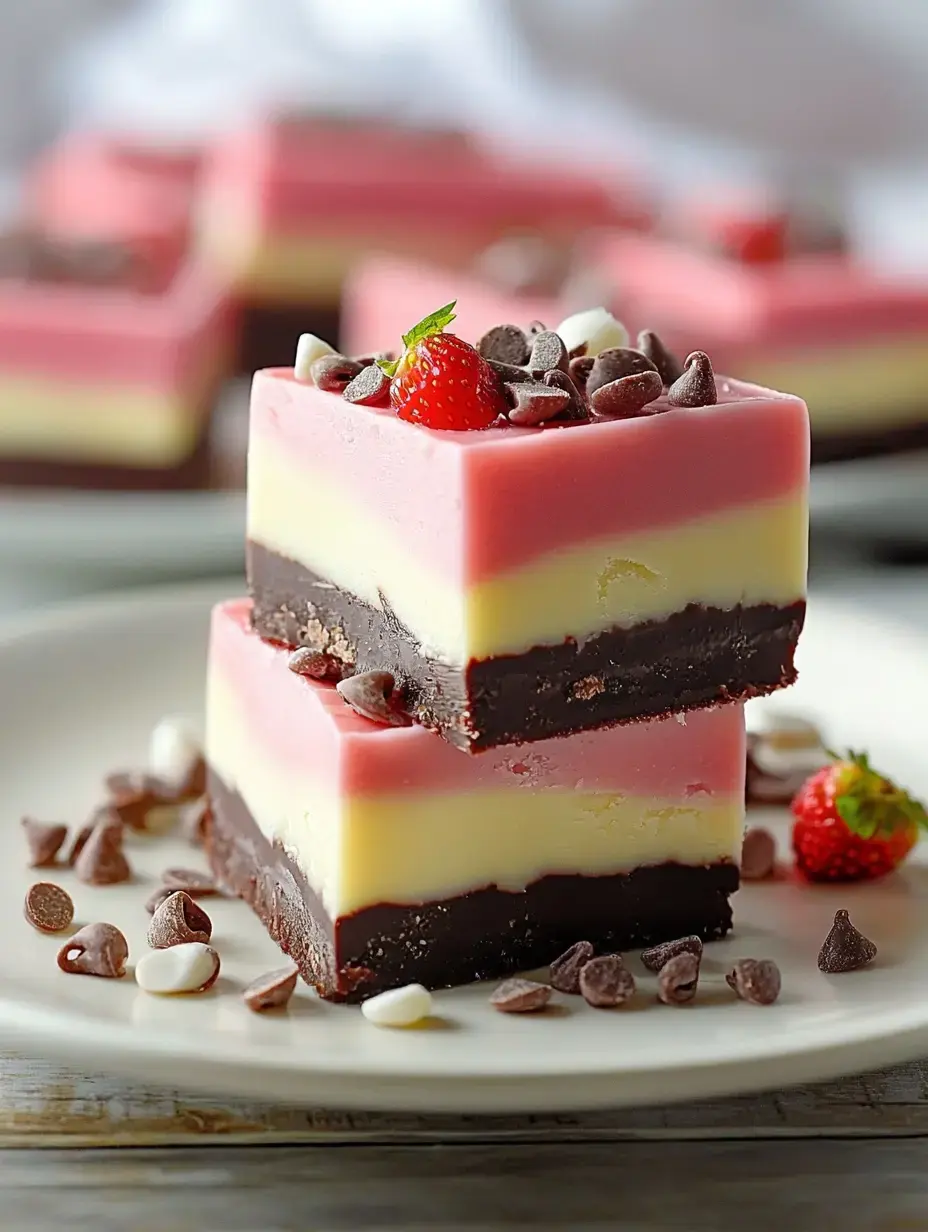
One of my absolute favorite treats to make in my kitchen is this gorgeous triple-layered Neapolitan fudge. I fell in love with how the chocolate, vanilla and strawberry layers create such a beautiful dessert that brings back memories of those classic ice cream cartons from my childhood. Every time I serve this at family gatherings everyone's eyes light up at the stunning colors. The best part is how each creamy layer gives you a different flavor that just works perfectly together.
The Story Behind My Neapolitan Fudge
I started making this fudge after my daughter begged me to recreate her favorite ice cream flavors in candy form. What started as a kitchen experiment turned into our family's most requested dessert. The magic of this treat isn't just in how pretty it looks it's about bringing together three beloved flavors in one incredible bite. I love serving this at everything from casual movie nights to fancy dinner parties because it never fails to make people smile.
Everything You Need in Your Kitchen
- Start with a can of sweetened condensed milk this stuff is pure magic and makes everything silky smooth.
- Semi sweet chocolate chips are essential for that perfect chocolate layer. I learned from experience that quality matters here.
- White chocolate chips are the base for both vanilla and strawberry layers grab two cups total.
- Real strawberry extract gives such lovely flavor. One teaspoon is all you need.
- Food coloring brings the whole thing to life. I use red and yellow to get those perfect shades.
Getting Your Kitchen Ready
Let me share my prep routine that saves so much time. I clear my counter space entirely and line up everything I need. A clean workspace makes all the difference when layering fudge. I grab my favorite mixing bowls spatulas measuring cups and line my baking pan with parchment paper. Trust me having everything ready before you start makes the whole process so much smoother.
Making That Perfect Chocolate Base
- First Things First
- I start by melting my chocolate chips with half the condensed milk over low heat. Keep stirring this is your moment to relax and watch the magic happen as it turns silky smooth.
- Setting the Foundation
- Pour this heavenly mixture into your pan and spread it carefully. Give it time to set a bit before adding the next layer. This patience pays off in those clean beautiful layers everyone loves.
 Save
Save
Creating the Dreamy Vanilla Layer
- The White Chocolate Magic
- Now comes my favorite part melting white chocolate with the remaining condensed milk. The smell is absolutely incredible.
- Adding That Perfect Color
- A tiny drop of yellow or pink food coloring transforms the white into a lovely creamy shade. I usually go with a soft vanilla tone.
- Layering with Love
- Pour this over your chocolate base so gently. I use the back of my spatula to spread it evenly watching for any mixing between layers.
The Sweet Strawberry Finale
- Making Pink Perfection
- This is where the magic happens. Melt your white chocolate add that precious teaspoon of strawberry extract and watch as the pink coloring creates the most gorgeous shade.
- The Final Touch
- Layer this beautiful pink mixture on top so carefully. I love watching how the three colors come together it's like edible art in your kitchen.
The Waiting Game
Now comes the hardest part waiting. Cover your creation and let it chill in the fridge. I usually leave it for at least two hours but sometimes overnight if I'm planning ahead. The waiting is worth it though because those layers need time to set perfectly. I've learned this lesson the hard way rushing never gives you those picture perfect slices.
Slicing Your Masterpiece
When it's finally time to cut into your fudge make sure you've got a sharp knife ready. I like to warm my knife under hot water and wipe it clean between cuts. This gives you those gorgeous clean edges that show off all three layers. Sometimes I arrange the pieces on my grandmother's old serving plate it makes such a pretty presentation.
Keeping Your Fudge Fresh
I store my fudge in my favorite glass container with a tight seal right in the fridge. It stays fresh for about two weeks though it never lasts that long in my house. If you're planning way ahead wrap individual pieces and freeze them. They'll keep their flavor wonderfully for months but let them thaw in the fridge when you're ready to enjoy.
 Save
Save
Learning From My Kitchen Mistakes
Through years of making this fudge I've learned some valuable lessons. Always measure carefully rushing through measurements leads to disaster. Keep your heat low when melting chocolate nothing ruins fudge faster than burnt chocolate. Give each layer its own time to cool. These little details make all the difference between good fudge and great fudge.
Tips for Perfect Layers
The secret to those picture perfect layers is all in how you pour and spread. I take my time with each layer using gentle strokes with my spatula to spread the mixture evenly. Sometimes I even tap the pan gently on the counter to level everything out. These extra moments of care make such a difference in the final look.
Fun Ways to Mix It Up
Sometimes I get creative with my flavors. Last Christmas I tried peppermint instead of strawberry and it was a huge hit. Adding crushed nuts between layers creates amazing texture. My kids love when I experiment with different colors for holidays. The possibilities are endless once you get comfortable with the basic recipe.
My Must Have Kitchen Tools
Over the years I've learned which tools make fudge making easier. My silicone spatulas are essential for smooth spreading. A heavy saucepan prevents hot spots that could burn the chocolate. My digital scale ensures perfect measurements every time. These tools have become my trusted kitchen companions for perfect fudge.
Perfect for Any Time
What I love most about this fudge is how it fits any occasion. I've served it at summer barbecues and winter holidays. It's been part of birthday celebrations and afternoon tea with friends. The colors and flavors just work year round and always bring smiles to faces.
 Save
Save
Making Memories in the Kitchen
Making this fudge has become a special activity with my kids. They love helping choose colors and watching the layers come together. My youngest always gets to lick the spoons while my oldest has become quite the expert at spreading layers. These kitchen moments are precious creating memories along with dessert.
Seasonal Inspiration
I love adapting this recipe throughout the year. Orange and black layers for Halloween pastel shades for Easter red and green for Christmas. Sometimes I match the flavors too like pumpkin spice in fall or mint for winter. Each season brings new possibilities to this beloved recipe.
My Pro Kitchen Secrets
After countless batches I've picked up some tricks. Setting up a double boiler gives you more control over melting chocolate. Chilling your tools helps prevent premature setting. These little professional touches elevate the whole process making it more enjoyable and the results even better.
Making It Look Special
Presentation makes everything more special. I love using pretty paper liners for individual pieces or wrapping them in cellophane with ribbon for gifts. During the holidays I package them in vintage tins. These little touches make the fudge feel even more special.
From My Kitchen to Yours
Making this Neapolitan fudge brings me so much joy. It's more than just a recipe it's about creating something beautiful and delicious that brings people together. Whether you're making it for the first time or the hundredth time each batch is an opportunity to create something special. I hope you'll love making it as much as I do.
Main Points
Create this eye-catching three-layer fudge that brings together beloved Neapolitan ice cream flavors in a rich, creamy candy. With distinct layers of chocolate, vanilla, and strawberry, it's a showstopping treat that's surprisingly simple to make.
Common Questions About Cooking
- → Can I freeze this Neapolitan fudge?
Yes, you can freeze this fudge for up to 3 months. Wrap it tightly in plastic wrap and place in a freezer bag to prevent freezer burn. Let it thaw in the fridge overnight before serving.
- → Why isn't my fudge setting properly?
The most common reason is not allowing each layer to set fully before adding the next one. Make sure each layer is completely firm to the touch before adding another layer. Also check that you're using the correct ratio of chocolate to condensed milk.
- → Can I use different flavors instead of strawberry?
You can definitely swap the strawberry layer for another flavor. Try raspberry, mint, or orange extract instead. Just make sure to adjust the food coloring to match your chosen flavor.
- → How do I get clean, even layers?
Pour each layer carefully and spread it evenly with a spatula. Gently tap the pan on the counter to remove air bubbles. Refrigerate each layer until firm before adding the next one.
- → Why did my white chocolate seize up?
White chocolate can be tricky to melt. Use low heat and stir frequently to prevent seizing. If your chocolate becomes grainy, try adding a teaspoon of vegetable oil and stirring until smooth.
