
 Save
Save
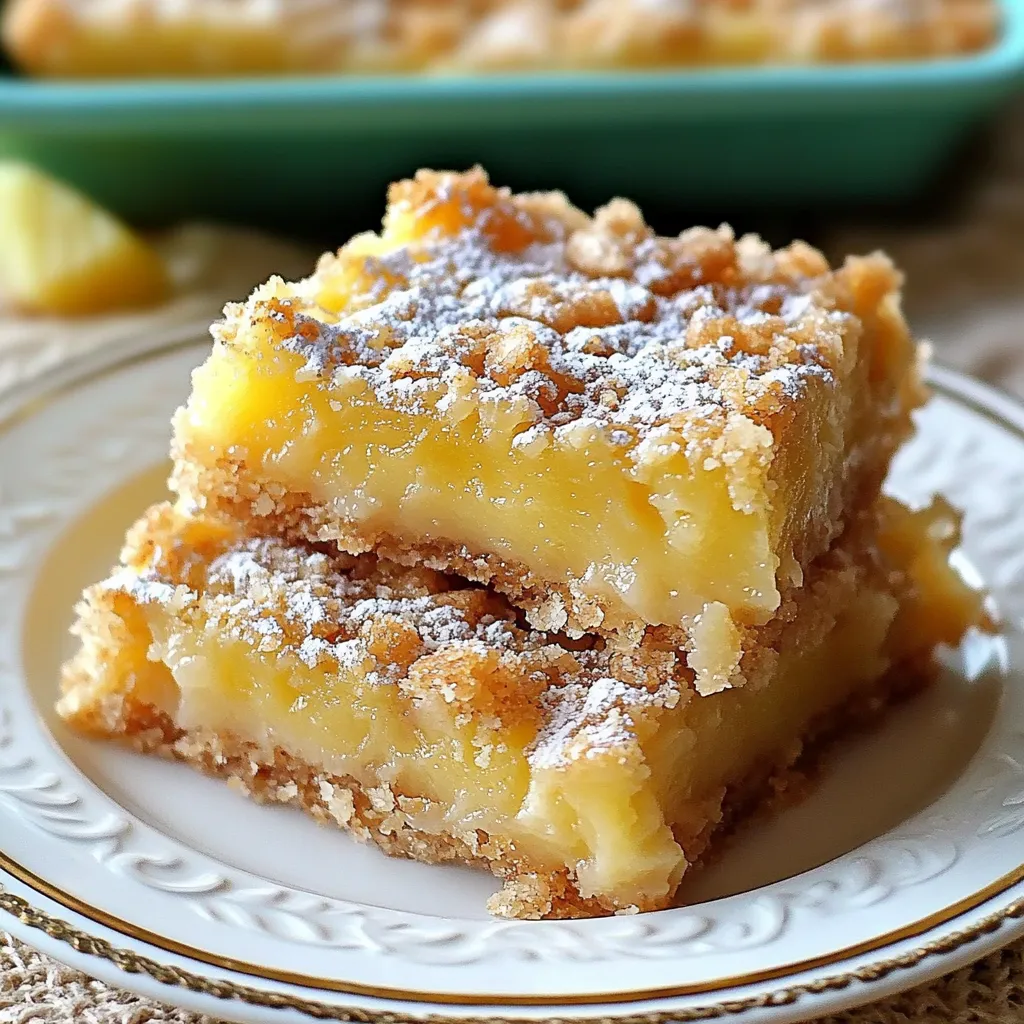
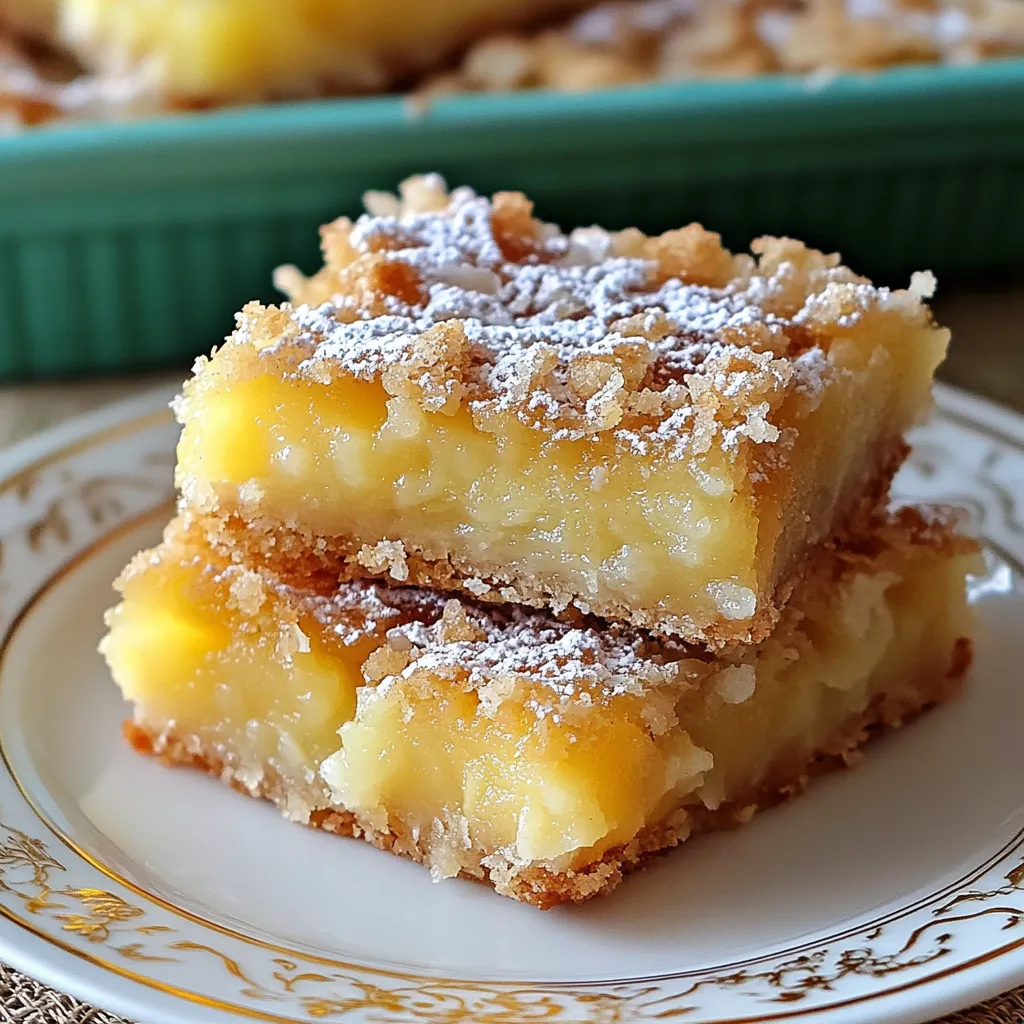
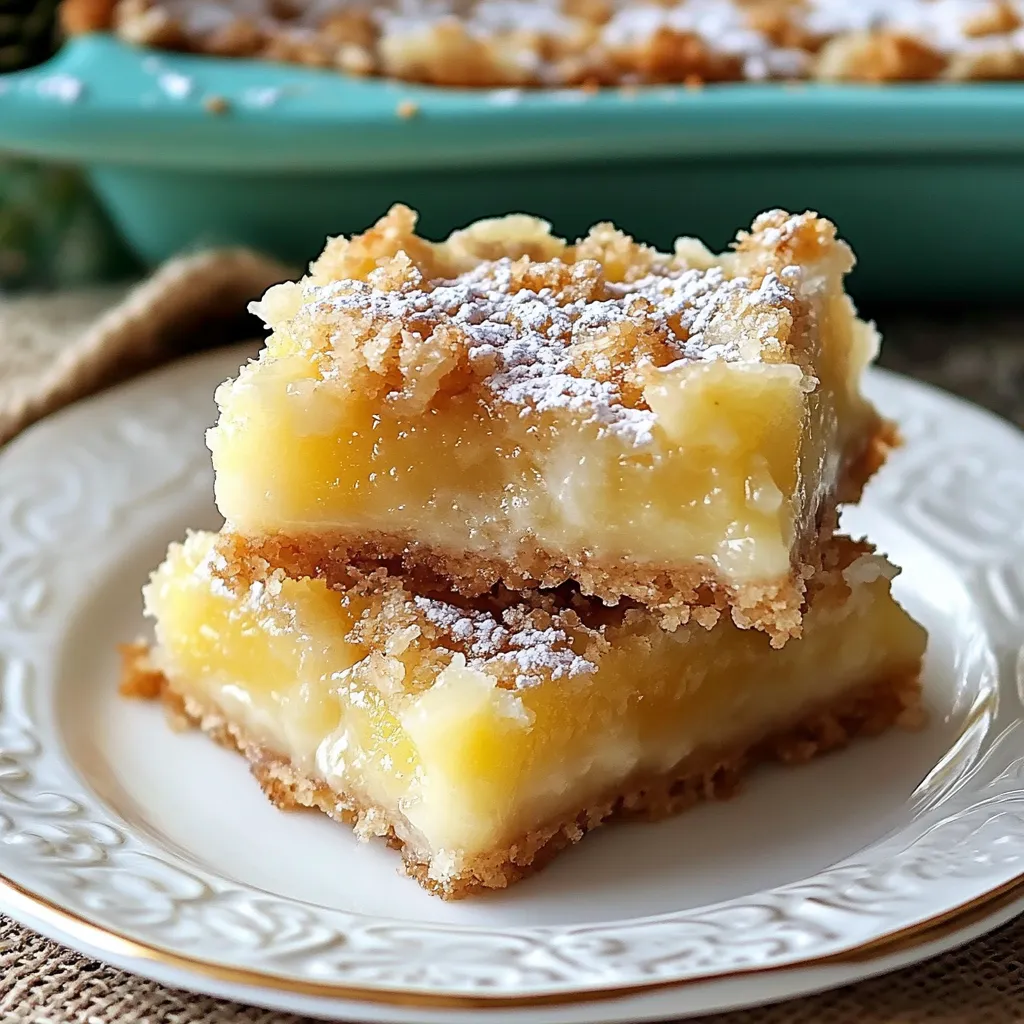
Sunshine-bright pineapple filling nestles atop a buttery shortbread crust in these irresistible tropical treats. Each bite delivers the perfect balance of sweet-tart fruit flavor against a rich, tender base that melts in your mouth. These bars bring a taste of the tropics to your kitchen with remarkably little effort—the simple press-in crust and stir-together filling come together in minutes, creating something far greater than the sum of their humble parts. The contrast between the crumbly shortbread base and the gooey, fruit-studded topping creates a textural paradise that makes these bars utterly addictive.
I first made these bars for my daughter's luau-themed birthday party last summer. While I expected them to be good, I wasn't prepared for the crowd that gathered around the dessert table or the number of recipe requests that followed. Even my father-in-law, who claims not to like 'fruity desserts,' was caught sneaking seconds and thirds throughout the evening.
Tropical Building Blocks
- All-purpose flour (1¾ cups total): Forms the foundation for both the shortbread crust and helps stabilize the filling; measure by spooning into measuring cups and leveling for accuracy
- Granulated sugar (1½ cups total): Provides sweetness while creating structure in both layers; superfine sugar incorporates more easily if available
- Salt (¼ teaspoon): Enhances the buttery flavor of the crust while balancing sweetness; fine sea salt distributes more evenly than table salt
- Unsalted butter (¾ cup, cold and cubed): Creates the rich, tender texture characteristic of shortbread; European-style butter with higher fat content produces exceptional results
- Crushed pineapple (1 cup, well-drained): Delivers bright tropical flavor and moisture; fresh pineapple crushed at home provides superior flavor, though canned works well
- Large eggs (2): Provide structure and binding for the filling; room temperature eggs incorporate more smoothly
- Baking powder (½ teaspoon): Creates subtle lift in the filling without making it cakey; aluminum-free varieties prevent any metallic aftertaste
- Vanilla extract (1 teaspoon): Enhances the pineapple flavor with complementary warm notes; pure extract rather than imitation makes a noticeable difference
- Powdered sugar (for dusting): Adds visual appeal and subtle sweetness to the finished bars; sift before applying for the most attractive presentation
Baking Process
- Oven Preparation:
- Preheat oven to 350°F (175°C) positioning rack in the center for even heat distribution. Line a 9×13-inch baking pan with parchment paper, allowing excess to hang over sides to create handles for easy removal later. This step is crucial for clean cutting and serving.
- Crust Creation:
- Combine 1½ cups flour, ½ cup granulated sugar, and salt in a medium bowl, whisking to distribute ingredients evenly. Add cold butter cubes and cut in using a pastry blender, two knives, or your fingertips until mixture resembles coarse crumbs with pea-sized butter pieces still visible. This creates the flaky texture characteristic of great shortbread.
- Base Formation:
- Transfer crumb mixture to prepared pan, spreading evenly before pressing firmly into a compact, level layer using the bottom of a measuring cup or glass. The pressure creates the perfect dense yet tender texture. Use a fork to prick the surface several times, allowing steam to escape during baking.
- Crust Baking:
- Bake crust for exactly 15 minutes until edges begin to turn golden but center remains pale. This partial baking ensures the crust can support the wet filling without becoming soggy while still finishing cooking during the final bake.
- Pineapple Preparation:
- Thoroughly drain crushed pineapple, pressing gently in a fine-mesh sieve to remove excess liquid without crushing the fruit. Too much liquid will prevent the filling from setting properly, while maintaining some moisture ensures a luscious texture.
- Filling Assembly:
- In a medium bowl, whisk eggs and remaining 1 cup sugar vigorously until smooth and slightly thickened, about 2 minutes. This creates the custardy base for the filling. Stir in ¼ cup flour and baking powder, mixing until no dry streaks remain. Add vanilla extract and fold in drained pineapple until evenly distributed.
- Layer Combination:
- Pour pineapple filling evenly over partially baked crust, using a spatula to spread into corners and create a level surface. The filling should appear quite wet at this stage—it will set during baking.
- Final Baking:
- Return pan to oven and bake for 25-30 minutes until edges are set and golden while center remains slightly jiggly. The filling will continue to set as it cools. Avoid overbaking, which can make the filling rubbery rather than pleasantly gooey.
- Cooling Period:
- Allow bars to cool completely in pan on a wire rack, which may take 2-3 hours. This patience is rewarded with perfectly set bars that cut cleanly. For even cleaner cuts, refrigerate for 1 hour after cooling to room temperature.
My grandmother always insisted that fruit desserts need a hint of salt to truly shine. 'It wakes up the flavor,' she'd say while adding that crucial pinch to her legendary pineapple upside-down cake. She taught me that patience during cooling is non-negotiable with fruit bars—a lesson I learned the hard way after once cutting into a batch too soon and ending up with a delicious but messy pineapple puddle. These bars honor her wisdom with their perfect balance of flavors and textures.
Serving Suggestions
These versatile bars complement a variety of occasions and serving styles. For casual gatherings, arrange on a simple platter with sprigs of fresh mint for color contrast. Elevate them for dinner parties by serving individual bars with coconut whipped cream and a light dusting of toasted coconut. During summer months, pair with vanilla ice cream drizzled with warm caramel sauce for an indulgent dessert. Create a tropical dessert board by arranging bars alongside fresh pineapple spears, coconut macaroons, and chocolate-dipped dried mango slices.
Creative Variations
Adapt this flexible recipe to create exciting flavor combinations that maintain the tropical theme. Coconut enthusiasts might add ½ cup toasted shredded coconut to the filling and substitute coconut extract for vanilla. Create a piña colada inspired version by adding 2 tablespoons of rum extract to the filling. For a hint of warm spice, add ¼ teaspoon of ground cardamom or ginger to the filling mixture. Citrus lovers can incorporate 1 tablespoon of lime zest into the filling for a pineapple-lime variation. For chocolate lovers, sprinkle ½ cup mini chocolate chips over the crust before adding the pineapple filling.
Storage Secrets
Preserve the quality of these delicious bars with proper storage techniques. Keep at room temperature in an airtight container for up to 2 days, separating layers with parchment paper to prevent sticking. For extended freshness, refrigerate for up to 5 days, bringing to room temperature before serving for the best texture and flavor. These bars freeze beautifully—wrap individual portions in plastic wrap, then aluminum foil, and freeze for up to 3 months. Thaw overnight in the refrigerator before bringing to room temperature for about an hour, or warm slightly in a 300°F oven for 5-10 minutes for that fresh-baked taste.
These pineapple bliss bars have become my signature contribution to summer gatherings, but their bright tropical flavor makes them welcome year-round. What I love most about this recipe is how something so simple can transport you instantly to a sunnier state of mind. The combination of buttery shortbread with sweet-tart pineapple creates an experience greater than the sum of its humble parts.
Common Questions About Cooking
- → Can I use fresh pineapple instead of canned crushed pineapple?
- Yes, you can use fresh pineapple! Finely chop it and make sure to drain it well, as excess moisture could make your bars too wet. For the closest texture to the original recipe, pulse the fresh pineapple briefly in a food processor.
- → How do I know when the bars are fully baked?
- The edges should be set and slightly golden, while the center may still have a slight jiggle – similar to lemon bars. They'll continue to set as they cool. If the edges are browning too quickly, tent with foil.
- → Can I freeze these pineapple bars?
- Yes! These bars freeze well for up to 3 months. Cut them into squares, place in an airtight container with parchment paper between layers, and freeze. Thaw overnight in the refrigerator and dust with fresh powdered sugar before serving.
- → Why is my pineapple filling too runny?
- The most common reason is not draining the pineapple thoroughly. Make sure to press out as much liquid as possible from the crushed pineapple. You can even pat it dry with paper towels after draining for best results.
- → Can I add other fruits to these bars?
- Absolutely! Try mixing in some well-drained crushed mango or papaya for an even more tropical flavor. Just make sure the total amount of fruit stays around 1 cup to maintain the right texture.
- → What's the best way to cut these bars neatly?
- For the cleanest cuts, refrigerate the bars for at least an hour after they've completely cooled. Use a sharp knife dipped in hot water and wiped clean between cuts. Wait to dust with powdered sugar until after cutting.