 Save
Save
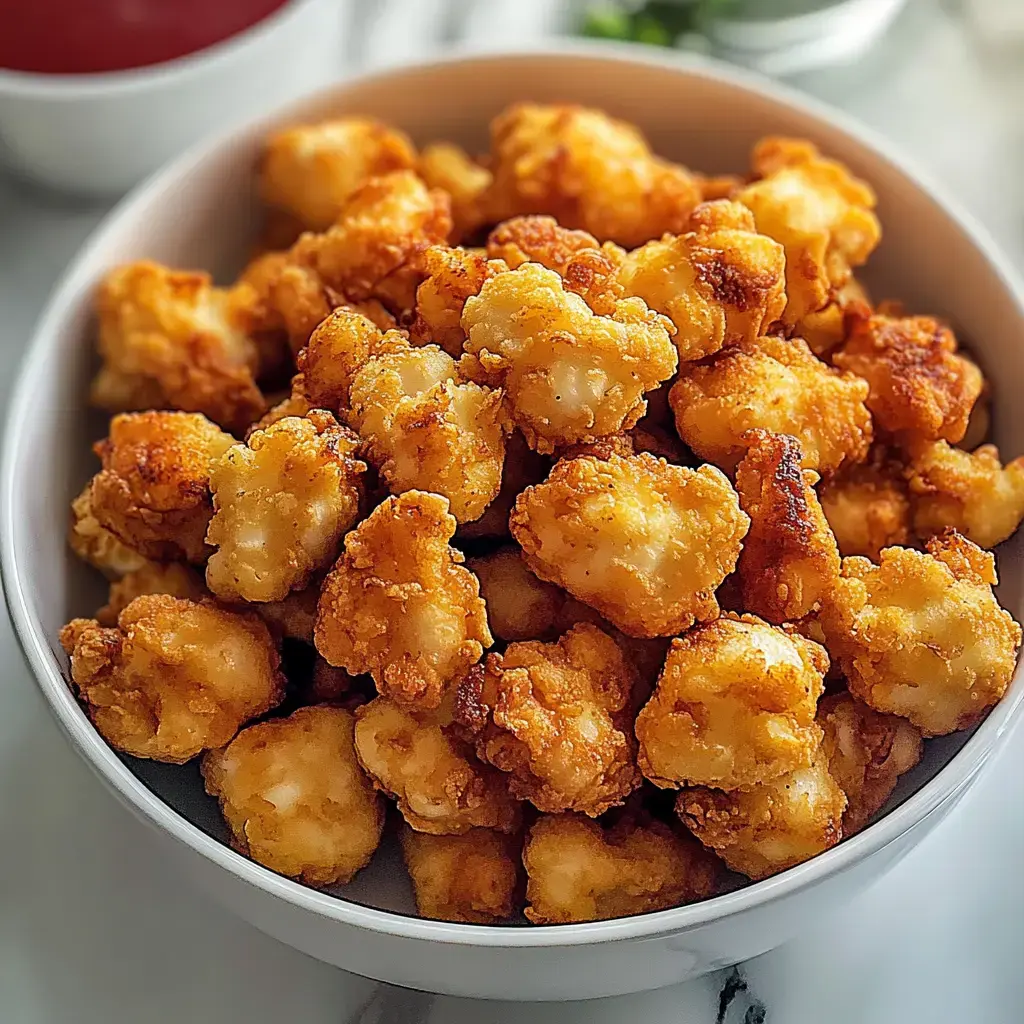
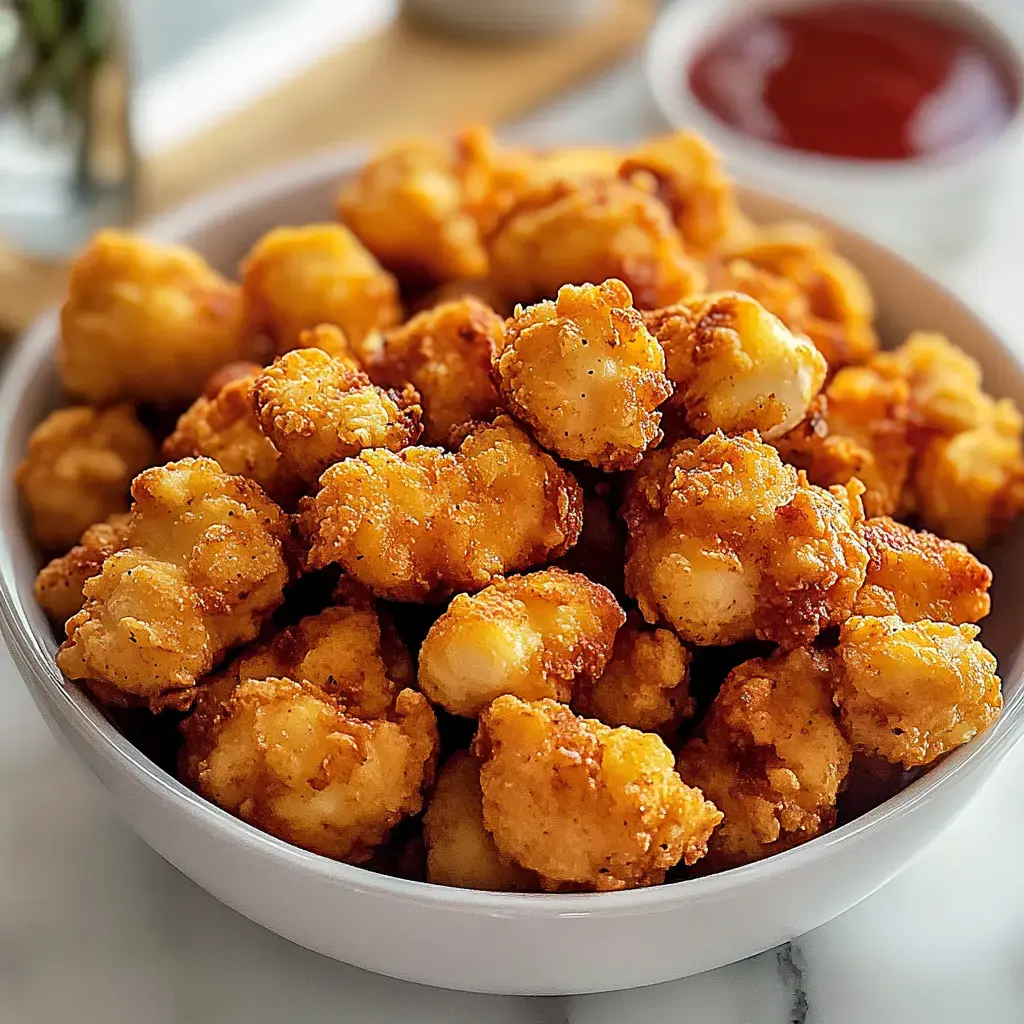
Every time I make popcorn chicken I'm transported back to Sunday afternoons in my family kitchen. Those first few test batches were a mess but now these golden crispy bites are pure perfection. The secret? A long soak in buttermilk and my special seasoned coating. My kids peek into the kitchen as soon as they smell that familiar aroma of seasoned breading hitting hot oil.
Why Everyone Loves These Bites
The magic happens when that buttermilk tenderized chicken meets the super crispy panko coating. Each piece comes out juicy inside and perfectly crunchy outside. I love watching guests pop one after another into their mouths they're just that addictive. Whether I serve them at family dinners or game day gatherings they disappear in minutes.
What You'll Need
Start with good quality chicken breast I always cut it into even pieces so they cook perfectly. That cup of buttermilk is your secret weapon for tender juicy chicken. My seasoned flour gets extra flavor from garlic powder and salt while panko breadcrumbs create that amazing crunch we all love. Make sure you've got plenty of oil for frying keeping those bites golden and crispy.
Let's Get Cooking
First things first pat those chicken pieces dry they'll hold the coating better that way. Set up your dredging station with three bowls it makes the whole process smooth and easy. When you're coating each piece really press those breadcrumbs on gently. Keep your oil temperature steady at 350°F I always use my thermometer to make sure. Work in small batches giving each piece plenty of room to get crispy. That final sprinkle of salt right as they come out of the oil makes all the difference.
 Save
Save
My Kitchen Secrets
Here's what I've learned after countless batches let those breaded pieces rest before frying it helps the coating stick better. Watch your oil temperature like a hawk and never crowd the pot. Patience between batches lets the oil come back to temperature giving you that perfect golden crunch every time.
Mix It Up Your Way
Sometimes I spice things up with cayenne or paprika in the flour. For my gluten free friends I swap in special panko and flour they can't even tell the difference. Chicken thighs make them extra juicy and adding fresh herbs to the coating creates amazing flavor. The possibilities are endless once you get comfortable with the basic recipe.
Ways to Serve
These little bites are so versatile. Set them out with honey mustard ranch and BBQ sauce for dipping. They're amazing with homemade mac and cheese or tossed in buffalo sauce for game day. I even chop them up for salads when I want something a little lighter. No matter how you serve them they're always a hit.
Main Points
This homemade version of a fast-food favorite features juicy chicken pieces in a crispy panko coating. Perfectly seasoned and quick to prepare, these bite-sized chicken pieces are ideal for snacking, parties, or as a delicious meal accompaniment.
Common Questions About Cooking
- → Why use panko breadcrumbs instead of regular?
Panko breadcrumbs create a lighter, crispier coating that stays crunchy longer than regular breadcrumbs.
- → Can I bake these instead of frying?
While frying gives the best crispy texture, you can bake them at 400°F for 15-20 minutes, turning halfway through.
- → Why pat the chicken dry?
Drying the chicken helps the flour coating stick better and creates a crispier final result.
- → What's the best oil for frying?
Vegetable or canola oil are ideal because of their high smoke points and neutral flavors.
- → How do I know when they're done?
The chicken should be golden brown on the outside and reach 165°F internally, typically taking 2-3 minutes when fried at 350°F.
