
 Save
Save
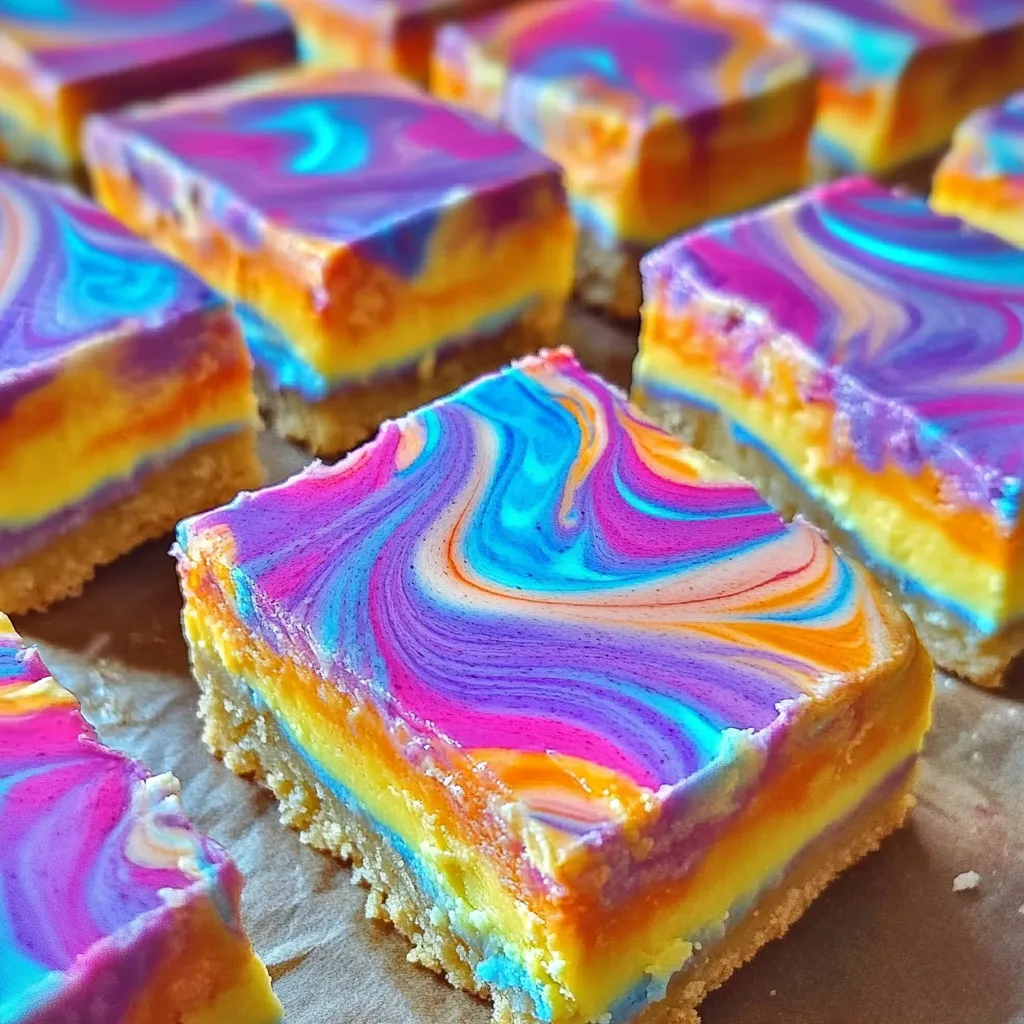
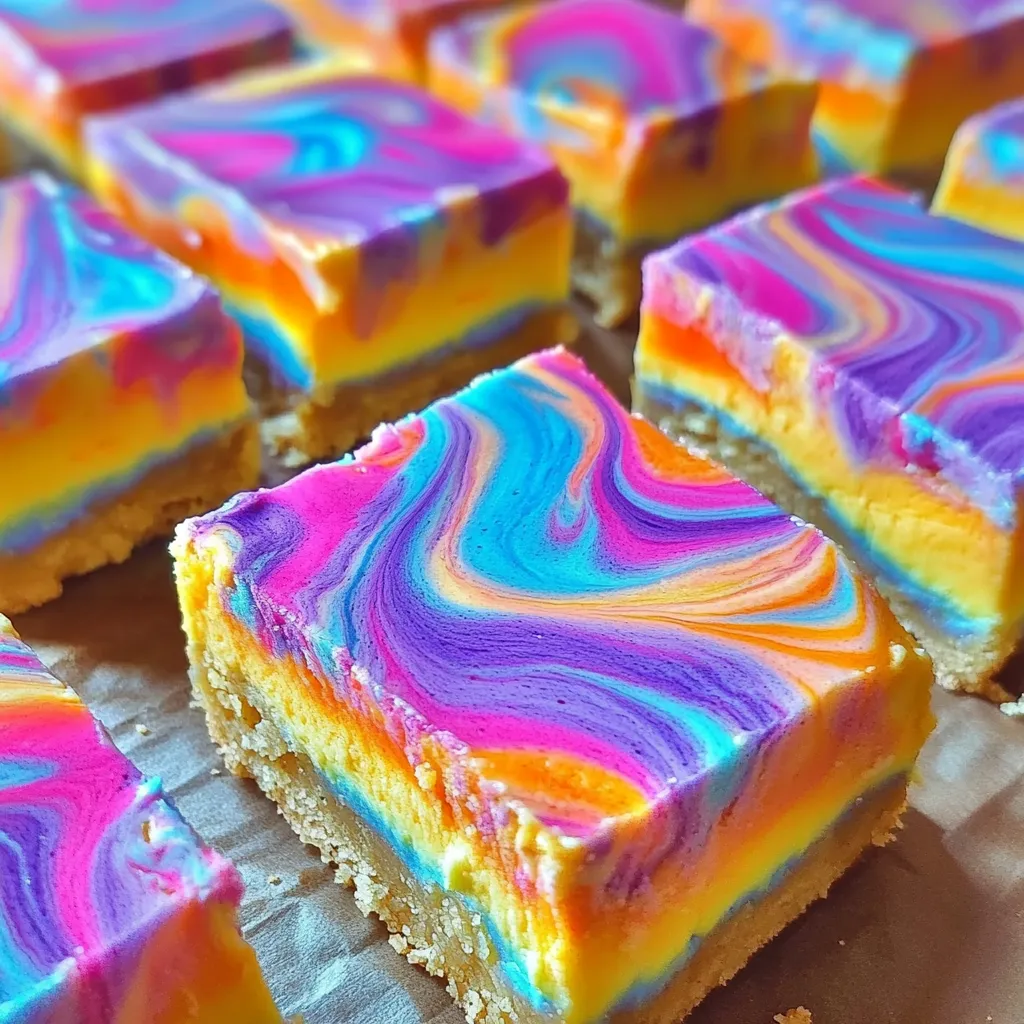
Vibrant ribbons of color dance through creamy cheesecake filling, creating a stunning mosaic of flavors that tastes as extraordinary as it looks. Each bar reveals a beautiful marbled pattern where rainbow hues swirl together in perfect harmony, resting on a golden graham cracker crust that provides delightful textural contrast. The rich, smooth filling delivers that signature cheesecake tang while maintaining an almost cloud-like texture that melts on your tongue. These eye-catching treats transform any ordinary gathering into a celebration, bringing childlike wonder to faces of all ages while delivering sophisticated flavor that satisfies the most discerning palates.
Colorful Magic
I first made these bars for my niece's art-themed birthday party, wanting something that would match her creative spirit while still being delicious enough for the adults. The moment I cut into them and revealed the swirled interior, the entire room fell silent before erupting in delighted gasps. My brother, who claims to only like "serious" desserts, quietly asked for seconds and later requested I teach his wife the recipe. Now these bars have become my signature contribution to family gatherings, with relatives specifically requesting them for holidays and celebrations. The joy on people's faces when they see the colorful cross-section never gets old – it reminds me why I love baking for others.
Rainbow Essentials
- Cream cheese: Use full-fat blocks at room temperature for the silkiest texture; avoid low-fat versions which affect both flavor and structure
- Graham crackers: Fresh boxes produce better crumbs; honey grahams add subtle sweetness that complements the tart filling
- Unsalted butter: Melts evenly and allows precise salt control; European-style varieties create richer crust flavor
- Large eggs: Room temperature eggs incorporate smoothly without overmixing; they provide structure and richness
- Pure vanilla extract: Real vanilla beans create depth that artificial versions can't match; the quality difference is noticeable
- All-purpose flour: Prevents cracking and creates the perfect texture; measure carefully as too much makes bars heavy
- Gel food coloring: Superior to liquid versions for vibrant colors without thinning the batter; a little goes far
- Granulated sugar: Fine crystals dissolve completely; superfine sugar works even better for ultra-smooth texture
Creation Journey
- Build The Foundation:
- Preheat your oven to 350°F and line a 9x13 inch pan with parchment paper, creating overhanging edges that will serve as handles for easy removal later. Process graham crackers in a food processor until they form fine, even crumbs, or place them in a sealed bag and crush with a rolling pin for a more rustic texture. Combine these crumbs with melted butter and sugar, stirring until the mixture resembles wet sand and holds together when pressed. Transfer to your prepared pan and press firmly into an even layer using the bottom of a measuring cup or your fingers. Bake for 10 minutes until lightly golden and fragrant, then set aside to cool completely while you prepare the filling.
- Master The Filling:
- Beat room-temperature cream cheese with an electric mixer on medium speed until completely smooth and fluffy, stopping occasionally to scrape down the bowl sides. This step is crucial – any lumps at this stage will remain in the final product. Gradually add sugar and vanilla extract, beating until the mixture becomes noticeably lighter in color and the sugar completely dissolves. Add eggs one at a time, mixing just until each incorporates – overbeating introduces air that can cause cracks during baking. Sprinkle flour over the surface and fold in gently with a spatula until just combined, maintaining the smooth, creamy texture you've worked to achieve.
- Create Your Palette:
- Divide the prepared cheesecake filling evenly among six bowls, using a kitchen scale for precision if desired. Add a few drops of gel food coloring to each bowl – red, orange, yellow, green, blue, and purple – remembering that colors will intensify slightly during baking. Mix each color thoroughly until vibrant and uniform, adding more coloring gradually until you achieve your desired intensity. The gel formulation won't thin your batter like liquid coloring would, ensuring each color maintains its vibrancy throughout the baking process. Keep colors separate until ready to assemble, allowing you to see the full spectrum before swirling.
- Design Beautiful Swirls:
- Drop large spoonfuls of each colored filling over the pre-baked crust, alternating colors and distributing them evenly across the surface. Work systematically to ensure good color distribution, creating a roughly even layer that covers the entire crust. Use a clean skewer, knife tip, or toothpick to gently swirl the colors together in figure-eight or S-shaped motions. The key is restraint – too much swirling will muddy the colors together, while too little leaves distinct blobs rather than elegant swirls. Aim for 10-15 deliberate swirl motions that create beautiful marbled patterns without completely mixing the colors.
- Execute Perfect Baking:
- Bake the assembled bars for 35-40 minutes, watching for visual cues rather than relying solely on timing. The edges should appear set and slightly golden while the center retains a slight jiggle when gently shaken. This doneness indicator ensures a creamy texture rather than overcooked, dense bars. Avoid opening the oven door frequently during baking, as temperature fluctuations can cause cracks or uneven cooking. When done, turn off the oven and crack the door slightly, allowing the bars to cool gradually for 15 minutes before removing to prevent sudden temperature changes that might cause cracking or sinking.

The rainbow pattern in these bars holds special meaning in our family. My grandmother used to make colorful layer cakes for every birthday, believing that vibrant desserts brought extra joy to celebrations. When I created these bars, I felt her presence guiding my hands as I swirled the colors together. My mother, who inherited my grandmother's recipe box, declared these bars "something Grandma would have loved," the highest compliment she could give. Now my own children help create the rainbow patterns, each developing their own swirling technique and claiming ownership of their favorite colors. This recipe bridges generations through its celebration of color and joy, proving that some things never go out of style.
Presentation Perfection
Transform these beautiful bars into an unforgettable dessert experience with thoughtful presentation touches. Serve each bar on individual dessert plates with a small dollop of freshly whipped cream and a sprinkle of rainbow sprinkles for extra whimsy. Pair with fresh berries that echo the vibrant colors, or add a delicate mint sprig for elegant contrast. For special occasions, consider creating a dessert buffet where these bars serve as the colorful centerpiece alongside complementary treats. Photography opportunity: slice bars right before serving to reveal the stunning interior swirls that will have guests reaching for their cameras before their forks.
Storage Solutions
Preserve these stunning bars' quality and appearance through proper storage techniques that maintain both flavor and visual appeal. Cover loosely with plastic wrap or store in airtight containers in the refrigerator, where they'll keep beautifully for up to five days. For cutting clean slices, use a sharp knife warmed under hot water and wiped clean between cuts to prevent color bleeding. When freezing, wrap individual bars in plastic wrap followed by aluminum foil for protection against freezer burn, storing up to two months. Thaw wrapped bars in the refrigerator overnight, keeping them covered to prevent condensation from affecting the perfect swirled surface.
These rainbow cheesecake bars represent everything I love about baking – the perfect marriage of artistry and flavor that creates lasting memories. Each time I make them, I'm reminded that food isn't just about nutrition or even taste; it's about creating moments of pure joy and wonder. The process of dividing the batter and creating colors feels meditative, while the swirling stage allows for creative expression that makes each batch unique. Whether I'm making them for a child's birthday or an adult gathering, the reaction is always the same – pure delight followed by eager anticipation for that first creamy, colorful bite. These bars prove that sometimes the most memorable desserts are those that surprise us with unexpected beauty while delivering familiar, beloved flavors we can't resist.
Common Questions About Cooking
- → Can I use natural food coloring instead?
- Yes, but the colors won't be as vibrant. Natural coloring works better in lighter batters, so you might need more to achieve visible colors.
- → How do I get clean slices?
- Use a sharp knife dipped in warm water and wipe clean between cuts. Make sure the bars are fully chilled before slicing for the best results.
- → Can I make these ahead of time?
- Absolutely! These bars are actually better the next day. You can make them up to 2 days ahead and store covered in the refrigerator.
- → What if my cream cheese has lumps?
- Let it come to room temperature completely, then beat it for several minutes until smooth. You can also push it through a fine-mesh strainer if needed.
- → Can I freeze these bars?
- Yes, wrap individual bars in plastic wrap and freeze for up to 2 months. Thaw overnight in the refrigerator before serving.
- → How many colors do I need?
- The recipe uses 6 colors for a full rainbow, but you can use as few as 3-4 colors if you prefer. Just divide the batter accordingly.