 Save
Save
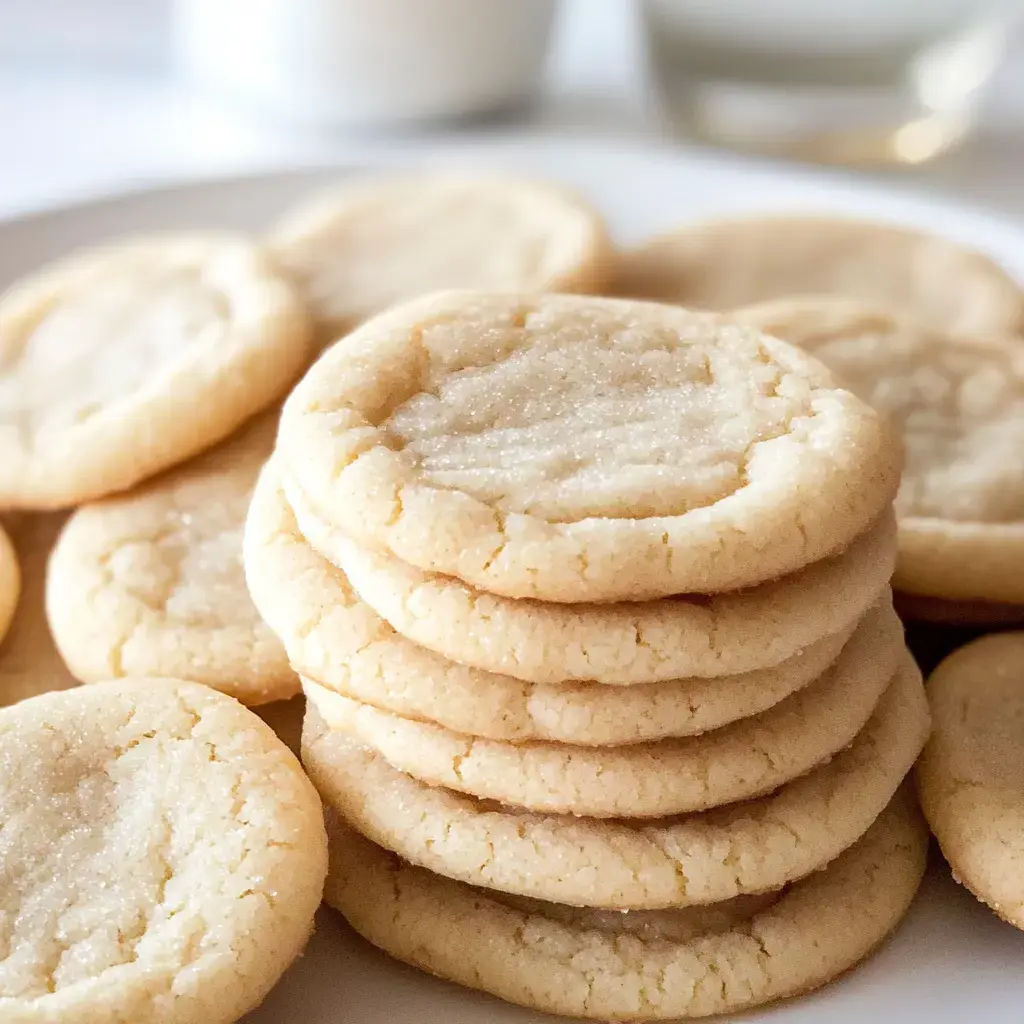
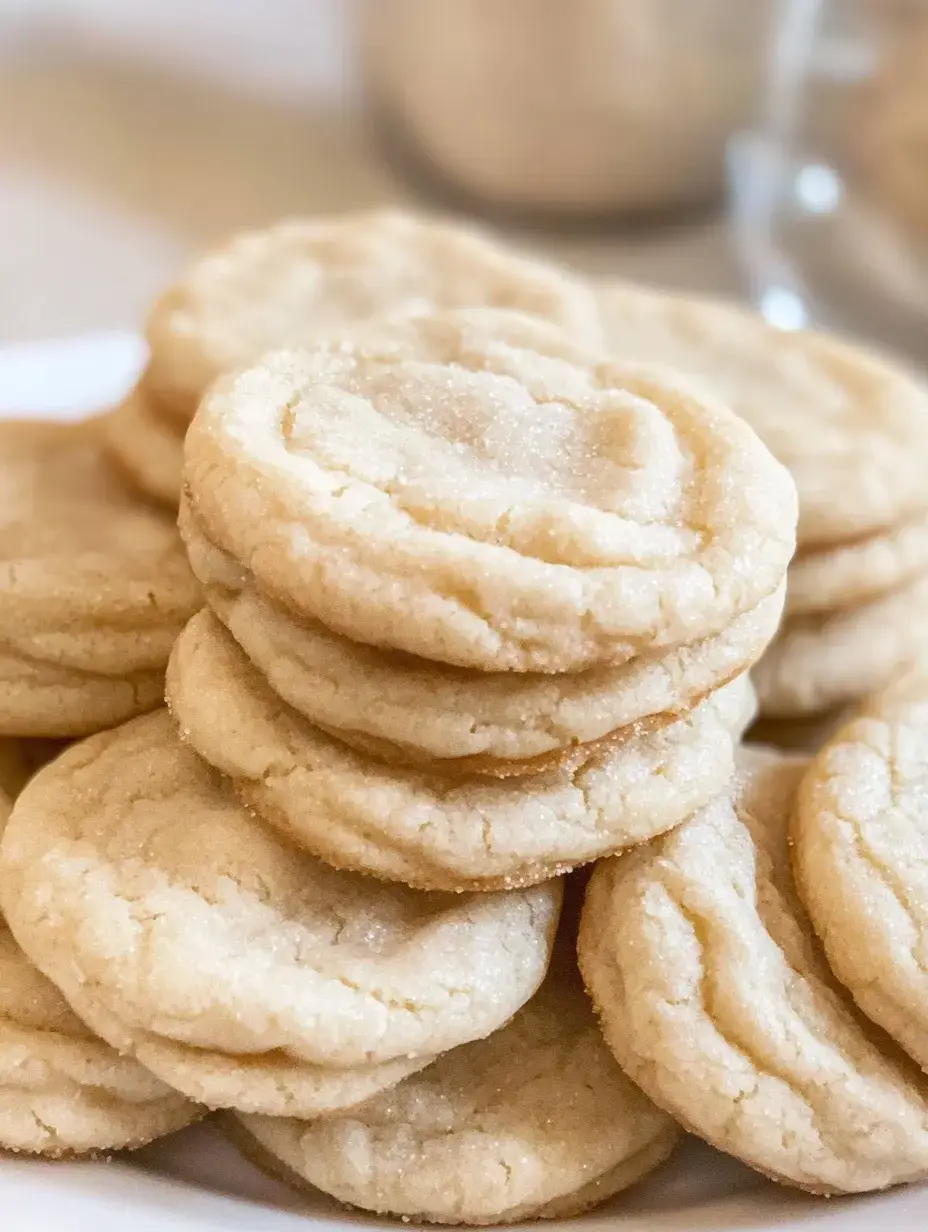
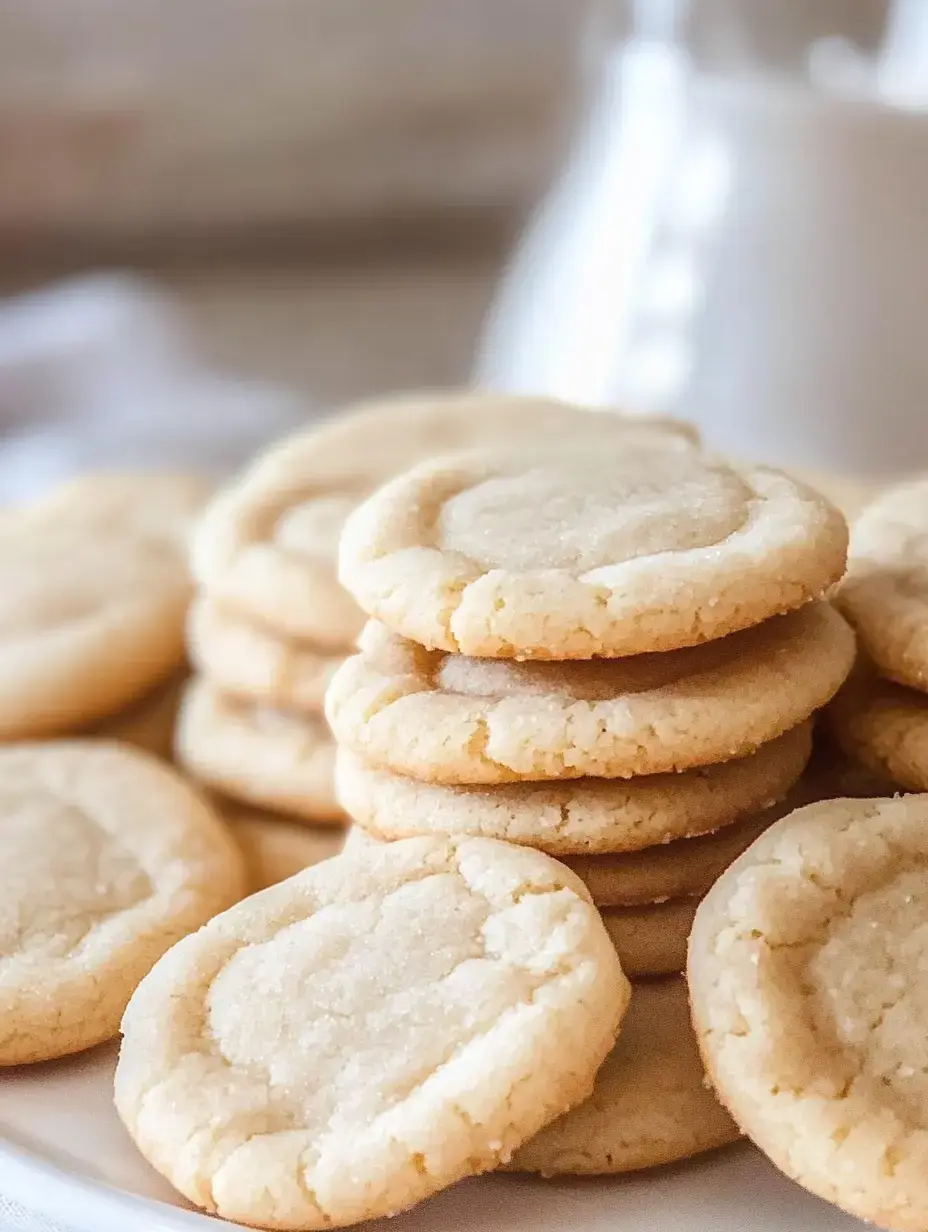
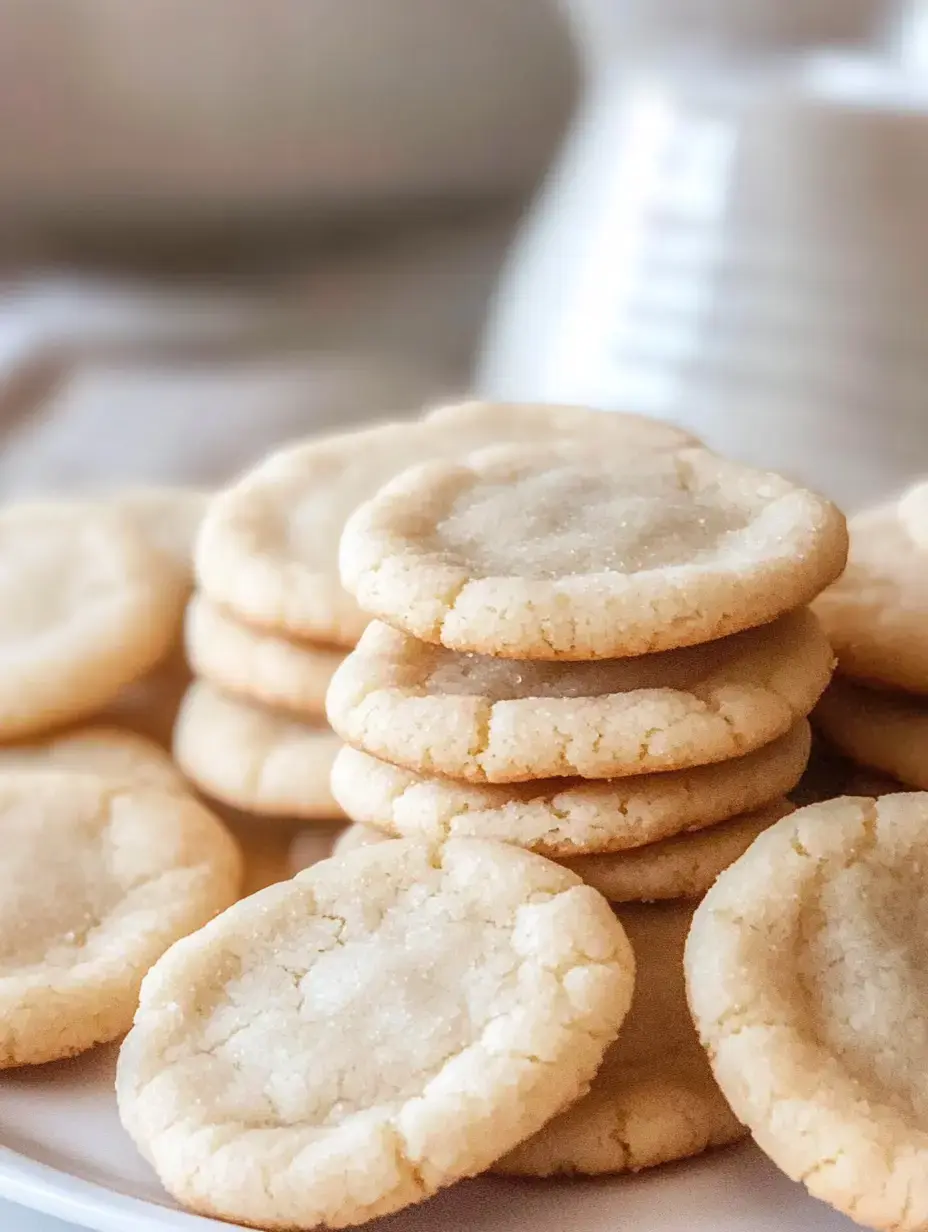
These sugar cookies bring back sweet memories of baking with my mom. Each bite is perfectly soft with just the right amount of chewiness that melts in your mouth. The buttery vanilla flavor makes them irresistible and I love how versatile they are for any occasion in my kitchen.
What Makes These Cookies Special
I spent months perfecting this recipe to make it as simple as possible. No chilling time needed which is perfect for last minute baking. The cookies turn out wonderfully soft with a delicate chewiness and the vanilla sugar coating adds such a lovely sweetness.
My Kitchen Staples for This Recipe
- All-Purpose Flour: Spoon it gently into your measuring cup and level it off for the perfect amount.
- Baking Powder & Baking Soda: These work together to create that lovely soft texture.
- Salt: Just a pinch makes all the flavors pop.
- Butter: Let it soften naturally on your counter for the best results.
- Sugar: Regular granulated sugar works beautifully inside and out.
- Egg + Egg Yolk: The extra yolk is my secret for incredible richness.
- Vanilla Extract: Pure vanilla makes all the difference.
Getting Started with Dry Ingredients
I always start by mixing my flour, baking powder, baking soda and salt in my favorite mixing bowl. I learned the hard way that whisking these ingredients together makes sure every bite has the perfect texture without any bitter spots.
The Most Important Step
Grab your mixer and cream that butter with sugar until it looks light and fluffy. This usually takes about 2 to 3 minutes in my kitchen. Trust me this step makes all the difference in creating that melt in your mouth texture we all love.
 Save
Save
Adding Life to Your Cookie Dough
Now comes my favorite part mixing in the egg egg yolk and vanilla. The extra yolk was a game changer in my recipe testing. It gives these cookies the most amazing soft texture that stays fresh for days.
Bringing It All Together
Pour your dry ingredients into the wet mixture bit by bit mixing gently. I always tell my daughter to stop as soon as the flour disappears. Overmixing is the enemy of tender cookies something I learned after years of baking.
Shaping Your Perfect Cookies
Take your time rolling the dough into little balls. I use about a tablespoon of dough for each one. Rolling them in sugar adds such a lovely sparkle and that subtle crunch we all love.
Into the Oven They Go
Space your cookies about two inches apart on your baking sheet. I always line mine with parchment paper for easy cleanup. Eight to nine minutes at 350°F is perfect in my oven they should look slightly underdone when you take them out.
My Secret for the Perfect Cookie
Here's something I've learned after countless batches take them out when they still look a bit underbaked. The centers might seem too soft but trust me they'll set up perfectly as they cool giving you that gorgeous chewy texture.
 Save
Save
The Waiting Game
Let your cookies rest on the baking sheet for about 5 minutes. I know it's tempting to move them right away but this short rest helps them keep their shape. Then transfer them to a cooling rack to finish setting.
Making Them Your Own
- Party Time: My kids love when I add colorful jimmies to the dough for birthday celebrations.
- Extra Sparkle: Sometimes I swap regular sugar for colored sanding sugar during holidays it makes them so festive.
Common Baking Mistakes to Avoid
- Gentle Mixing: I learned that overworking the dough makes tough cookies nobody wants that.
- Perfect Temperature: Your butter should be just soft enough to leave a slight indent when pressed nothing more.
Quick and Easy No Waiting Required
After years of testing I figured out the perfect balance of ingredients so you can skip the chilling step. This means fresh warm cookies whenever the craving hits.
How to Enjoy These Cookies
These cookies are perfect on their own but I love them with my morning coffee. My kids prefer them with cold milk and my husband sneaks them with his afternoon tea.
 Save
Save
Keeping Your Cookies Fresh
Store them in your favorite airtight container and they'll stay soft for a week. If you want to keep them longer pop them in the freezer they thaw beautifully.
Bringing Back That Fresh Baked Taste
When you want that just baked warmth give them a quick 10 seconds in the microwave. It brings back all those wonderful fresh from the oven feelings.
Fun Ways to Switch Things Up
- Citrus Magic: Sometimes I add fresh lemon zest it brightens up the whole cookie.
- Sweet Additions: White chocolate chips make these extra special for holiday gatherings.
Your Questions Answered
- Salted or Unsalted Butter? Either works just cut back on added salt if using salted.
- Make Ahead Options? Roll and freeze the dough balls they bake beautifully straight from frozen just add an extra minute.
The Heart of Home Baking
These sugar cookies have become a staple in my kitchen. They're the ones my family requests most often and friends always ask for the recipe. Simple classic and absolutely perfect every time.
Main Points
These soft and chewy sugar cookies are a delightful treat that can be prepared quickly without the need for dough chilling. Perfect for home bakers looking for a simple yet delicious cookie recipe.
Common Questions About Cooking
- → Why do you need both an egg and egg yolk?
The extra egg yolk adds richness and helps create a chewy texture. Yolks contain fat and protein that contribute to softer, more tender cookies.
- → How do you know when the cookies are done?
The tops should be just barely set but look slightly underbaked. They'll continue cooking on the hot baking sheet after removing from oven.
- → Can I make the dough ahead of time?
While no chilling is required, you can refrigerate the dough for up to 3 days. Let it come to room temperature before baking for best results.
- → Why measure flour by spooning and leveling?
This method prevents packing too much flour into the measuring cup. Too much flour leads to dry, crumbly cookies instead of soft chewy ones.
- → Can I freeze these cookies?
These cookies freeze very well for up to 3 months in an airtight container. You can freeze both baked cookies and unbaked dough balls.
