
 Save
Save
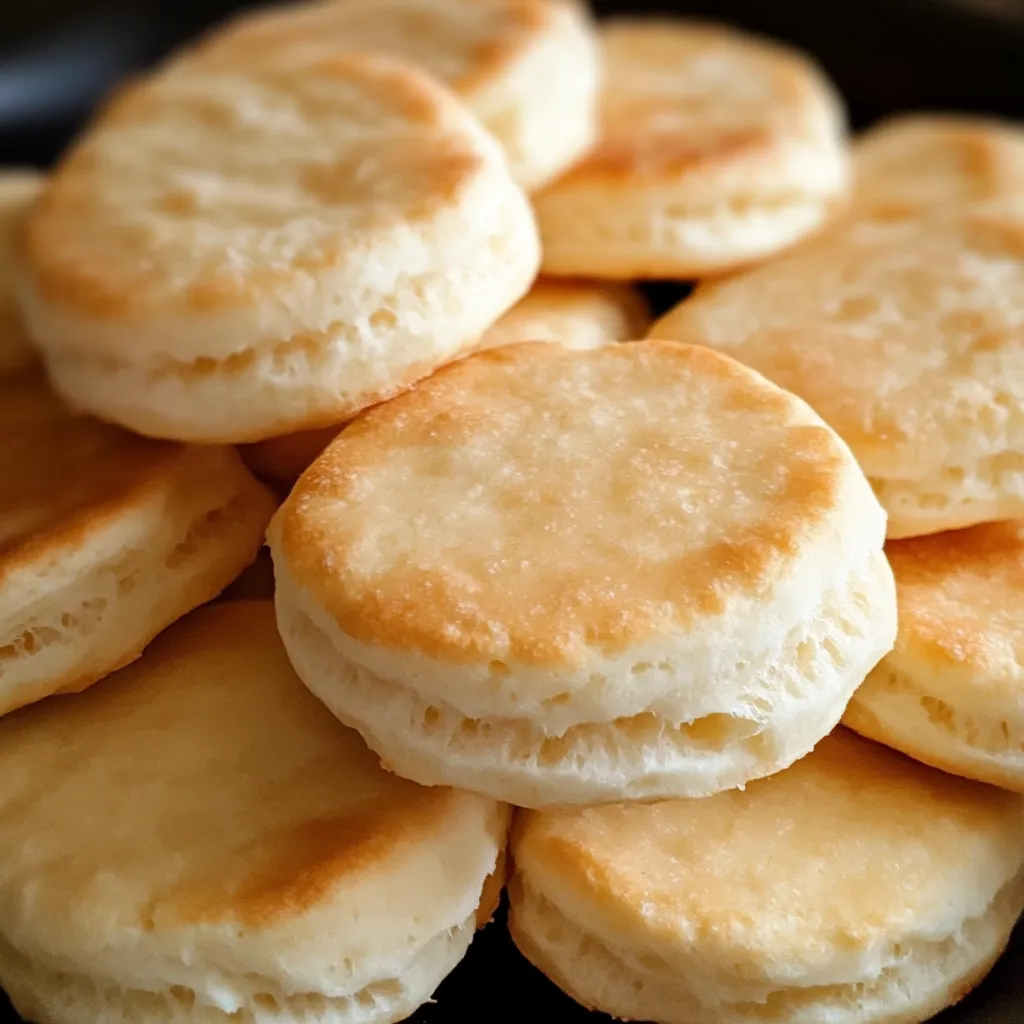
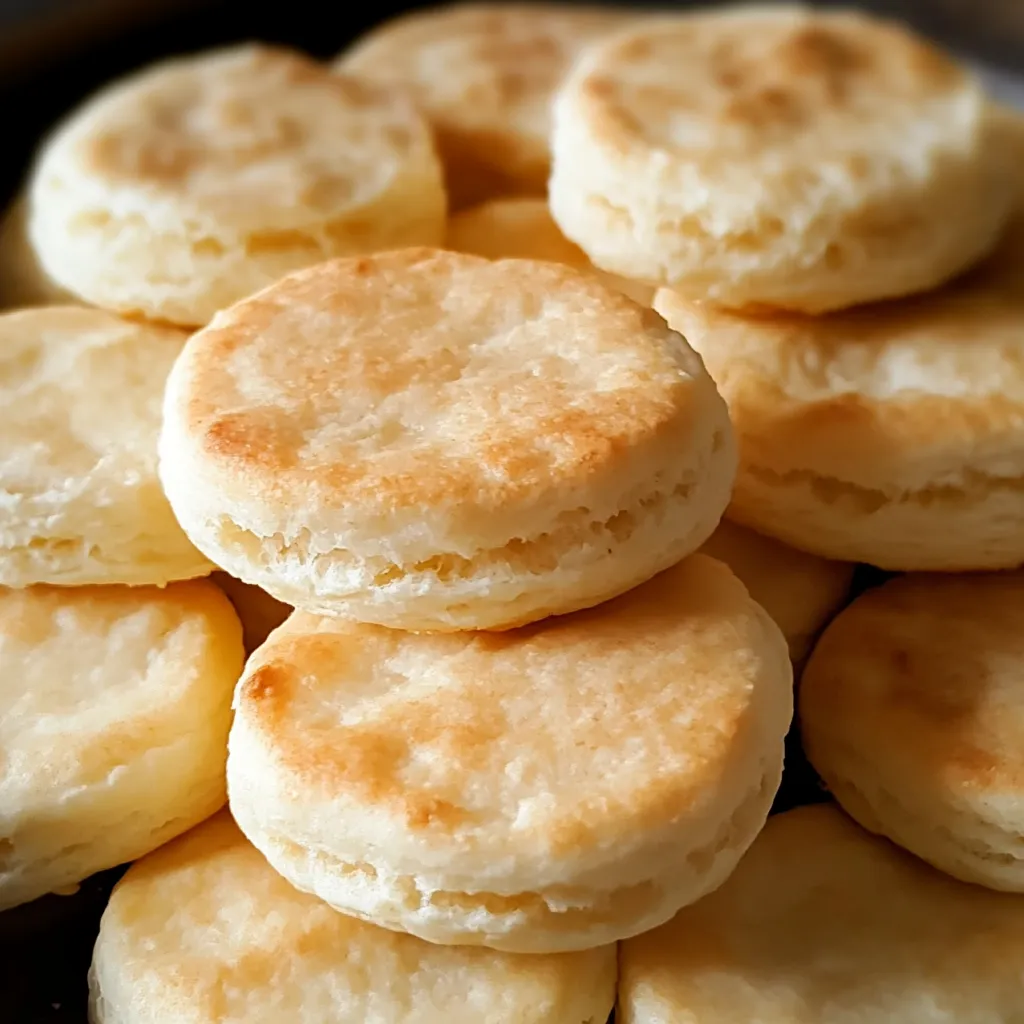
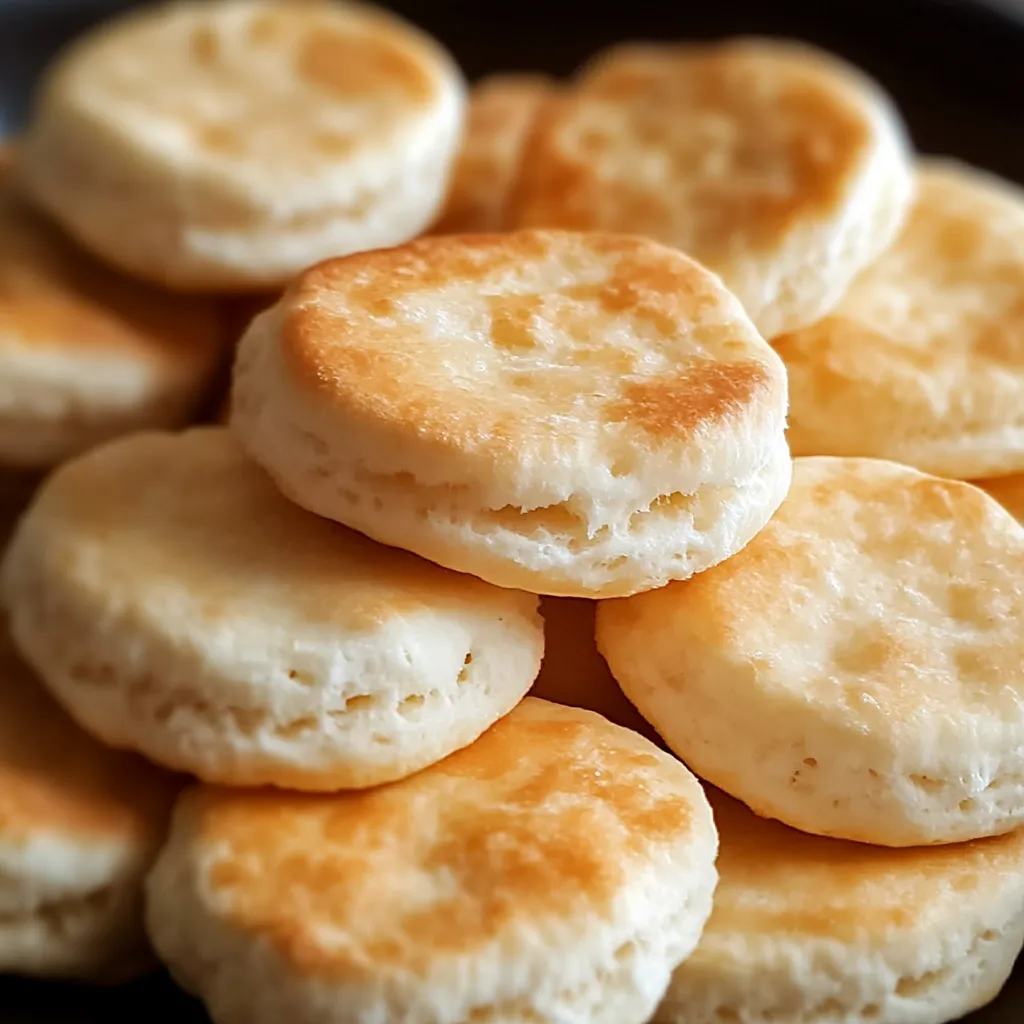
Fluffy golden two-ingredient biscuits prove that the best comfort foods often come from the simplest recipes, combining just self-rising flour and milk to create tender, buttery perfection in under 20 minutes. This foolproof recipe eliminates the need for measuring multiple ingredients or mastering complex techniques while delivering restaurant-quality results that rise beautifully every single time. Whether served as a quick breakfast treat, dinner accompaniment, or base for countless variations, these biscuits provide endless possibilities from just two pantry staples.
I discovered this recipe during a winter snowstorm when I was craving homemade biscuits but had limited ingredients available. The incredible results from such simple components amazed me, and these biscuits quickly became our family's weekend breakfast tradition. My daughter proclaimed them better than any restaurant version, and the ease of preparation means I can make them anytime we want that fresh-baked comfort.
Essential Ingredient Guide
- Self-rising flour (2 cups): Contains the perfect pre-measured ratio of flour, baking powder, and salt; brands like White Lily or Martha White work excellently
- Whole milk (3/4 cup): Provides richness and helps create tender texture; cold milk works best for creating steam during baking
The beauty of this recipe lies in how self-rising flour eliminates the guesswork of proper leavening ratios. The built-in baking powder and salt are perfectly balanced to create optimal rise and flavor, while the flour provides structure without requiring additional fats or complicated mixing techniques.
Perfect Preparation Method
Creating Optimal Conditions
Preheat your oven to 450°F and position the rack in the center for even heat distribution. This high temperature is crucial for creating immediate steam that gives biscuits their signature rise and fluffy texture. Line a baking sheet with parchment paper or leave ungreased for slightly crispier bottoms.
Gentle Mixing Technique
Place self-rising flour in a large mixing bowl and create a well in the center using your fingers or a spoon. Pour cold milk into the well gradually while stirring gently with a fork, working from the center outward until the mixture just comes together into a slightly sticky dough. Avoid overmixing which develops gluten and creates tough biscuits.
Proper Shaping Method
Turn the dough onto a lightly floured surface and dust your hands with flour to prevent sticking. Gently pat the dough to 1/2-inch thickness using your palms rather than a rolling pin, which can compress the dough and reduce rise. Use a sharp 2-inch biscuit cutter or glass, pressing straight down without twisting to ensure clean cuts that allow proper rising.
Strategic Arrangement
Place cut biscuits on the prepared baking sheet either touching for soft-sided biscuits with maximum height or spaced apart for crispier edges. For extra golden tops, brush lightly with additional milk before baking, which enhances browning and adds subtle richness.
Optimal Baking Process
High-Heat Technique
Bake for 10-12 minutes at 450°F, checking for doneness at the 10-minute mark. The biscuits should be golden brown on top with slightly firm sides and golden bottoms. The high heat creates immediate steam that produces the light, fluffy texture characteristic of perfect biscuits.
Visual Doneness Cues
Look for even golden color across the tops, slight firmness when gently pressed on the sides, and golden-brown bottoms that aren't dark or burnt. The biscuits should have risen significantly and feel light when lifted.
Through countless batches, I've learned that the secret to perfect two-ingredient biscuits lies in respecting the simplicity and not trying to improve on perfection. The self-rising flour does all the work, while gentle handling preserves the tender texture that makes these biscuits so special.
Creative Variations
Transform these basic biscuits into exciting new treats by incorporating simple additions that complement the neutral base beautifully. For savory versions, fold in 1/2 cup shredded sharp cheddar and chopped fresh chives before shaping, creating cheesy herb biscuits perfect alongside soups or stews.
Sweet variations work wonderfully too - add 1 tablespoon sugar and 1/2 teaspoon cinnamon to the flour before mixing with milk, creating slightly sweet biscuits perfect for breakfast or dessert service. A small dollop of jam pressed into the center before baking creates fruit-filled surprise biscuits.
For dinner variations, try adding crumbled bacon, dried herbs like rosemary or thyme, or even a pinch of garlic powder to create flavor profiles that complement different meals throughout the day.
Serving Excellence
These versatile biscuits shine in countless serving applications, from simple breakfast treats with butter and honey to elegant shortcake bases topped with fresh berries and whipped cream. Split warm biscuits horizontally and fill with scrambled eggs and cheese for quick breakfast sandwiches.
For Southern comfort food service, top split biscuits with creamy sausage gravy, creating the classic biscuits and gravy combination that satisfies any appetite. The light, absorbent texture makes them perfect for soaking up flavorful sauces and gravies.
Dinner service options include using them to accompany hearty stews, fried chicken, or roasted meats, where their mild flavor and fluffy texture provide perfect contrast to rich, savory main courses.
Storage Solutions
Store cooled biscuits in airtight containers at room temperature for up to 2 days, though they're definitely best enjoyed fresh and warm. For longer storage, refrigerate for up to one week or freeze for up to 3 months in freezer-safe bags.
For reheating, wrap in aluminum foil and warm in a 300°F oven for 10 minutes from refrigerated or 15 minutes from frozen. This method restores much of the original texture and warmth without drying them out.
These biscuits also freeze beautifully before baking - shape and cut, then freeze on baking sheets before transferring to bags. Bake directly from frozen, adding 2-3 extra minutes to cooking time.
Make-Ahead Magic
While these biscuits are quick enough to make fresh anytime, they work wonderfully for advance preparation too. The dough can be mixed, shaped, and cut up to 24 hours ahead, then refrigerated covered until ready to bake.
For ultimate convenience, prepare large batches when you have time, then freeze shaped unbaked biscuits for fresh-baked results anytime. This approach provides homemade quality with convenience-food timing.
The simplicity makes them perfect for teaching children to bake, as the forgiving recipe produces consistent results while building confidence in the kitchen.
Texture Perfection
Perfect two-ingredient biscuits should have golden, slightly crispy exteriors that give way to incredibly tender, fluffy interiors with visible layers throughout. The texture should be light and airy rather than dense or heavy, with enough structure to hold spreads without falling apart.
The crumb should appear white and fluffy with small, even air pockets throughout, indicating proper rising and texture development. When split open, steam should be visible, and the interior should feel warm and moist.
If biscuits turn out dense, the usual culprits are overmixing the dough, using old self-rising flour, or not baking at high enough temperature to create proper steam.
These fluffy golden two-ingredient biscuits have become my go-to solution for adding homemade warmth to any meal because they prove that simple doesn't mean sacrificing quality or flavor. The technique is so reliable and the results so consistently excellent that I can confidently make them for any occasion, from casual family breakfasts to more formal dinner accompaniments. Every time I pull a batch from the oven, I'm reminded that some of the best comfort foods come from the most straightforward recipes, creating magic through simplicity rather than complexity.
Common Questions About Cooking
- → Can I use water instead of milk?
- Yes! Water works great and makes the biscuits dairy-free. You can also use any plant-based milk you have.
- → What if I don't have self-rising flour?
- Make your own by mixing 1 cup all-purpose flour with 1½ teaspoons baking powder and ½ teaspoon salt.
- → Why are my biscuits tough?
- Don't overmix the dough! Stir just until it comes together, and handle it gently when shaping.
- → How do I store leftover biscuits?
- Keep them in an airtight container for 2 days, or freeze for up to 3 months. Reheat in a 350°F oven for 5 minutes.
- → Can I make these ahead of time?
- Cut the biscuits and freeze them on a tray, then bake straight from frozen - just add 2-3 extra minutes.